PLMNL0199 REV. J Effective Date: 08/05/21
26
FiberCUT
®
ST Operation Manual
If the image appears blurry, adjust it
according to steps 7 and 8, see
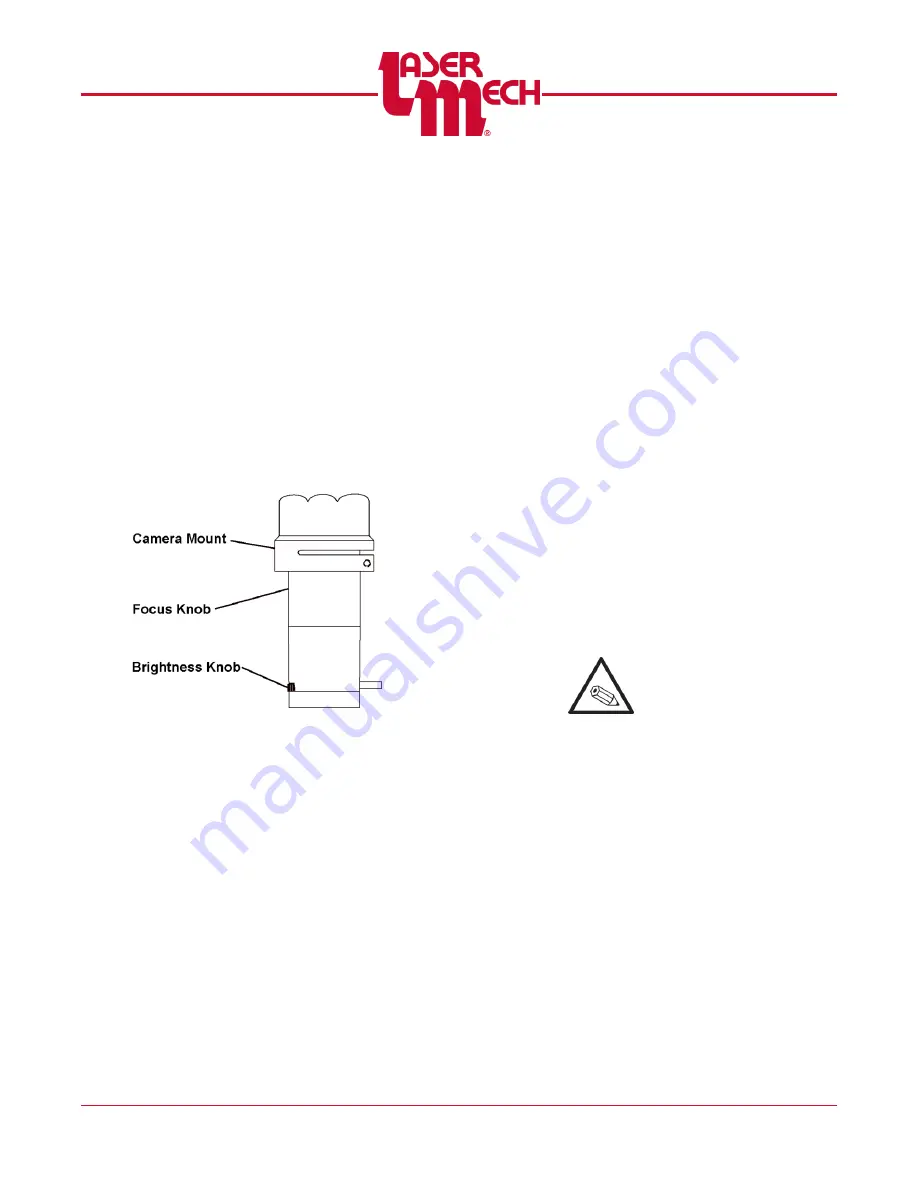
7. Rotate the brightness knob and
adjust the camera to full
brightness.
If it is too bright, rotate the
brightness knob slightly, to
suit.
8. Rotate the camera focus knob
until the end of the gas jet tip is in
focus with a clear image.
You should be able to see
tooling marks on the end of
the tip.
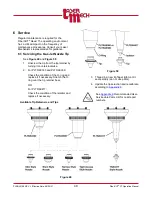
Figure 27
9. If the beam is centered in the
camera and tip orifice, no further
adjustment is necessary.
10. If the beam is not centered in the
camera and tip orifice, adjust the
beam location according to the
following:
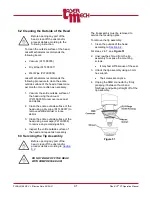
screw locations.
a. Use a 1/8 inch hex wrench to
loosen the adjuster screw in
the direction you want the
beam to move.
b. Tighten the adjuster screw
that is opposite of the screw in
the step 10a (above).
DO NOT OVERTIGHTEN.
11. Use the (4) adjusting screws
according to steps 10a and 10b
until the beam image is centered
in the circular tip image.
Some trial and error may be
necessary in order to center
the beam in the camera and
tip orifice.
12. Once the beam is centered, verify
that all (4) adjusting screws are
snug again to finger tight (1 nm
max). See
screw locations.


