PLMNL0199 REV. J Effective Date: 08/05/21
50
FiberCUT
®
ST Operation Manual
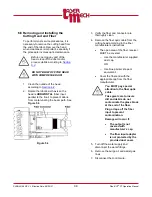
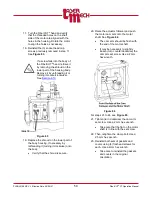
17. Turn the FiberCUT
®
head and verify
that the threaded holes on the shaft
side of the motor are aligned with the
holes in the housing. Rotate the motor
to align the holes as necessary.
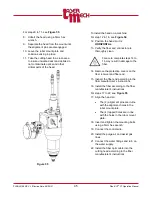
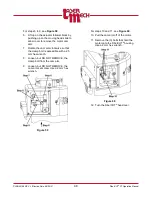
18. Reinstall the (3) socket head cap
screws previously removed in step 11
See
If a screw falls into the body of
the FiberCUT
®
head, retrieve it
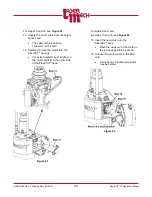
by removing the shroud on the
lower part of the housing body.
Remove it by unthreading it or
turning it counterclockwise).
See
Figure 63
19. Replace the shroud on the lower part of
the body housing, if necessary by
rethreading it (turning it clockwise) onto
the body.
Verify that the shroud is secure.
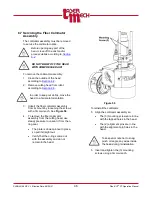
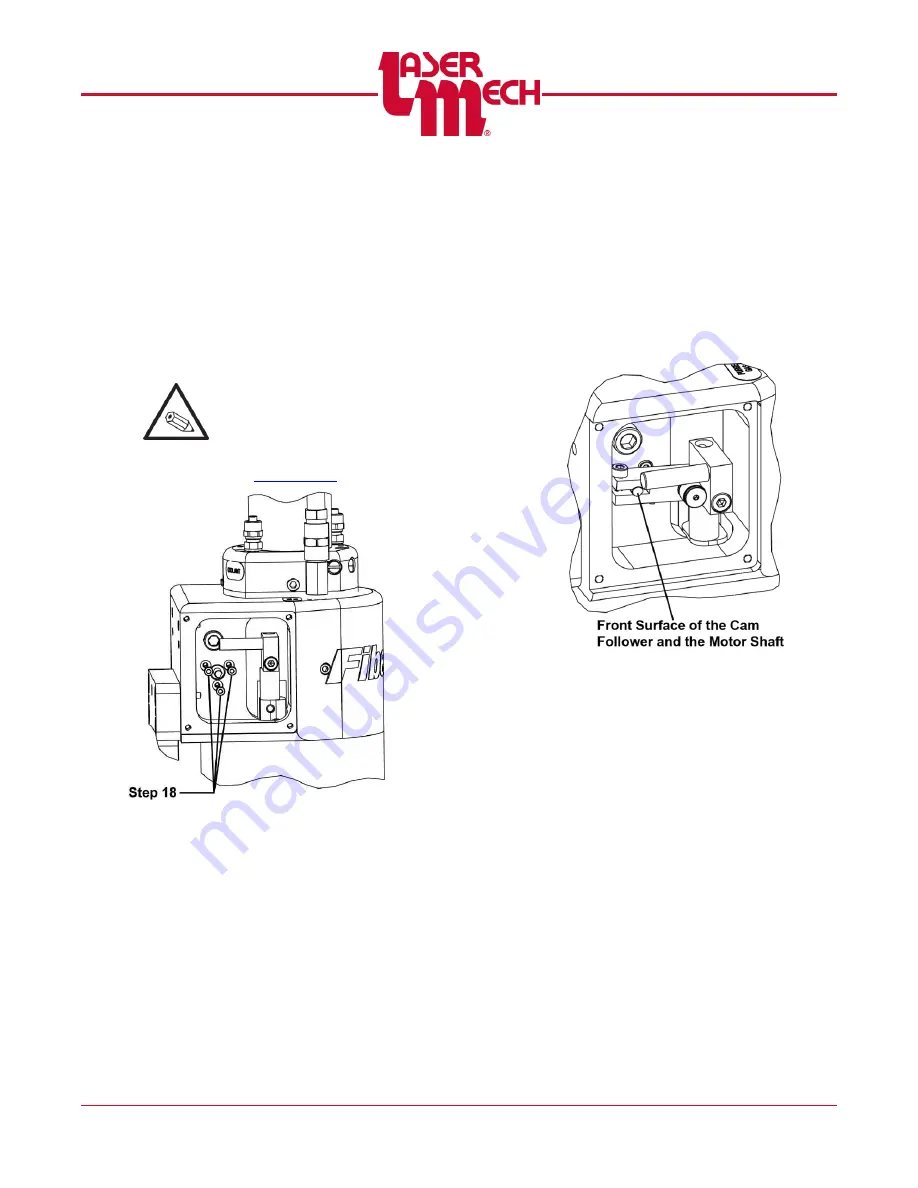
20. Raise the actuator follower and push
the motor cam arm onto the motor
shaft. See
The cam arm should be flush with
the end of the motor shaft.
It may be necessary to slightly
loosen (turn counterclockwise) the
cam arm set screw. Use a 2 mm
hex wrench.
Figure 64
21. Tighten (turn clockwise) the cam arm
set screw. Use a 2 mm hex wrench.
Take care that the flat on the motor
shaft is in line with the set screw.
22. Then, retighten the clamp bolt. Use a
2.5 mm hex wrench.
23. Reinstall both sets of gaskets and
covers using (4) flat head screws for
each. Use a 4mm hex wrench.
Take care to reinstall the gaskets
and covers in the original
orientation.


