PLMNL0199 REV. J Effective Date: 08/05/21
45
FiberCUT
®
ST Operation Manual
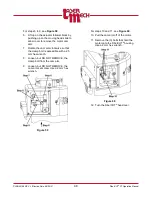
8. Unbolt the head using a 5mm hex
wrench.
9. Separate the head from the mount until
the alignment pins are disengaged.
10. Leave the robot mount plate and
collision sensing in place.
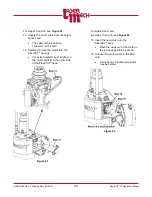
11. Take the cutting head to a clean area
to insure unwanted dust and debris do
not contaminate optics and other
critical parts of the head.
Figure 55
To install the head on a machine:
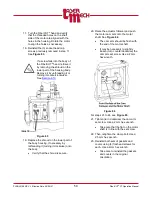
For step 12 to 16, see
12. Position the head so it is
HORIZONTAL
.
13. Verify the fiber and connector are
thoroughly clean.
Failure to complete steps 14 to
16 may result in damage to the
fiber.
14. Remove the protective covers on the
fiber receiver and fiber end.
15. Inspect the fiber end according to the
fiber manufacturer’s instructions.
16. Install the fiber according to the fiber
manufacturer’s instructions.
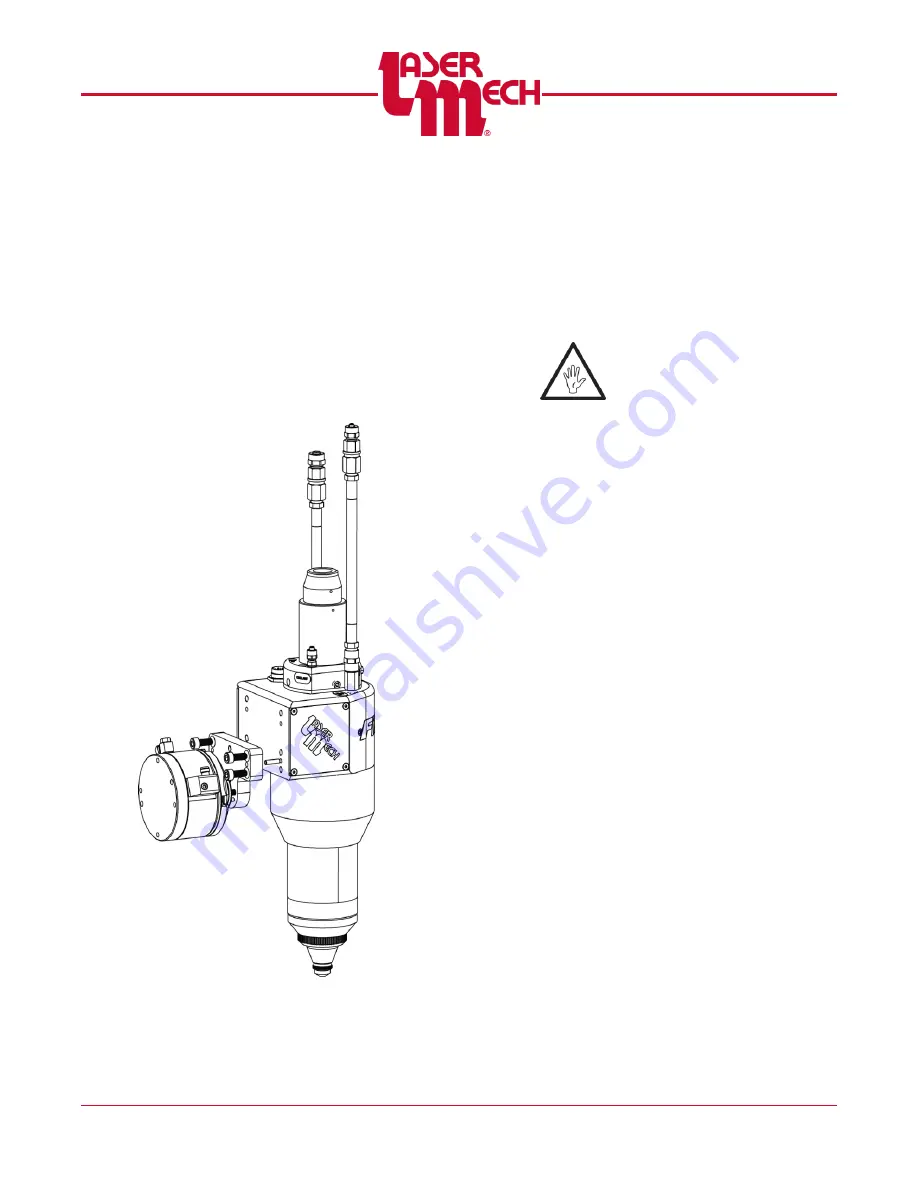
17. Align the head so:
The (2) alignment pins are in-line
with the alignment holes in the
robot mount plate.
The (4) tapped holes are in line
with the holes in the robot mount
plate.
18. Insert and tighten the mounting bolts
using a 5mm hex wrench.
19. Connect the control wire.
20. Install the purge air and assist gas
lines.
21. Connect the water fittings and turn on
the water supply.
22. Install the fiber optic cable into the
cutting head according to the fiber
manufacturer’s instructions.


