Initial Set-Up
Discharge Configuration
3
Initial Set-Up
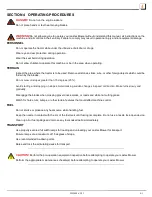
WZ1000 6/5/23
3-13
5.
Set all of the deck height adjustments to 3”.
6.
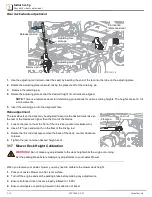
Starting with the center deck, measure the front of the deck from the
bottom of the blade cutting edge to the floor
across
the front and rear of the deck, at points near the hinge pins.
A 3” block may be used. The measurements should be
level
, /-1/8”. Actual cutting height should be measured
from the blades (ensure the blades are not bent from damage before taking measurements).
7.
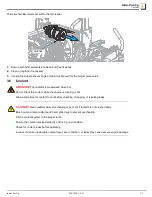
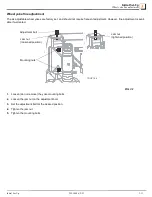
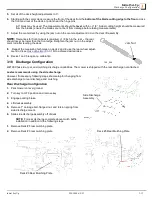
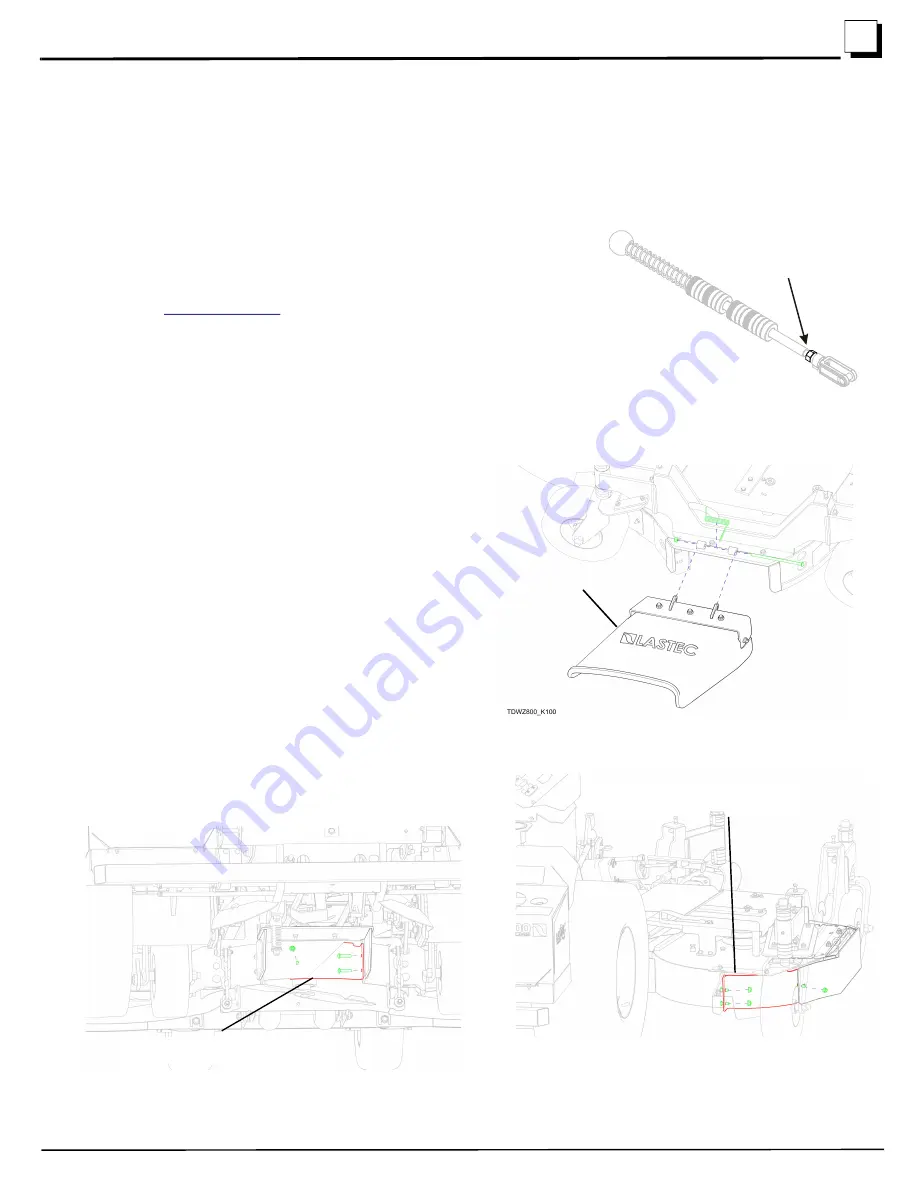
Adjust the center deck by using the jam nut on the center adjustment rod on the deck lift assembly.
NOTE:
Tolerances for front-to-back is (positive) +1/8 inch in the rear --
the rear
should never be lower than the front edge.
Retighten the jam nut on the adjust
-
ment rod after leveling the deck.
8.
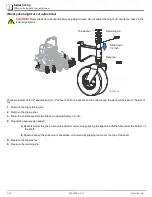
Repeat the measuring technique on deck 2 and 4; use the rear wheel adjust
-
ment rod (see
in 3.16) to achieve desired rake.
9.
Decks 1 and 5 require no calibration.
3.18 Discharge Configuration
WZ1000 has side, rear, and mulching discharge capabilities. The mower is shipped with the rear discharge not attached.
Lastec recommends using the side discharge.
However, if necessary, following steps show setup for changing from
side discharge to rear discharge and mulching.
Rear Discharge Configuration
1.
Park mower on level ground.
2.
Turn key to OFF position and remove key.
3.
Engage parking brake.
4.
Lift deck assembly.
5.
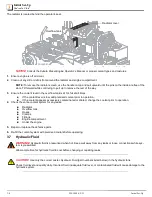
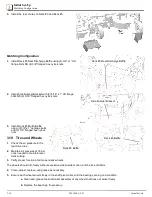
Remove 7” carriage bolt, flanged nut, and torsion spring from
side discharge mount.
6.
Slide side discharge assembly off of deck.
NOTE:
For rear discharge complete above mulch baffle
installation in addition to the following steps.
1.
Remove Deck #5 rear mulching plate.
2.
Remove Deck #3 rear mulching plate.
Jam Nut
100_096
Side Discharge
Assembly
Deck #5 Rear Mulching Plate
Deck #3 Rear Mulching Plate

