background image

1200 Series User’s Manual 

8

Changing the Motor 

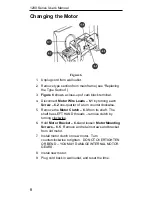
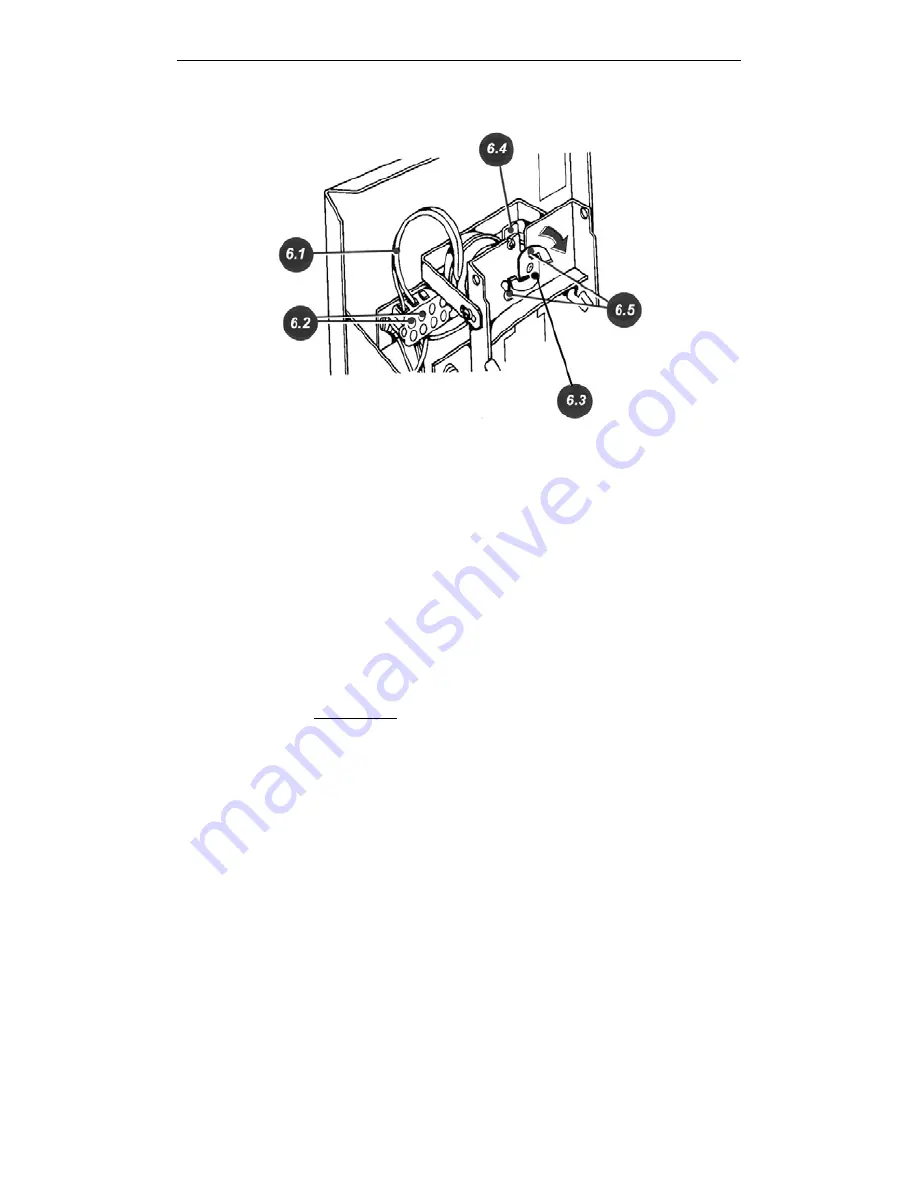
Figure 6 

1.  Unplug cord from wall outlet. 

2.  Remove type section from main frame (see “Replacing 

the Type Section”). 

3.

Figure 6

 shows a close-up of cam block terminal. 

4. Disconnect 

Motor Wire Leads – 6.1

 by turning each 

Screw – 6.2

 one-quarter of a turn counterclockwise. 

5. Remove 

the 

Motor Clutch – 6.3

 from its shaft.  The 

shaft has LEFT HAND threads – remove clutch by 
turning clockwise.

6. Hold 

Motor Bracket – 6.4

 and loosen 

Motor Mounting 

Screws – 6.5

.  Remove and retain screws and bracket 

from old motor. 

7.  Install motor clutch on new motor.  Turn 

counterclockwise to tighten.  DO NOT OVERTIGHTEN 
OR BEND – YOU MAY DAMAGE INTERNAL MOTOR 
GEARS.

8.  Install new motor. 

9.  Plug cord back in wall outlet, and reset the time. 

Summary of Contents for 1221

Page 1: ...888 534 5994 1221 USER MANUAL...

Page 2: ...rvice information is also included in this manual in case any problems ever arise Thank you for choosing a Lathem time recorder Should you ever need assistance please let us know Ordering Accessories...

Page 3: ...ng Accessories For maximum results only use Lathem accessories specifically designed to fit your time recorder Description Part Number Extra Pair of Keys JB976 Replacement Ribbon 2 Colors 7 2CN Replac...

Page 4: ...clock click 3 Press either side of the Type Section Headlock 1 2 and pull upward on the lower part of the Clock Face until the Type Section locks in the up position as shown in Figure 1 Note position...

Page 5: ...rs are not underlined Set time to the proper hour of the day to avoid errors such as setting the day wheel to the next day at noon rather than midnight 3 Rotate the Minute Wheels to show the current m...

Page 6: ...and verify the time and date or day is correct 9 Replace and lock the case cover Set the Time on the Clock Face Figure 3 1 Make a sample registration on paper 2 Rotate Clock Face Setting Wheel 3 1 unt...

Page 7: ...type section see Raise the type section on page 3 2 Remove the cotter pins 4 1 that retain the ribbon spools and slide off old spools 3 Lift ribbon hold down guide 4 2 use pencil to support in up posi...

Page 8: ...g you can easily remove and replace it with a spare without sending the entire machine for service Figure 5 1 Remove the top cover 2 Remove Type Section Retaining Ring 5 1 3 Lift type section slightly...

Page 9: ...ne quarter of a turn counterclockwise 5 Remove the Motor Clutch 6 3 from its shaft The shaft has LEFT HAND threads remove clutch by turning clockwise 6 Hold Motor Bracket 6 4 and loosen Motor Mounting...

Page 10: ...onsibility of Lathem under this warranty shall be limited to repair of this product or replacement thereof at the sole discretion of Lathem 5 If it becomes necessary to send the product or any defecti...

Reviews: