


2000 – 4000 Series Time Recorder User’s Guide
Page
2
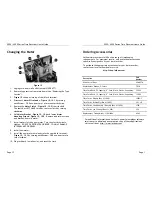
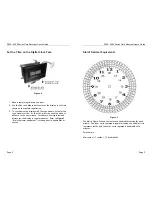
Setting the Time
Figure 1
Determine Your Model
Before proceeding, it is important to know the exact model of your
clock so it can be set properly. The fourth digit in the model number
indicates the print format.
Model
Print Hours
Print Units
Description
xxx1
1 – 12 , 1 – 12
00 – 59
12 Hour & Minutes
xxx2
1 – 12 , 1 – 12
.0 – .9
12 Hour & Tenths
xxx3
1 – 12 , 1 – 12
.00 – .98
12 Hour & Hundredths
xxx4
00 – 23
00 – 59
24 Hour & Minutes
xxx5
00 – 23
.0 – .9
24 Hour & Tenths
xxx6
00 – 23
.00 – .98
24 Hour & Hundredths
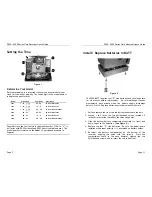
Example: Since the fourth digit in the model number 2104 is a “4”, it
will print with 00-59 minutes and 00-23 hours (see table above). The
model number is located on the
Label 1.1
positioned as shown in
Figure 1
.
2000 – 4000 Series Time Recorder User’s Guide
Page 11
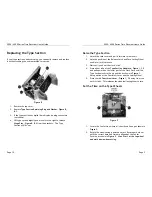
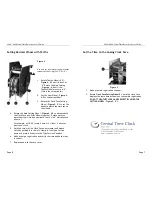
Install / Replace Batteries in BATT
Figure 9
The 2000-BATT requires four “D” size batteries and should operate
for six months before replacement. An internal beeper sounds
momentarily each minute when the battery supply discharges
below 4.5 volts. Replace batteries as follows when this occurs:
1. Pull and remove the front two rubber feet underneath the unit.
2. Loosen, 1 to 2 turns, the two phillips-head screws located 1.5
inches directly inside the rubber feet mounting holes.
3. Slide the bottom battery compartment outward (to front) and
down, to get to the batteries. (
See Figure 9
.)
4. Replace the four “D” size batteries. Be sure the batteries are
installed with proper polarity (+/-) as marked on battery holder.
5. Re-install the battery compartment on the bottom of the
recorder, aligning the holes with the screws. Press the
compartment firmly to the back (inward), tighten the two
Phillips-head screws, and re-insert the two rubber feet.


