n
low
n
off
1.
In the Basic setup menu select the menu item
Sounds
.
A list containing the sounds opens.
2.
Select the sound that you wish to change using the arrow keys.
3.
Press the Enter key to confirm your selection.
A list containing the volume settings opens.
4.
Select a volume setting using the arrow keys.
5.
Press the Enter key to confirm your selection.
The new setting is active.
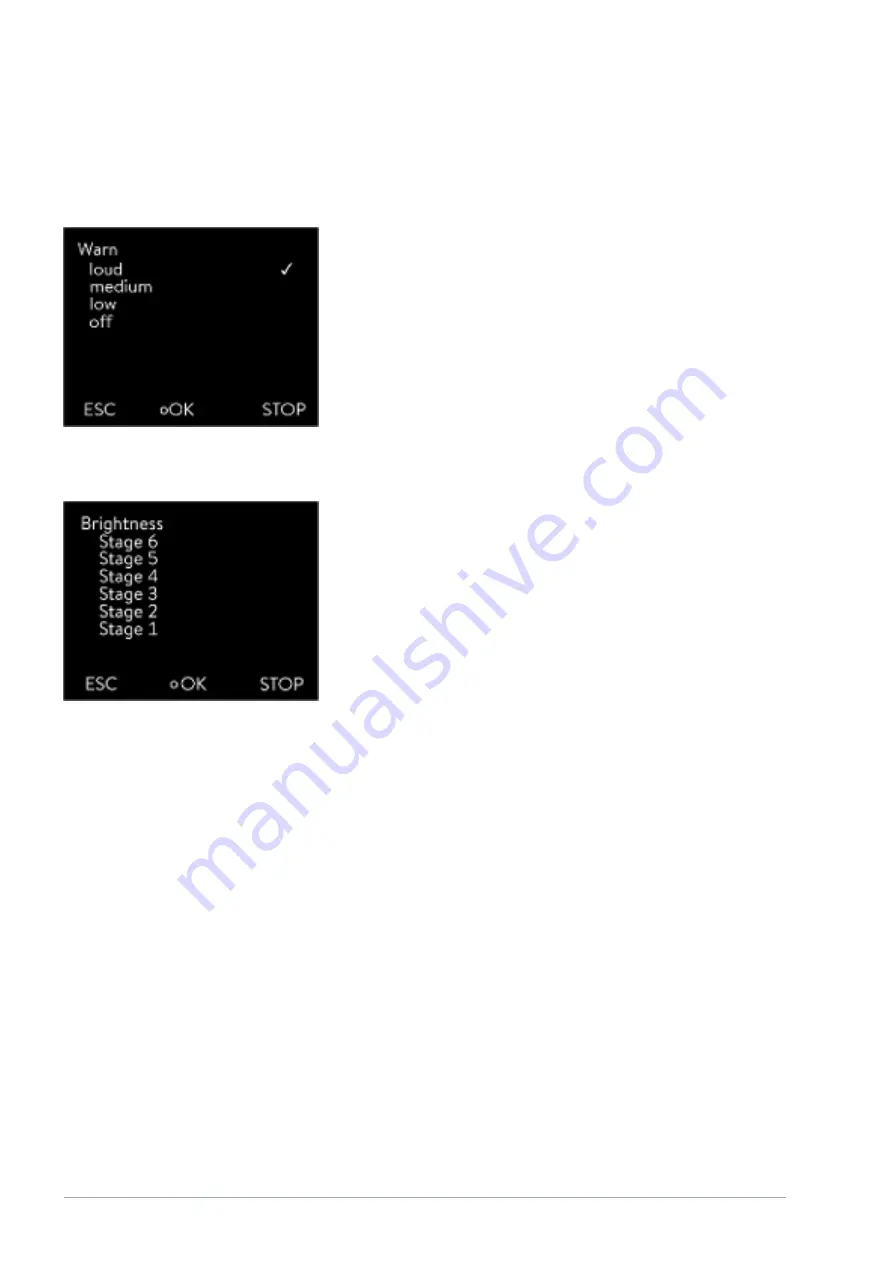
The display brightness can be set manually.
1.
In the Basic setup menu select the menu item
Display
Brightness
.
A list containing the settings opens.
2.
The following options are available in the window:
n
You can select the brightness manually with entries [Level 1 - 6].
The brightness intensifies from [Level 1].
The new setting is valid with immediate effect.
In the [Displayed T-ext2] menu you can select via which interface a second
external temperature value is read into your device. The newly selected tem-
perature value is displayed in the home window and in the graphic window.
1.
In the Basic setup menu select the menu item
Display
Displayed
T
‑
ext2
.
A list containing the settings opens.
2.
Select the external temperature with the arrow keys, which you would
also like to be displayed.
The measuring channels are displayed which are installed in the
device.
3.
Press the Enter key to confirm your selection.
The new setting is active.
After a power failure and restoration of the power supply, the device does
not resume operation (default setting). However, you can set the device to
automatically resume operation after the power is restored.
1.
In the [Basic setup] menu, select the menu item
Autostart
.
A list containing the settings opens.
Fig. 56: Adjusting volume
Set the brightness of the display
Fig. 57: Adjusting brightness
Displayed temperatures in the display
Automatic start after power failure
V6
Integral Process Thermostats and High-Temperature Thermostats
100 / 198


