6.
Continuously top up or recirculate the descaler. Continue this process
until the foaming reaction had subsided. This usually takes 20 to
30 minutes.
7.
Then drain the condenser using compressed air.
“Draining the water-cooled condenser”
for detailed information on draining the con-
denser.
8.
Rinse the device thoroughly with fresh water.
Make sure a minimum of 10 liters of water flows through the
system.
9.
You can now connect the device back to the cooling water supply.
1.
Switch off the device at the mains switch.
2.
Detach the cooling water hose from the cooling water supply intake.
Leave the hose on the cooling water outlet (OUT) attached securely
to the device.
3.
Allow compressed air to flow through the cooling water hose towards
the device. Wait until all the water has flowed out of the device before
detaching the compressed air supply.
7.6 Checking the heat transfer liquid
Contaminated or degenerated heat transfer liquid must be replaced. Con-
tinued use of the heat transfer liquid is only permitted following successful
testing. The heat transfer liquid must be tested as outlined in DIN 51529.
CAUTION!
Contact with hot/cold heat transfer liquid
Scalding, cold burns
Bring the heat transfer liquid to room temperature for anal-
ysis.
7.7 Checking the overtemperature protection
The device must be switched off if the bath temperature exceeds the max-
imum temperature [Tmax]. The electronics system switches off the device
components.
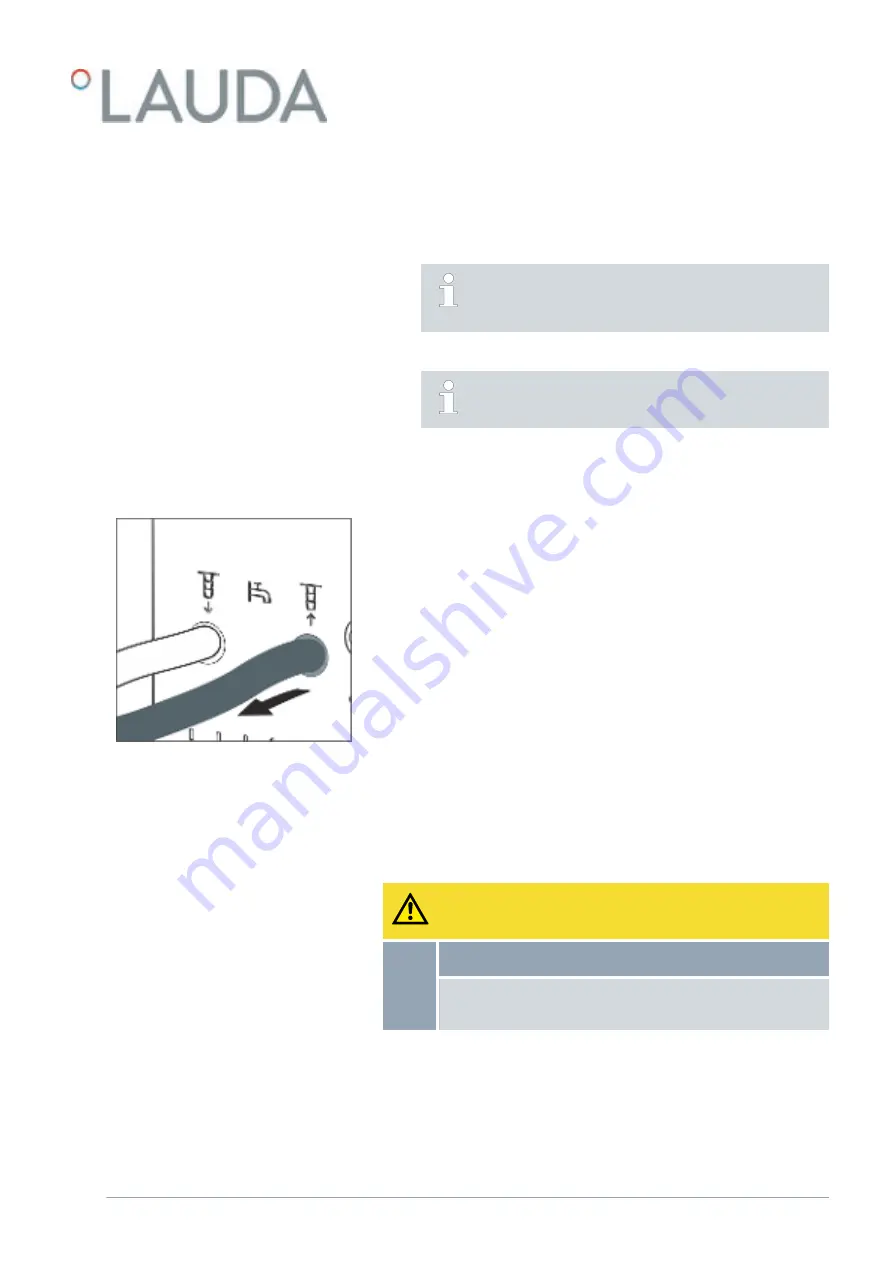
Draining the water-cooled condenser
Fig. 75: Cooling water connection socket
V6
PRO bath thermostats and circulation thermostats
117 / 156
Summary of Contents for P 10
Page 146: ...V6 PRO bath thermostats and circulation thermostats 146 156 ...
Page 147: ...V6 PRO bath thermostats and circulation thermostats 147 156 ...
Page 148: ...V6 PRO bath thermostats and circulation thermostats 148 156 ...
Page 157: ......
Page 158: ......
Page 159: ......


