LAUNCH
X-431 PAD V
User's Manual
21
listed on the screen.
)
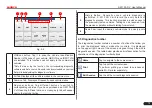
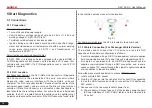
Fig. 5-14
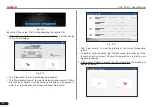
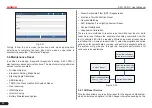
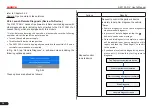
On-screen Buttons:
Vehicle Coverage: Tap to view the vehicle models that the current
diagnostic software covers.
What’s new: Tap to view the optimized items and enhancements.
Introduction: Tap to check the software function list.
Note: Tap to read some precautions on using the current diagnostic
software.
OK: Tap it to go to next step.
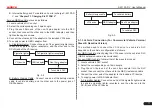
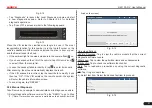
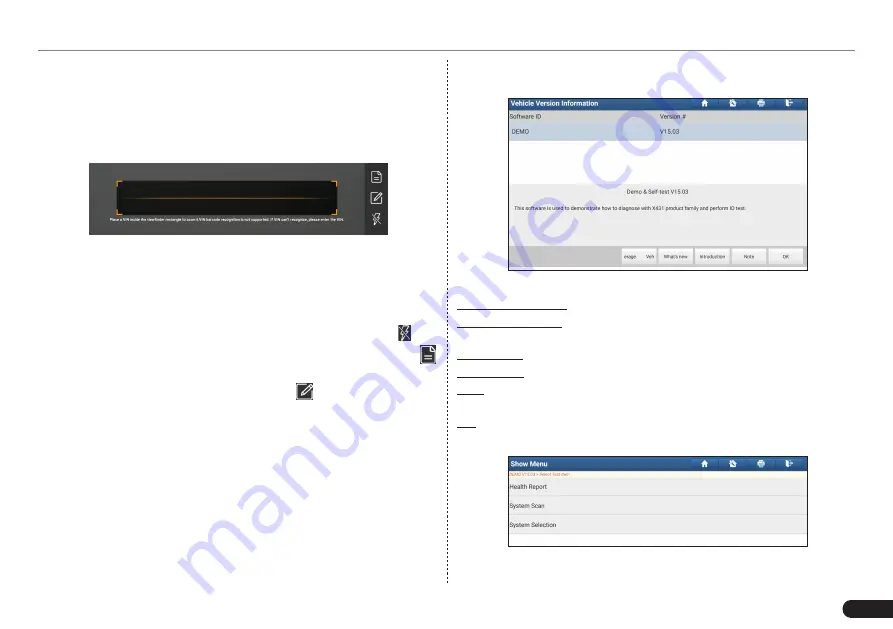
2). Select test item: Select the desired test item to proceed.
Fig. 5-16
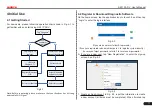
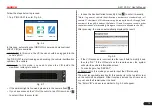
Fig. 5-12
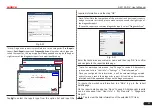
• Tap “Diagnostic” to launch the Local Diagnosis module and start
a new diagnostic session. Refer to Chapter 5.3.2 for detailed
diagnostic operations.
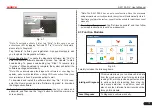
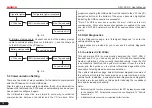
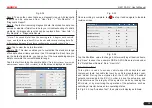
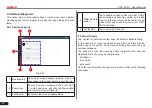
• Tap “Scan VIN”, a screen similar to the following appears:
Fig. 5-13
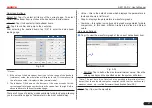
Place the VIN inside the viewfinder rectangle to scan it. The most
recognizable location for this number is in the top left corner on the
vehicle’s dashboard. Other locations include the driver’s door or post,
and the firewall under the hood.
• If the ambient light is too weak, please turn the camera flash
on.
•
If you have scanned the VIN of the vehicle, tap VIN record icon
to select it from the record list.
•
In case the handset failed to identify it, tap to enter it manually.
After scanning, the screen automatically displays the result.
• If the VIN scanned is incorrect, tap the result field to modify it and
then tap “OK”. If the VIN exists on the remote server, the system
will enter the vehicle information screen.
• To scan it again, tap “REPEAT”.
5.3.2 Manual Diagnosis
Take Demo as an example to demonstrate how to diagnose a vehicle.
1). Select diagnostic software version: Tap the “DEMO” to go to Step
2. (
*Note: If more than one version is available on this handset, it will be


