LAUNCH
X-431 PAD V
User's Manual
23
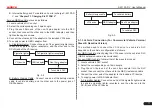
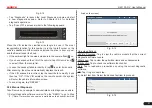
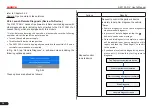
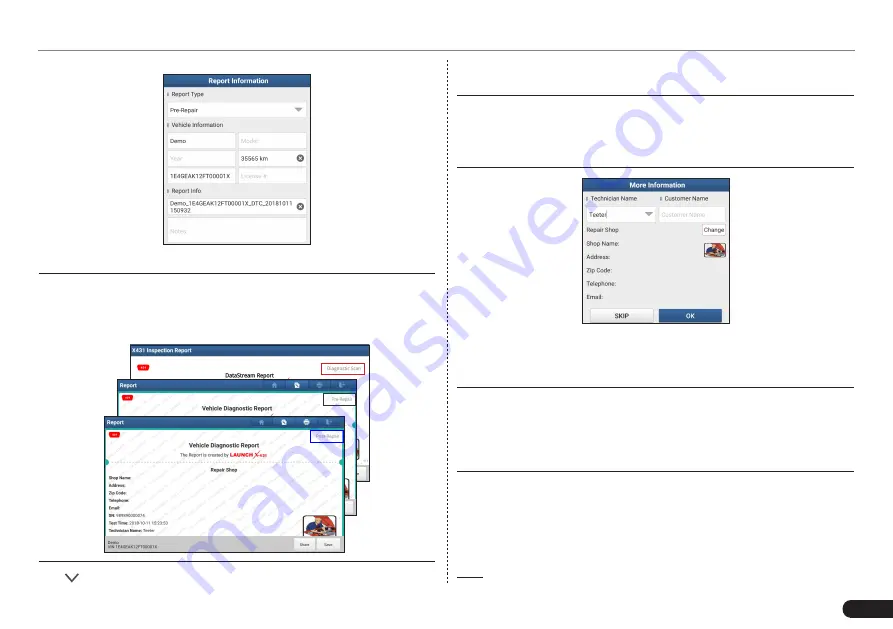
Fig. 5-20
*Note: Diagnostic report is classified into three categories:
Pre-Repair
report,
Post-Repair
report and
Diagnostic Scan
. No matter which type you
saved the report as, the report type will be appended as a tag on the upper
right corner of the diagnostic report for easier identification.
Tap to select the report type from the option list and input the
required information, and then tap “OK”.
Note:
To facilitate the comparison of the pre-repair and post-repair reports
and get accurate test result, please make sure you saved the right type of
the diagnostic report.
To save the report as a common diagnostic report, select “Diagnostic Scan”.
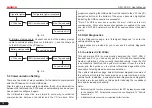
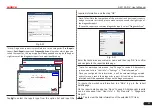
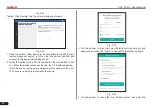
Fig. 5-21
Enter the technician and customer name and then tap “OK” to confirm
and navigate to the report details page.
*Note: For workshop information, tap “Change” to revise it. Alternatively
you can also set it in “User Info” -> “Settings” -> “Print Information”.
Once you configured the information, it will be automatically generated
every time you saved the diagnostic report. All vehicle and workshop
information will be appended as tags on the diagnostic report.
To ignore the workshop information, tap “Skip” to go to the report
details page.
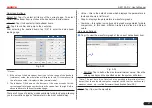
On the report details page, tap “Save” to save it. All diagnostic reports
can be accessed from “User Info” -> “My Reports” -> “Diagnostic
Report”.
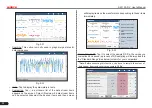
Help: Tap to view the help information of the selected DTC item.


