background image


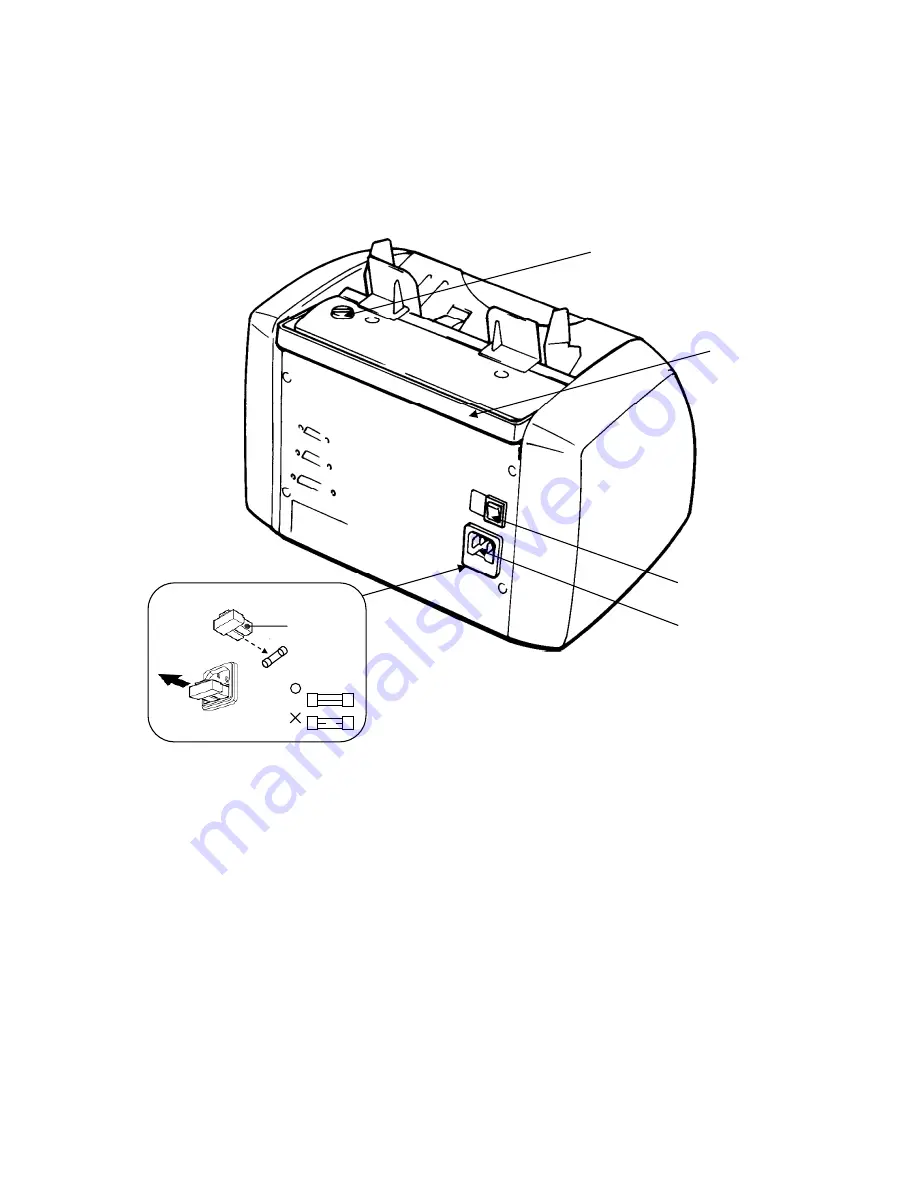
Rear View 


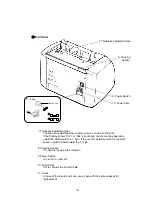
7. Thickness Adjustment Dial 

The Dial is to adjust feeding condition. Use a coin to turn the Dial. 
If the Display shows “CHn” or “dbL” error during normal counting operation, 
adjust the Dial toward the “-“ sign. If the count is performed at an inconstant 
speed, adjust the Dial toward the “+” sign. 

 
8. Carrying Handle 

It is used for carrying the machine. 

 
9. Power Switch 

It is to turn on and off. 

 
10. Power Inlet 

It is to connect the Power Cable. 

 
11. Fuses 

In case of the fuse is burnt out, use a Fuse with the same capacity for 
replacement. 
 

8. Carrying 
   Handle


7. Thickness Adjustment Dial


9. Power Switch


10. Power Inlet


11. Fuse 


Spare Fuse 

Summary of Contents for J-700 Series

Page 1: ...not be treated as household waste Instead it shall be handed over to the applicable collection point for the recycling of electrical and electronic equipment By ensuring this product is disposed of co...

Page 2: ...DESCRIPTIONS 5 3 1 Names and Functions of Parts 5 3 2 Names and Functions of Keys 7 4 MODES AND FUNCTIONS 9 4 1 Modes 9 4 2 Functions 10 5 OPERATION 14 5 1 Notes 14 5 2 Basic Operation 15 6 ACCESSORI...

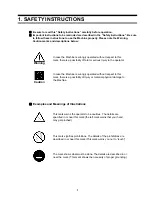
Page 3: ...njury to the operator Caution In case the Machine is wrongly operated without respect to this mark there is a possibility of injury or material physical damage to the Machine Examples and Meanings of...

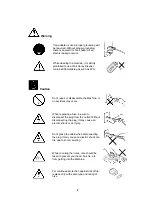
Page 4: ...mble the Machine or an accident may occur When replacing a fuse be sure to disconnect the plug from the outlet Without disconnecting the plug it may cause an electric shock or an injury Don t grasp th...

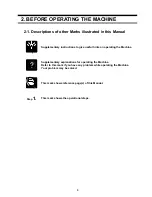
Page 5: ...y instructions to give useful hints on operating the Machine Supplementary explanations for operating the Machine Refer to this mark if you have any problem while operating the Machine Your problem ma...

Page 6: ...4 Notes...

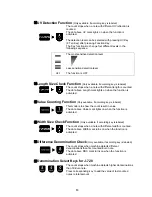
Page 7: ...Refer to Page 7 for description of each key 4 Preset Display The Preset Display shows preset number Count Mode sign and accumulated count on Add Function 5 Count Display The Count Display shows count...

Page 8: ...If the count is performed at an inconstant speed adjust the Dial toward the sign 8 Carrying Handle It is used for carrying the machine 9 Power Switch It is to turn on and off 10 Power Inlet It is to...

Page 9: ...n J700 Any Preset Number can be set with Ten Keys The setting of various functions can be made with pressing each Ten Key with yellow make after pressing Start Clear Key or Function Key Refer to Page...

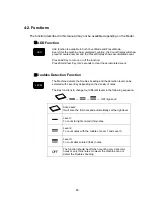
Page 10: ...count result in pieces for each denomination after counting notes in Value Mode Only for J795 Other than J700 and J710 The function of each Ten Keys with yellow mark is activated with pressing Functio...

Page 11: ...Mode or Preset Mode alternately Press Ten Keys to set any required number Press 0 to change the Mode to Count Mode VALUE Mode Normal Value Count 1 After pressing the Function Key and turn on the VALUE...

Page 12: ...t Doubles Detection Function The Machine detects the Doubles Feeding and the detection level can be selected with Level Key depending on the density of notes The Key functions to change four different...

Page 13: ...eed Country Select Function Only available if according key is labeled CS Function is the function to select the currency With selecting the currency various detection levels will be set automatically...

Page 14: ...on by Advanced MG detection system Color and Size Check Detection The count stops when machine detects different size or color than Euro notes The dot above CSD mark turns on when the function is acti...

Page 15: ...function is activated Value Counting Function Only available if according key is labeled This mode is to show the count result in value The dot above Value mark lights on when the function is activat...

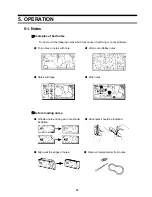
Page 16: ...may cause of jamming or count problems Torn notes or notes with hole Worn out or flabby notes Notes with tape Dirty notes Before loading notes Wrinkled note and dog ear note should be flatten Brick n...

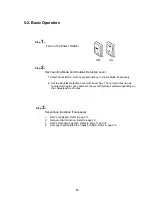
Page 17: ...Detection Level with Level Key The normal notes can be counted with Auto Level however the level should be selected depending on the characteristics of notes Step 3 Set various functions if necessary...

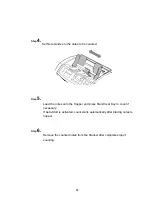
Page 18: ...Step 5 Load the notes onto the Hopper and press Start Clear Key to count if necessary If Auto Start is activated count starts automatically after placing notes to hopper Step 6 Remove the counted not...

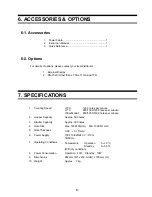
Page 19: ...notes per minute J710 800 1000 1200 notes per minute Other Model 850 1250 1500 notes per minute 2 Hopper Capacity Approx 500 notes 3 Stacker Capacity Approx 200 notes 4 Note Size Max 185X100 mm Min 1...

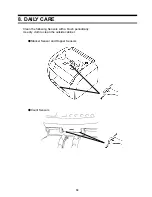
Page 20: ...18 8 DAILY CARE Clean the following Sensors with a brush periodically Use dry cloth to clean the outside cabinet Stacker Sensor and Hopper Sensors Count Sensors...

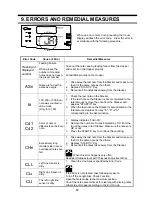
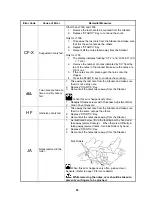
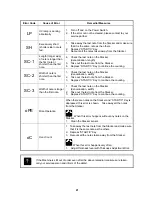
Page 21: ...ey 3 When the last note on the Stacker is accumulated to the total amount depress Ten key 8 9 or 0 corresponding to the denomination Cd 1 Cd 2 Color of note is different than the Euro note 1 Display i...

Page 22: ...e is fed 1 Take away the last note from the Stacker and make sure that it is not a dirty note 2 Depress START C Key 3 Recount all the notes taken away from the Stacker When this error happens very oft...

Page 23: ...ination width 2 Take out the last note from the Stacker 3 Depress START C Key to continue the counting SC 3 Width of note is longer than the first note 1 Check the last note on the Stacker denominatio...

Page 24: ...22 Notes...
Page 25: ...part of this manual may be reproduced without prior permission of the publisher It is to be understood that we assume no responsibility for losses lost profit opportunities or any claim from third pa...

Reviews: