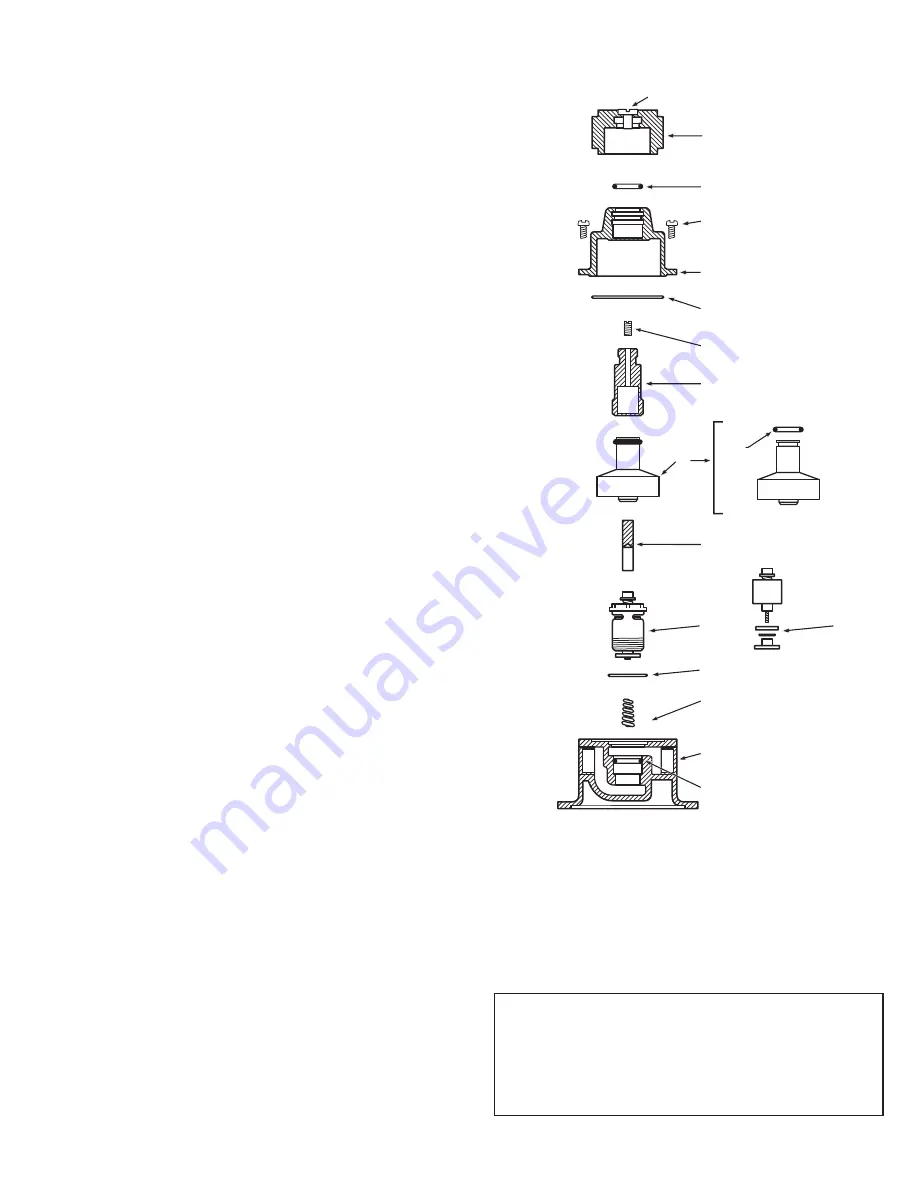
Series 61 cut away
Inspecting and Cleaning the Valve
Shut off hot and cold water supply to mixing valve.
Set mixing valve handle on maximum hot position.
Remove body screws. Turn mixing valve handle toward
“COLD” position until it forces cover off valve body.
The thermostat can now be examined.
Checking the Thermostat
If there is a question as to the thermostat being good,
hold thermostat under cold water faucet and insert an
eraser capped pencil into the center of thermostat.
Make a reference mark where pencil protrudes from
the thermostat. Now place the entire thermostat into
hot water, approximately 125°F, for about one minute.
Remove thermostat from water, examine the refer-
ence mark on the pencil again. At this temperature,
it should extend out from former position about
1
/
8
''.
If it does not, a new thermostat should be installed.
Checking the Piston and Liner
With a 1
3
/
8
″
socket (1/2
″
N.P.T.) or 1
5
/
8
″
socket (
3
/
4
″
N.P.T.) remove piston and liner assembly. Check to
see if the piston moves freely in the liner. If the pis-
ton is sticking, place the assembly in a mildly acidic
cleaner. Work the piston in the liner until free. Rinse
the assembly in water. Be sure to wear protective
gloves when cleaning the assembly. If the assembly
is corroded or pitted, it should be replaced. Check
O-ring #17 and replace if necessary.
Note:
Piston and liner assembly consists of parts
included in assembly #12. (Only available as
an assembly.)
Temperature Adjustment
Valves are normally set at the factory for 110°F maxi-
mum outlet temperature. If it is desired to change
this setting, proceed as follows:
1. Allow water to flow through the controller.
2. Remove handle screw.
3. Turn adjustment handle to maximum hot position
and hold in that position.
4. With
5
/
32
″
allen key turn adjusting screw #7 clock-
wise to reduce maximum outlet temperature and
counterclockwise to increase maximum outlet
temperature. Screw should not be turned more
than
1
/
2
turn at a time without testing outlet water
temperature.
5. When temperature is correct, replace handle screw.
Note:
If outlet temperature is to be 15°F or more
higher than that on the label, contact factory or
Lawler representative for a special thermostat.
-3-
Series 61 cut away new
9
3
4
5
6
7
8
11
12
15
17
16
10
2
1
13
14
Warning:
This product contains chemicals known to the
State of California to cause cancer and birth defects or
other reproductive harm.
(Installer: California law requires that this warning be
given to the consumer.)
For more information: www.oehha.org/prop65


