31
NOTE:
Always clean the main spool cover and trimmer head housing before reassembling the trimmer
head.
NOTE:
Always clean the trimmer head before replacing the spool.
■ Check the spool cover, spool and trimmer head housing for wear and replace parts if necessary.
Install the spool in the spool cover and replace as described in the Spool Replacement section.
NOTE:
Only use the appropriate cutting line specified in this manual.
TRIMMER HEAD REPLACEMENT
(See Fig. 44)
■ Stop the engine and remove the battery pack.
■ Place the trimmer on a flat stable surface with the trimmer head facing upward.
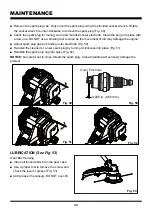
■ Insert the provided hex wrench into the hole on the flange to lock the spindle. Then rotate the
trimmer head clockwise to remove (Fig. 44).
■ To install the new trimmer head, hold the hex wrench to lock the spindle. Then rotate the trimmer
head counter-clockwise to install. Make sure the trimmer head is installed tightly.
■ Remove the hex wrench from the hole.
MAINTENANCE
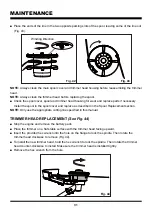
■ Place the ends of the line in the two opposite parking slots of the spool, leaving some of the line out
(Fig. 43).
Winding Direction
Fig. 42
Fig. 43
Fig. 44
Summary of Contents for NPTGSP2517A
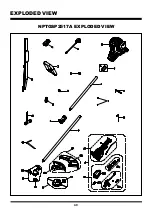
Page 40: ...40 EXPLODED VIEW NPTGSP2517A EXPLODED VIEW...
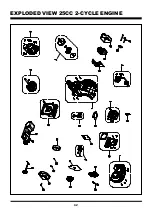
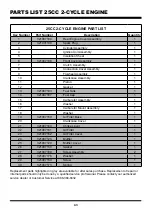
Page 42: ...42 EXPLODED VIEW 25CC 2 CYCLE ENGINE...
Page 44: ...44 NOTES...
Page 45: ...45 NOTES...
Page 87: ...87 VISTA EXPANDIDA NPTGSP2517A VISTA EXPANDIDA...
Page 89: ...89 VISTA EXPANDIDA DEL MOTOR DE 2 TIEMPOS DE 25 CC...
Page 91: ...91 NOTAS...
Page 92: ...92 NOTAS...

