A__madi4 User Guide
Version: 10.0.0/4
18/68
8. Installing the Unit
8. Installing the Unit
8.1
Checklist
To install the
A__madi4
, please complete each of the following steps:
1.
Unpack and check the contents of the shipping box. You should find:
·
1 x
A__madi4
unit.
·
2 x IEC power cables (country-specific)
·
2 x SFP optical fibre transceivers for the
ETHERNET A
ports (optional)
·
2 x SFP optical fibre transceivers for the
MADI
ports (optional)
·
19" rack-mounting kit (optional)
Please check the contents, and in the event of any transport damage, please contact your local Lawo
representative or email
..
2.
Install the frame.
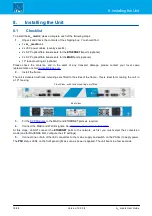
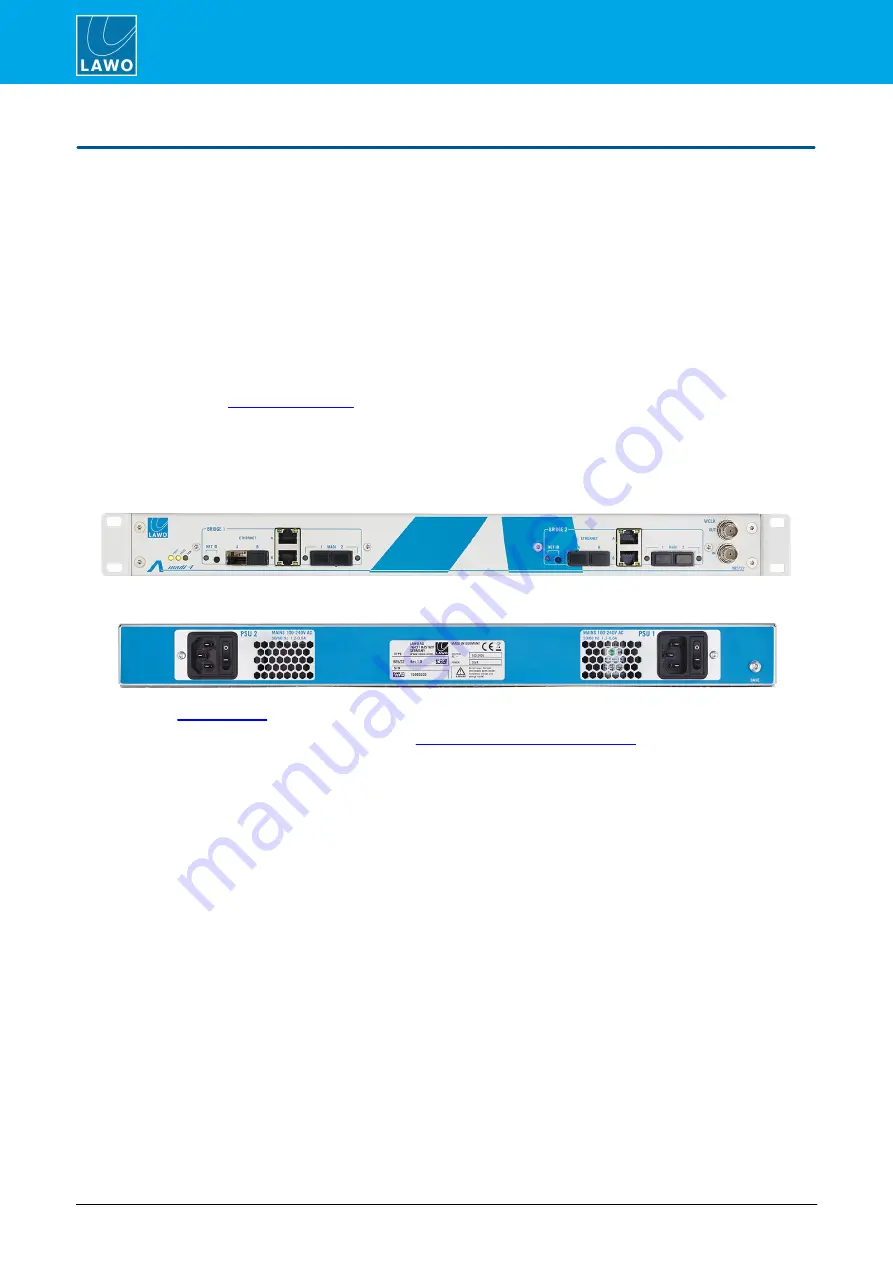
The unit is delivered with rack-mounting ears fitted to the sides of the frame - this is ideal for mounting the unit in
a 19" housing.
Front View - with rack mounting ears fitted
Rear View
3.
Fit the
to the MADI and ETHERNET ports as required.
4.
Connect the MADI and WLCK signals. See
Controls, Connectors & Indicators
At this stage, do NOT connect the
ETHERNET
ports to the network, as first you must select their conversion
mode (and for RAVENNA Net, configure their IP settings).
5.
Connect one or both of the IEC connectors to the mains supply and switch on the PSU(s) to apply power.
The
PSU
status LEDs on the front panel light as soon as power is applied. The unit boots in a few seconds.


