


crystal User Manual
Version: 6.6.0/2
28/459
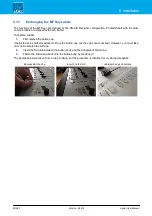
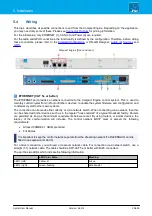
5. Installation
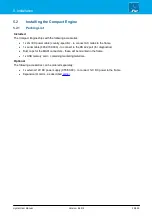
5.2.4
Adding MADI Ports
The Compact Engine is delivered with one of the following MADI boards:
·
4-port MADI
- 4 external MADI ports.
·
2-port MADI
- 2 ex 1 internal MADI port.
·
0-port MADI
- 1 internal MADI port.
The internal port is required if you wish to install the internal MADI bridge option (for 64-channel RAVENNA).
Note that the 4-port board does not have an internal MADI port and, therefore, cannot support this option.
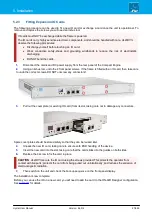
The following procedure can be used fit a new MADI board or exchange a board once the unit is operational.
To remove and replace the screws you will need a Torx T10 driver and imbus tool.
This procedure must
NOT
be performed while the frame is powered.
The Compact Engine carries highly sensitive electronic components, and should be handled with care.
ALWAYS
observe the following procedures:
·
Discharge yourself before touching an IO card.
·
Wear conductive safety-shoes and grounding wristbands to reduce the risk of electrostatic
discharging.
·
DO NOT bend the cards.
1.
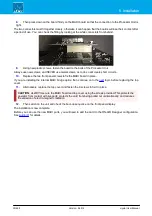
Disconnect the mains and DC power supply from the rear panel of the Compact Engine.
2.
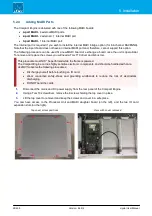
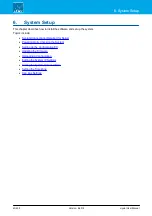
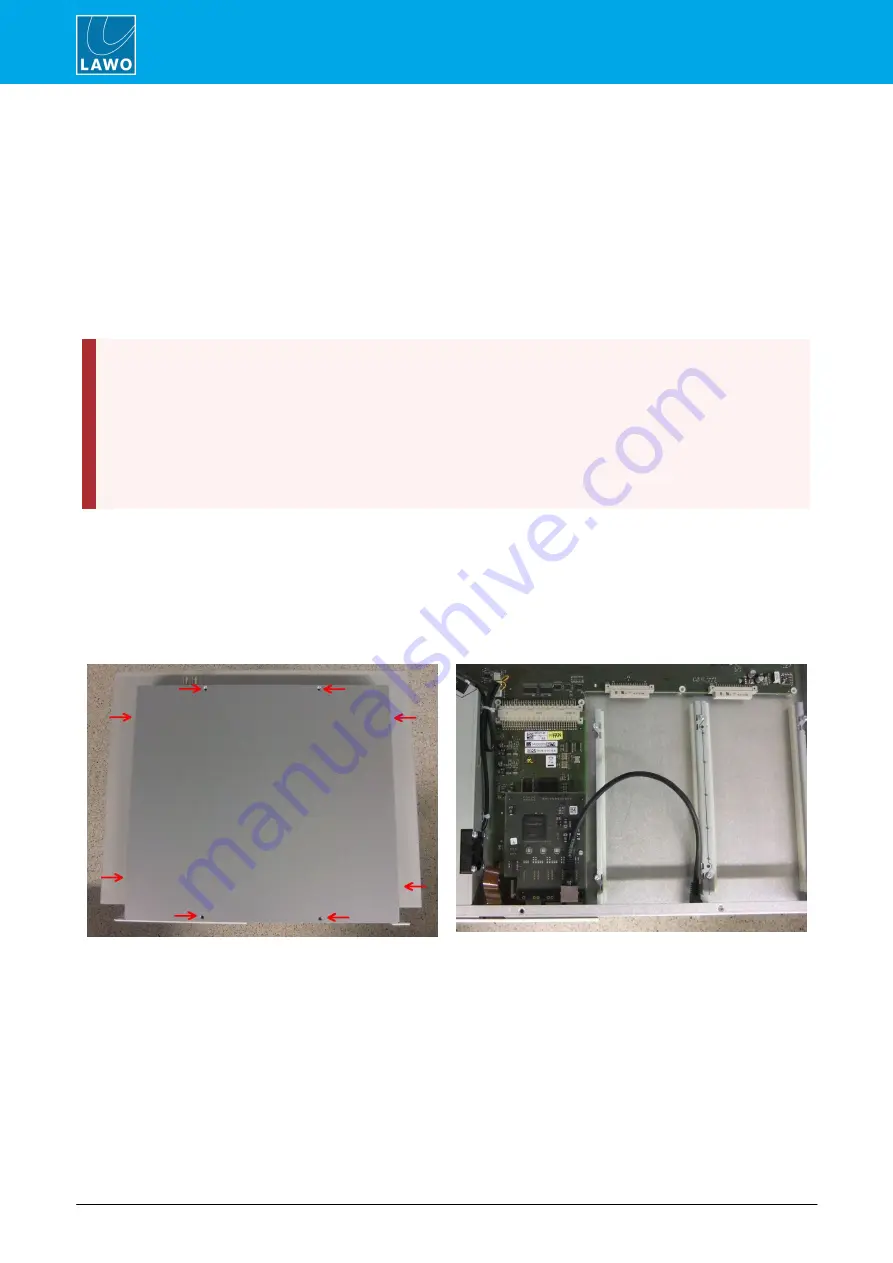
Using a Torx 10 screwdriver, remove the 8 screws holding the top cover in place.
3.
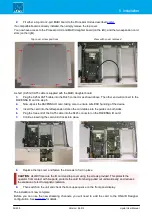
Lift the top cover to remove it and keep the screws and cover in a safe place.
You now have access to the Processor Unit and MADI daughter board (on the left), and the two IO card
expansion slots (on the right).
Top cover screw positions
View with cover removed


