126
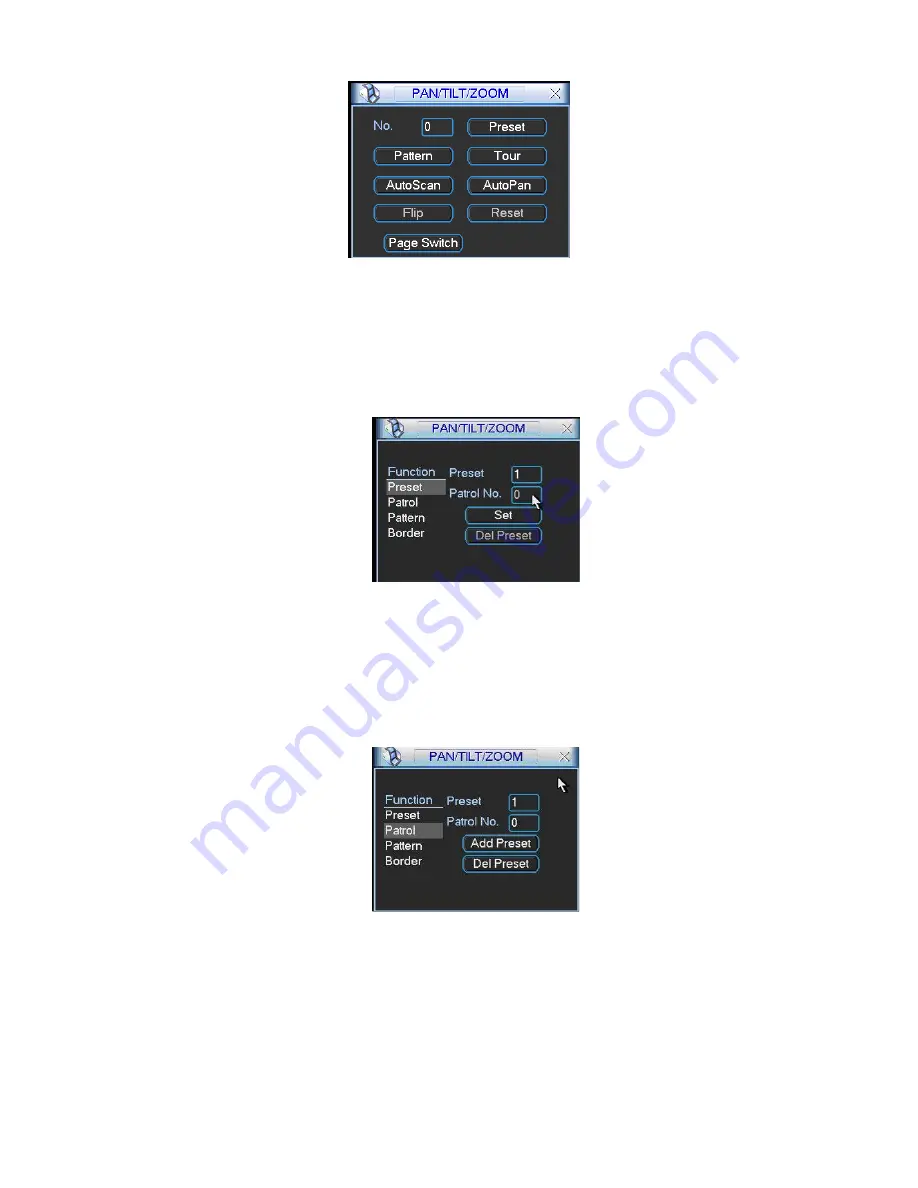
Figure 6-6
6.2.1 Preset Setup
Note:
The following setups are usually operated in the
X405H405H405H
Figure 6-2
X
,
X406H406H406H
Figure 6-5
X
and
X407H407H407H
Figure 6-6
X
.
In
X408H408H408H
Figure 6-2
X
, use eight direction arrows to adjust camera to the proper position.
In
X409H409H409H
Figure 6-5
X
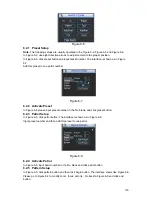
, click preset button and input preset number. The interface is shown as in
X410H410H410H
Figure
6-7
X
.
Add this preset to one patrol number
Figure 6-7
6.2.2 Activate Preset
In
X411H411H411H
Figure 6-6
X
please input preset number in the No. blank, and click preset button.
6.2.3 Patrol Setup
In
X412H412H412H
Figure 6-5
X
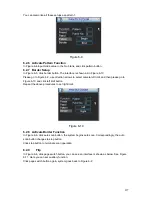
, click patrol button. The interface is shown as in
X413H413H413H
Figure 6-8
X
.
Input preset number and then add this preset to one patrol.
Figure 6-8
6.2.4 Activate Patrol
In
X414H414H414H
Figure 6-6
X
, input patrol number in the No. blank and click patrol button
6.2.5 Pattern Setup
In
X415H415H415H
Figure 6-5
X
, click pattern button and then click begin button. The interface shows like
X416H416H416H
Figure 6-9
X
.
Please go to
X417H417H417H
Figure 6-2
X
to modify zoom, focus, and iris. Go back to
X418H418H418H
Figure 6-9
X
and click end
button.
Summary of Contents for DH-D20004
Page 46: ...36 Figure 2 15 ...
Page 63: ...53 1U series 1 5U Series ...
Page 64: ...54 2U Series Figure 3 6 ...
Page 85: ...75 Figure 4 28 Figure 4 29 Figure 4 30 ...
Page 93: ...83 Figure 4 46 ...
Page 133: ...123 Figure 5 66 ...
Page 138: ...128 Figure 6 11 ...
Page 200: ...190 Samsung HA101UJ CE 1T SATA ...


