6. Getting Started
After connecting proper video & audio cables to your TV set, now you
can start to operate step by step.
Power on
Power on your TV set first
Connect to TV set
Power on by pressing
“POWER”
button or by remote control
“POWER”
button
Press
TV-OUT
button on the
topside
of remote control to select
proper video output to current TV set connection. Repeat
pressing
TV-OUT
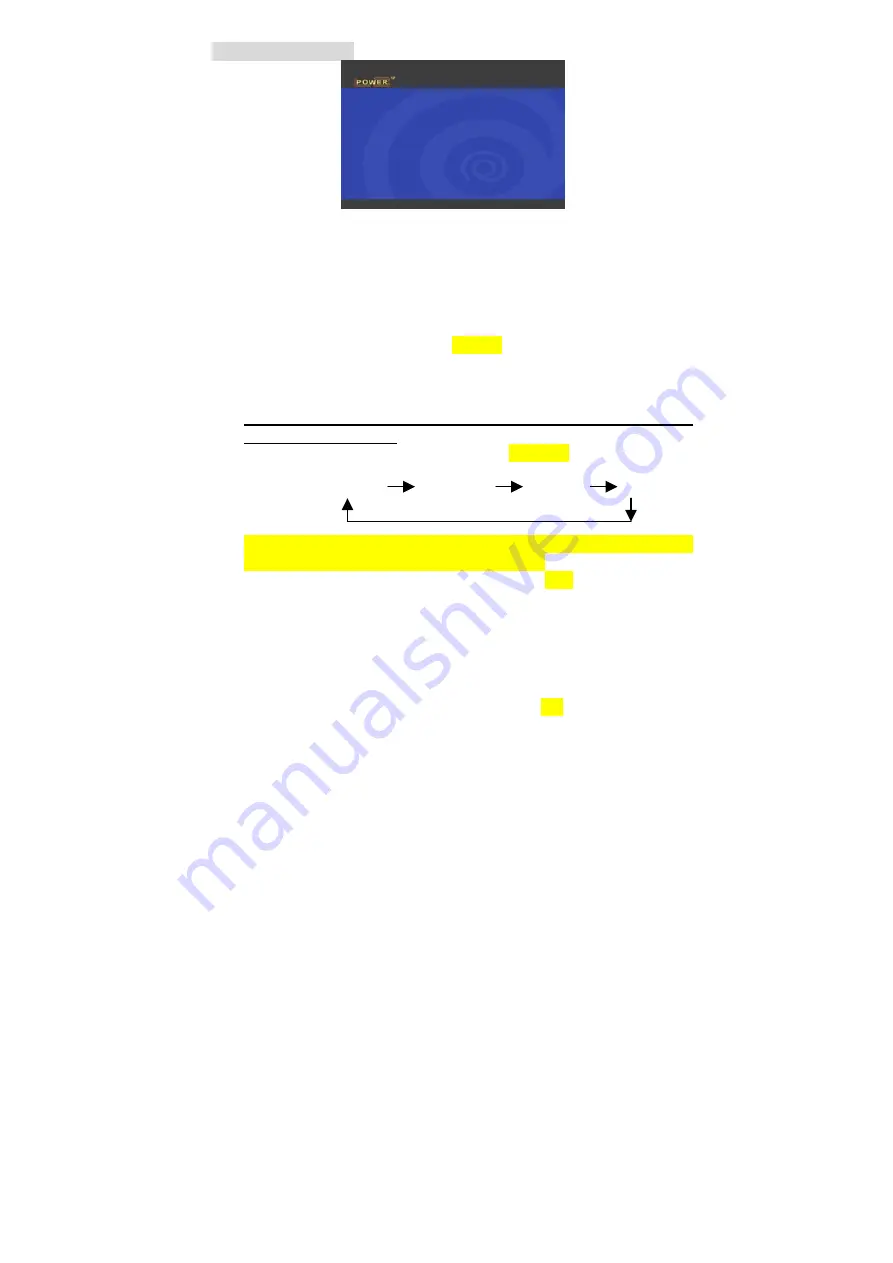
button until TV screen appears proper Main
Menu screen above.
Note: TV-OUT button can be pressed only at Main Menu but
not any other Menu
When pressing
TV-OUT
button, it
switches
video output in
following sequence.
S-Video/Composite YCbCr YpbPr VGA
When powering on for the first time, proper Main Menu screen
on TV set may not appear.
This is because
the default setting of
video output (Composite) may not match
with
your current TV
setting. Before going to Setup Menu to adjust proper video
output, pressing
TV-OUT
button is the best way to search
available video output.
Once Menu screen is properly shown on TV set, press SETUP
button to adjust proper
TV type (NTSC or PAL)
and
Video
Output (S-Video/Composite, YCbCr , YPbPr, VGA)
If the TV is still blank screen after finishing
the
above installation,
be sure to set the TV to correct video input type (AV Mode) and
channel. Refer to the TV manual for details.
If the TV is black and white, press
TV-OUT
button to adjust
proper video output mode.


