background image


11 


Chapter 3 Driver Installation 

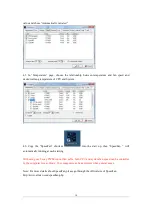
3.1 Power up message 


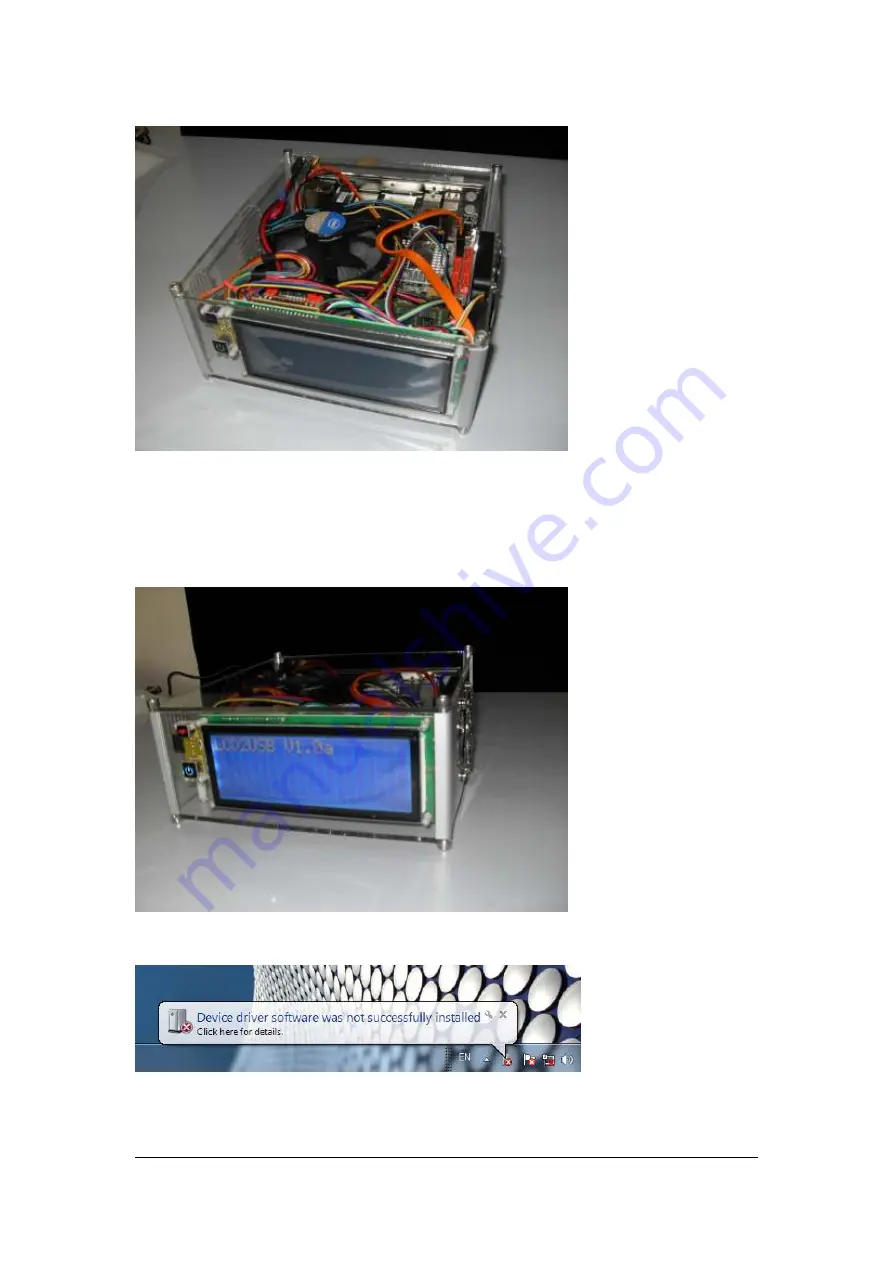
3.2 Error message may be shown on your screen 


3.3 Copy the driver folder to any driver or desktop of your computer 

3.4 Go to “Control Panel” 

Summary of Contents for I2004AB-M1

Page 1: ...M1 Perspex mini ITX case Designed for Intel CoreTM i3 5 7 Processor with USB interface Big 20x4 LCD module White characters with blue background User Manual Website http www lcdmodkit com Rev 1 01 Ma...

Page 2: ...tion Case Case Color No color crystal clear Acrylic Corner Stand 72mm height Silver White Surface treated sandblasted aluminium Foot Stand M5 Screw 4 5mm height Dimensions 190 x 199 x 78mm WxLxH box h...

Page 3: ...5 x 43 mm Work with Lcd Smartie lcd4linux and LCDProc Opearting System Linux Windows 98 XP 7 32 64 bits USB connection Internal USB connector Chapter 2 Hardware Setup 2 1 Installing corner stands to t...

Page 4: ...lear plate on the top of hard disk and install screws If you only use one hard drive please cover the exhausted holes of the another drive bay 2 3 Installing nylon studs on the bottom crystal clear pl...

Page 5: ...5 2 5 Connecting SATA data and power cables 2 6 Installing Mainboard and power cable and Wifi connector if you have...

Page 6: ...6 2 7 Exhausted fan installation 2 8 Connecting ON OFF switch cable to front panel...

Page 7: ...7 2 9 Main board side 2 10 Connecting internal USB cable of front panel LCD to USB connector of motherboard...

Page 8: ...8 D USBP D USBP 2 11 Connecting the 2 way PWM fan cable to CPU fan connector of motherboard...

Page 9: ...9 2 12 Connecting the 2 way PWM fan cable 4 cable one for detecting the CPU fan speed to CPU fan 2 13 Connecting the 2 way PWM fan cable 3 cable one for controlling speed only to exhaust fan...

Page 10: ...10 2 14 Installing the side and front panel 2 15 Installing the top panel...

Page 11: ...11 Chapter 3 Driver Installation 3 1 Power up message 3 2 Error message may be shown on your screen 3 3 Copy the driver folder to any driver or desktop of your computer 3 4 Go to Control Panel...

Page 12: ...12 3 5 Go to System and Security 3 6 Go to Device Manager...

Page 13: ...13 3 7 LCD2USB with right click the mourse and Update Driver Software 3 8 Choose Browse my computer for driver software...

Page 14: ...14 3 9 Find out the driver folder you copied before 3 10 Install this driver anyway...

Page 15: ...15 3 11 Close it Chapter 4 Front Panel LCD Software Installation 4 1 Unzip the lcd_smartie_v5 4 to any driver any folder you like 4 2 Run LCDSmartie 4 3 Set the display plugin to LCD2USB dll in setup...

Page 16: ...ast and brightness of backlight Note For more details about LCDSmartie please go through the official site of LCDSmartie http lcdsmartie sourceforge net Chapter 5 SpeedFan Software Installation 4 1 In...

Page 17: ...the SpeedFan 4 42 to any driver any folder you like 4 2 Run SpeedFan 4 3 Choose Automatic fan speed and then click into Configure 4 4 In Speeds page chosse the CPU and system fan and set their minimum...

Page 18: ...SpeedFan shortcut into the start up then SpeedFan will automatically running at each starting With using our 2 way PWM control fan cable both CPU and system fan speed can be controller by the compute...

Reviews: