22
3. Roll the belt off of the pulleys and install the new belt.
4. Replace the V-belt cover and re-attach the spark plug wire.
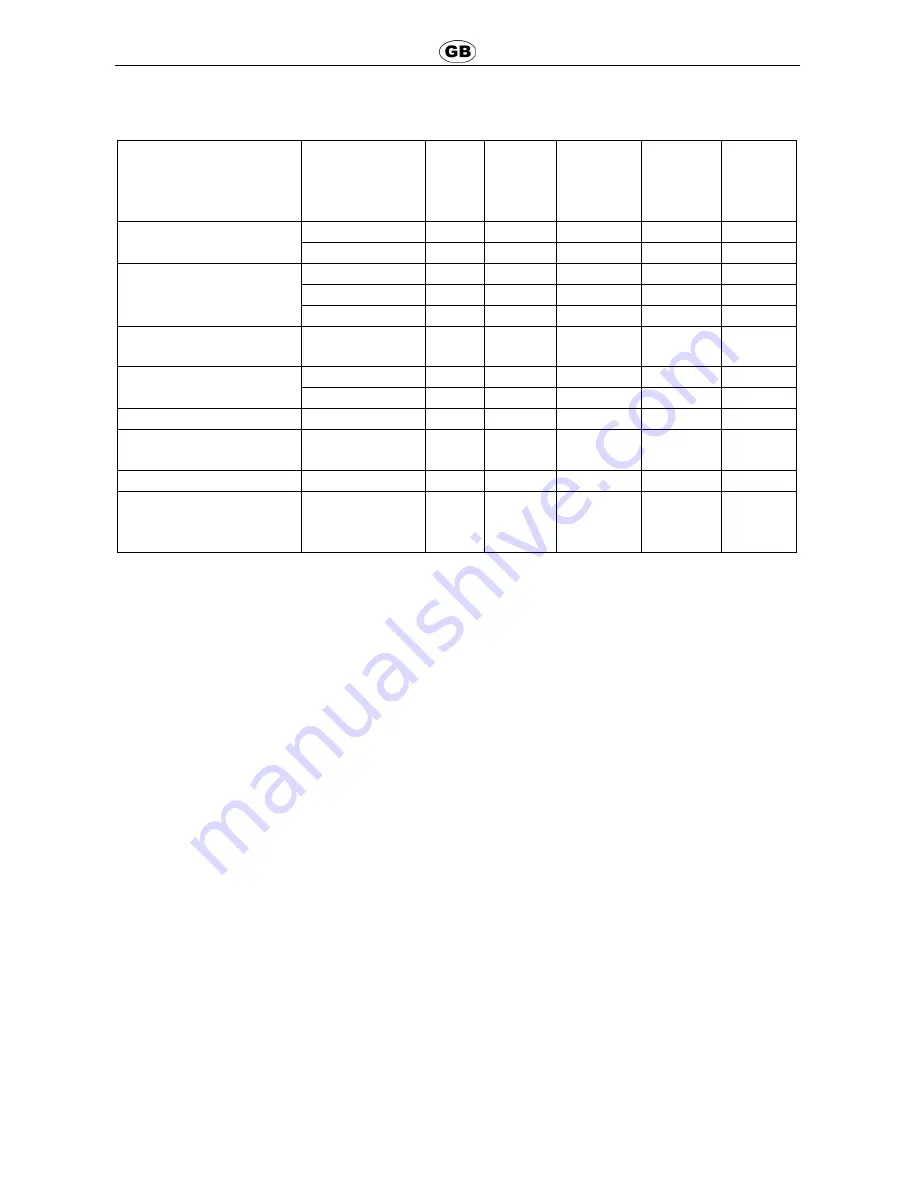
PIECES
ACTION
Each
use
First
month/
20
hours
First 3
months/
50
hours
First 8
months/
100
hours
Each
year/
300
hours
Engine oil
Level test
9
Change
9
9
Air filter
check
9
Cleaning
9
Replace
9
Tension transmission
belt
Cleaning and
adjustment
9
9
Spark plug
Adjustment
9
Replacement
9
Muffler Cleaning
9
Fuel sediment
deposits
Cleaning
9
Filter and fuel tank
Cleaning
9
Fuel inlet tube
Check and
replace if
necessary
9
11. STORAGE
- When storing engine for more than 30 days:
a)
Store in a dry and clean area.
b)
Run engine until fuel tank is empty and engine stops or add gasoline preservative and
running engine after adding for several minutes to circulate preservative.
1)
Place the chipper/shredder in a dry, level area. If the chipper/shredder is tipped it may
leak oil and gas.
2)
Drain all the fuel from the fuel tank and the carburetor ensure that all the fuel has been
removed.
3)
Change engine lubrication oil if necessary.
4)
Clean exterior surfaces of the engine.
5)
Do not store the chipper/shredder near an ignition source, such as wood stove, gas or
electric heater, or an appliance or heater with a pilot light.
6)
Remove the spark plug wire to prevent unauthorized starting.
7)
Store the chipper/shredder in a well ventilated area.
DO NOT store the chipper/shredder in an area that will allow toxic gas fumes into areas
inhabited by humans or animals.
8)
Close the discharge chute deflector and place the covers over the hopper and the
funnel to prevent objects or critters from getting into the machine.
9)
Cover engine well to prevent dust.
10)
Keep the tool away from children.
- When the machine is stopped for servicing, inspection, or storage, or to change an accesory,
shut off the power surce, disconnect the spark plug wire from the spark, make sure that all
Summary of Contents for LE56196-76
Page 2: ...1 3 2...
Page 3: ...4 5 6 7 8 9 STARTER ROPE...
Page 4: ...THROTTLE HIGH DOWN 10 11 12 1 AIR LEVER HIGH DOWN 12 2 13...
Page 41: ...37 1 O 2...
Page 43: ...39 3 600 min 1 70 Kg 2 l 0 6 l 95 EN ISO 3744 1995 96 dB A EN ISO 180 11201 1995 110 dB A 4 10...
Page 44: ...40 5...
Page 45: ...41 6 6 1 Fig 2 6 2 Fig 3 Fig 4 Fig 5 6 3 Fig 6 6 4 7 20W 40 0 6L Fig 8...
Page 46: ...42 85 3 6L 8 1 On Off ON 2 CLOSE Fig 9 3 Fig 10 4 Fig 11 5 OPEN DOWN 1...
Page 47: ...43 1 3 2 DOWN ON OFF OFF OFF 9 1 2 3 4 5 6 7 1 2 3 4 5...
Page 48: ...44 6...
Page 49: ...45 10 Fig 12 1 2 3 4 5 Fig 13 1 2 3 4 1 20 3 50 8 100 300 z z z z z z z z z z z...
Page 50: ...46 z z z 11 30 1 2 3 4 5 6 7 8 9 10...
Page 51: ...47 12...
Page 53: ...49 2014...
Page 54: ...9 www dunsch com...


