Installation instructions
Mounting
Page 10 of 25
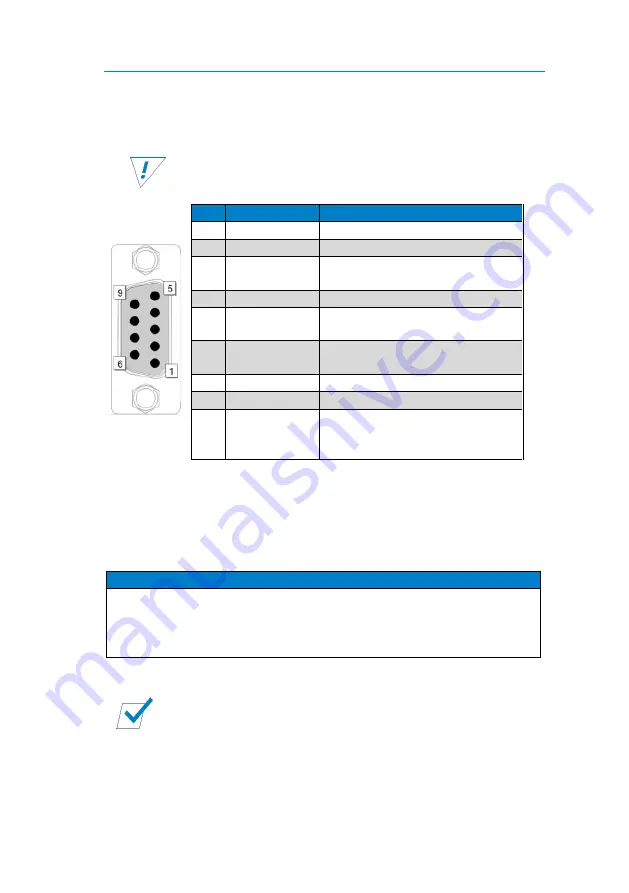
Mounting the D-Sub Data Adapter
To mount the D-Sub data adapter, observe the following instructions:
You need an H07V-K or equivalent electrical cable with a
cross-section of 1 mm² and, if necessary, a fuse holder.
Pin Item
Use
1
Single wire
Data transmission
2
CAN-Low
Software update
3
GND
Ground connection for
accessories
4
+12 V*
+12 V (active, if LPS active)
5
Input 2
External switching signal
(switching the inverter)
6
Output 1
CDR connection (jumpstart
function)
7
CAN-High
Software update
8
Output 2
Signal output**
9
Input 1
Activation of DC input after 10 s
connection D+ signal (terminal
15/terminal 61)***
* From hardware 2.02 (up to hardware 2.01: GND (ground))
** can be parametrised accordingly
*** Allocation necessary for installation at DC input
9
Mounting
To mount the device, perform the following steps:
NOTICE
Choose a cool, dry and well-ventilated mounting site.
Mount the device on a flat surface.
Do not mount the device directly next to or above batteries or any
flammable materials
1.
Fasten the device to the mounting location with screws on the underside
of the device or with the LPS mounting plate (optional accessory).
The device is mounted.
Summary of Contents for LPS 1212
Page 27: ......


