OPERATION
SECTION 3
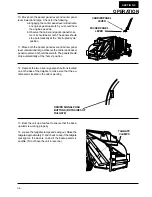
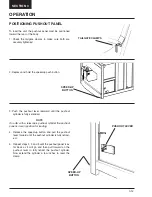
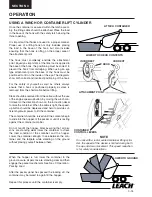
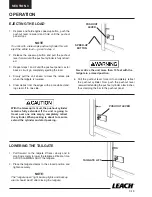
PUSHOUT LEVER
TAILGATE LIFT
PUSHOUT
LEVER
SPEED-UP
BUTTON
EJECTING THE LOAD
1. Depress and hold engine speed-up button, push the
pushout lever rearward and hold until the pushout
panel stops.
NOTE
On units with a telescopic pushout cylinder this will
eject the entire load — go on to step 4
2. Release the speed-up button and pull the pushout
lever forward until the pushout cylinder is fully retract-
ed.
3. Repeat steps 1 and 2 until the pushout panel is as far
back as it will go; completely ejecting the load.
4. Slowly pull the unit ahead to clear the refuse pile
when the tailgate is lowered.
5. Clear debris from the edges with a pole while stand-
ing clear off to one side.
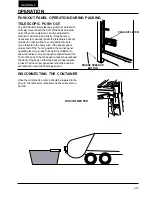
With the telescopic circuit, the pushout cylinder
remains fully extended. If the unit is going to
travel over one mile empty, completely retract
the cylinder. When packing is about to resume
extend the cylinder and start packing.
LOWERING THE TAILGATE
1. Pull forward on the tailgate lift lever slowly and in
small increments to lower the tailgate a little at a time.
AVOID SLAMMING SHUT the tailgate.
2. Place the tailgate clamps in the closed position and
tighten securely.
NOTE:
The “tailgate open” light, backup lights and backup
alarm should be off after closing the tailgate.
Never drive the unit more than 10 feet with the
tailgate in a raised position.
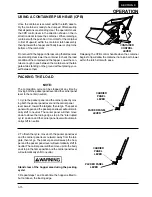
6. Pull the pushout lever forward to completely retract
the pushout cylinder. Now push the pushout lever
rearward extending the pushout cylinder a few inches,
thus clamping the bar to the pushout panel.
3-18
Summary of Contents for 2R-II
Page 1: ...2RII PACKMASTER OPERATORS MANUAL Over Serial Number 16000 BUILDING THE BEST...
Page 2: ......
Page 11: ...1 6 SAFETY PRECAUTIONS SECTION 1 1 4 2 5 6 3 7 8 9 10 7 7 9 1 8 4 5 2 6 10 1 3 1 6...
Page 12: ...SAFETY PRECAUTIONS SECTION 1 2 1 3 4 5 1 2 3 4 5 1 7...
Page 14: ...SAFETY PRECAUTIONS SECTION 1 11 12 13 14 15 16 17 18 19 20 21 22 23 1 9...
Page 16: ...SAFETY PRECAUTIONS SECTION 1 1 11...
Page 17: ......
Page 25: ......
Page 27: ...OPERATION SECTION 3 LOCATION OF OPERATING CONTROLS 1 2 3 8 9 10 11 12 7 4 5 6 7 8 3 2...
Page 46: ......
Page 48: ......
Page 49: ......


