108 Service & Repair
4.
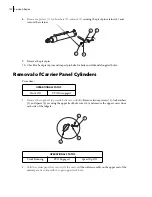
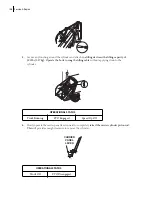
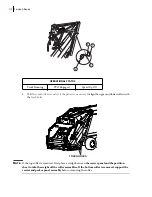
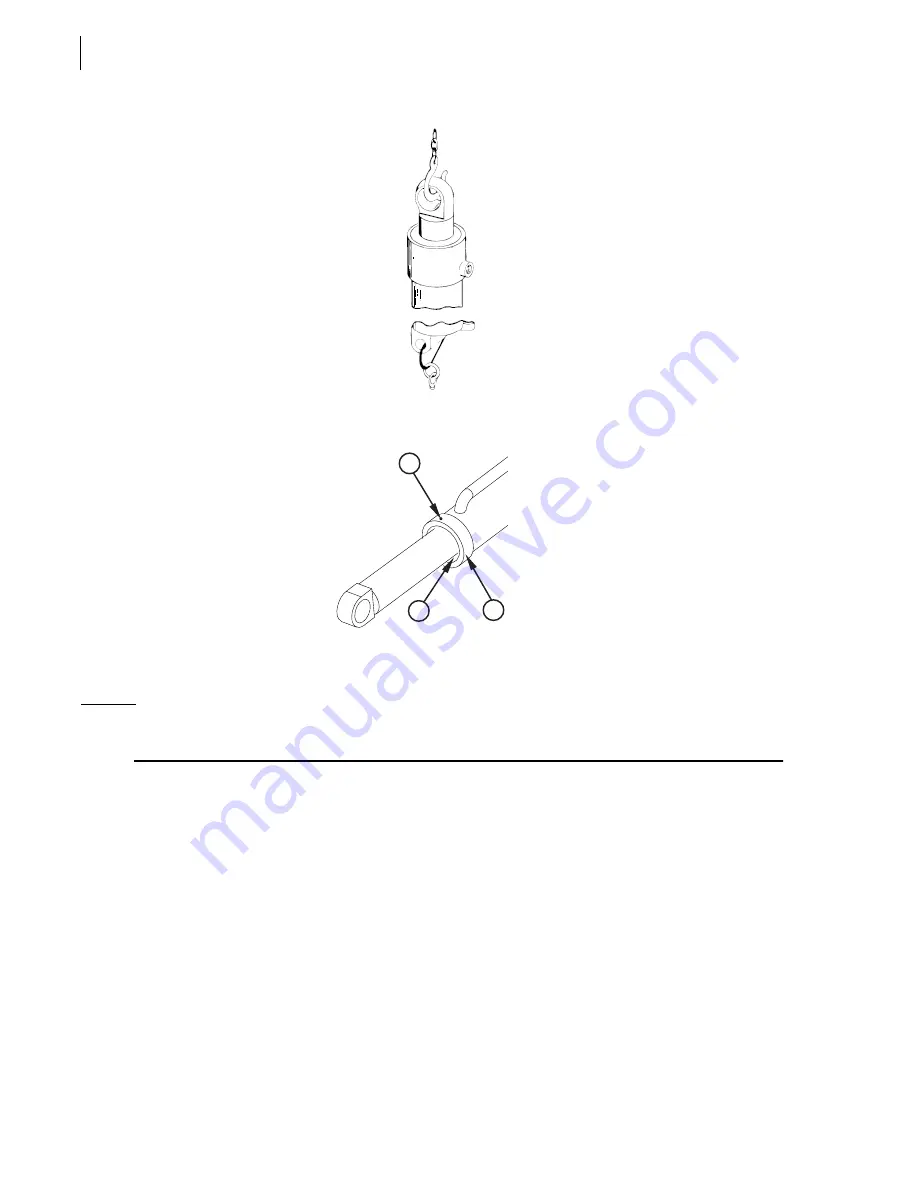
Remove the set screw (1) securing the gland nut
(2) to the gland (3).
5.
Slowly operate the hoist to carefully pull the piston rod assembly out of the cylinder.
6.
Disassemble the cylinder and install replacement part(s).
N
OTE
:
During disassembly note the condition of each part as
it is removed to aid in diagnosing. Note
the position of
each part as it is removed to aid in reassembly.
Inspection and Replacement of Operating
Cylinders
For these tasks, apply the following procedure:
1.
Carefully and thoroughly inspect the inside of the
cylinder for cracks, scoring or uneven wear.
Check
all parts for damage.
2.
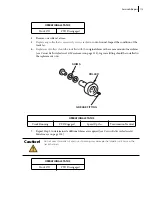
A new rod wiper (1), rod seal (2), o-ring and back
up ring (3), seal (4), wear rings (5) and piston
seal (6) must be installed any time the cylinder is disassembled. Pay particular attention to the
way parts are positioned for correct assembly. Parts that must be replaced together are available
as a repair kit
from your authorized Leach distributor.
1
2
3
Summary of Contents for 2R-III
Page 1: ...2R III MAINTENANCE MANUAL...
Page 2: ......
Page 3: ...2R III MAINTENANCE MANUAL...
Page 5: ......
Page 6: ......
Page 20: ...10 Introduction...
Page 42: ...32 Safety...
Page 58: ...48 Preventive Maintenance Figure 5 1 Hydraulic tank w return filter 1 2 3 4 5 6 7 8...
Page 66: ...56 Preventive Maintenance...
Page 102: ...92 Troubleshooting...

