9. PICTURE DISPLAY
74
9.6.1
Selecting the Display Size
To select the picture display size, follow the procedure shown below.
Regardless of the setting made here, the picture is displayed using the FIT option on the
thumbnail and multi-screen displays.
This setting does not appear in 3D assist mode (option). However, when PICTURE FORM
is set to AGLPH CL, AGLPH MO, CNVRGNCE, OVERLAY, or FLICKER in 3D assist mode
(L/R DUAL), you can only select FIT or REAL.
For information on the PICTURE FORM setting, see section 10.1, “Selecting the Display Format.”
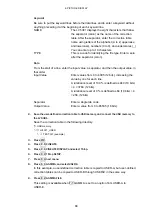
Procedure
PIC
→
F•4 DISPLAY
→
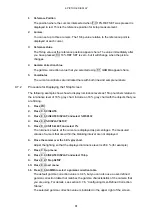
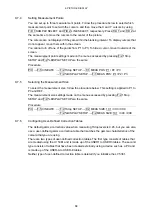
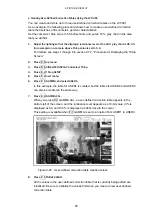
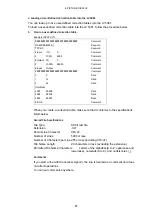
F•1 SIZE: FIT / REAL / X2 / X4 / FULL FRM / FUL SCRN
Settings
FIT:
The picture size is adjusted to the most suitable size for the screen.
REAL:
A single sample of the video signal is displayed with a single pixel on the
screen.
The marker and line select features cannot be used.
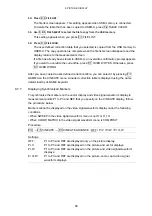
You can adjust the picture position by using H POS and V POS.
This setting cannot be selected when D_LINK FORMAT is set to YC10bit.
X2:
A single sample of the video signal is displayed with four pixels (two
horizontal and two vertical pixels) on the screen.
The marker and line select features cannot be used.
You can adjust the picture position by using H POS and V POS.
This setting cannot be selected when D_LINK FORMAT is set to YC10bit.
X4:
A single sample of the video signal is displayed with 16 pixels (4 horizontal
and 4 vertical pixels) on the screen.
The marker and line select features cannot be used.
You can adjust the picture position by using H POS and V POS. (See the next
setting.)
This setting cannot be selected when D_LINK FORMAT is set to YC10bit.
FULL FRM: A single frame, including the blanking interval, is displayed.
The marker and line select features cannot be used.
FUL SCRN: When the input signal is SD, the picture is displayed on the whole screen.
When the signal is HD, the center of the picture is displayed on the entire
screen.
The marker and line select features cannot be used.
This setting cannot be selected in simultaneous input mode.


