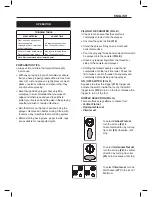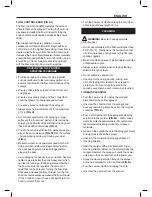
FIG. S
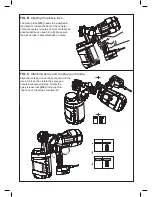
Filter
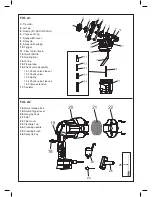
FIG.S1
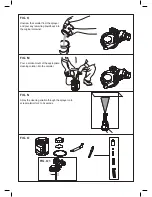
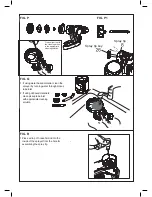
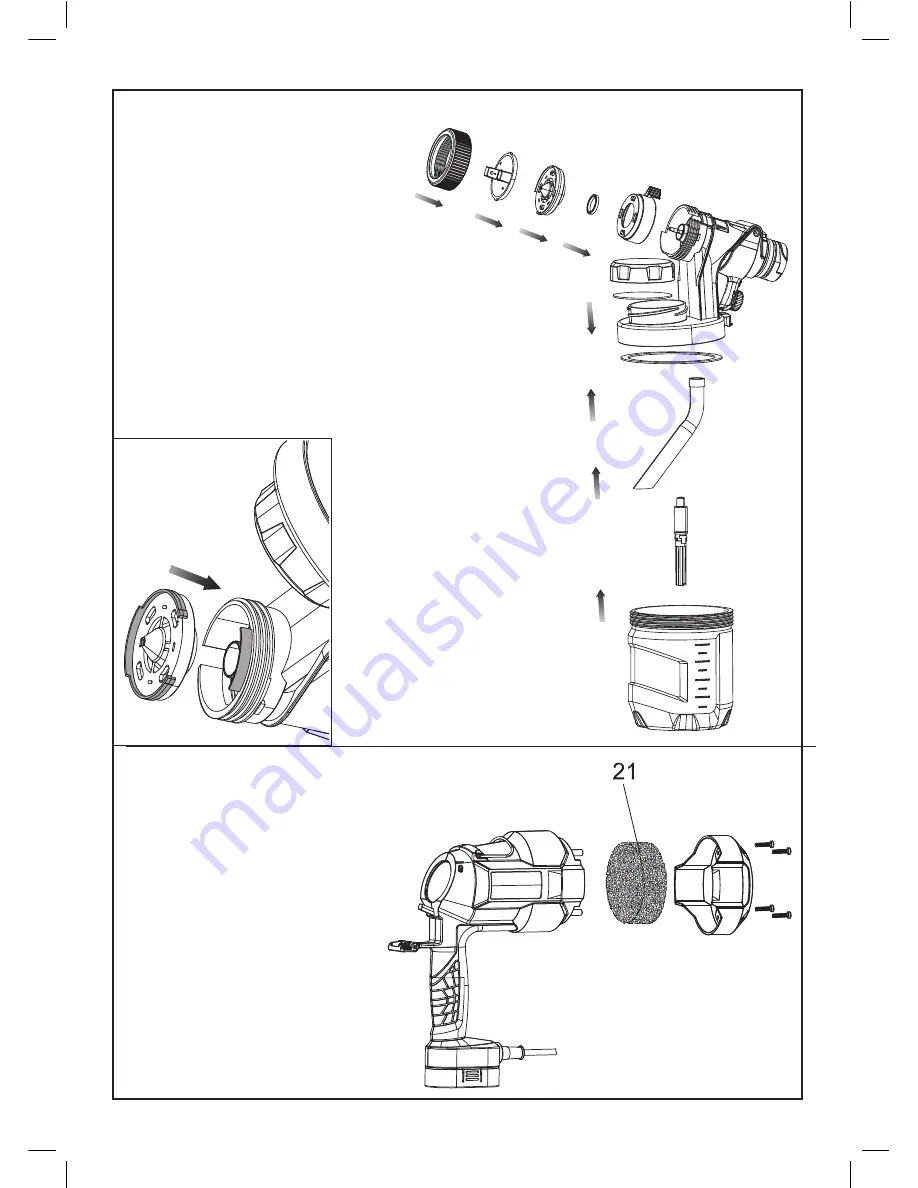
Reassemble sprayer
Note: Spray nozzle can only be assembled in
one direction that the notch of the nozzle(#5)
must align with the skirt on spray unit
assembly.
Note: The spray tip must be assembled in
the sprayer with the bumps on the spray tip in
vertical direction
Note: Assemble the pickup tube(#15) and check
valve (#16) by firmly pushing them onto the inlet
on the sprayer.
Put all the accessories back into space.
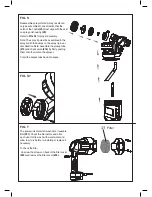
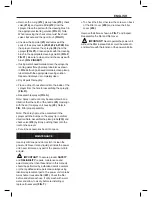
FIG.T
The power unit contains A washable / reusable
flter (#21). Check the flter before and
after each use. If dirty, wash with warm water
and allow to air dry before re-installing or replace
if necessary
To check the filter,
Unscrew the screws on back
of the filter cover (#22)
and remove the filter cover(#22).
housing(#09). Refer to Fig. S1 for proper
FIG. S
Reassemble sprayer Note: Spray nozzle can
only be assembled in one direction that the
notch of the nozzle (#5) must align with the skirt
on spray unit housing (#9).
Refer to FIG. S1 for proper assembly.
Note: The spray tip must be assembled in the
sprayer with the bumps on the spray tip in ver-
tical direction Note: Assemble the pickup tube
(#15) and check valve (#16) by firmly pushing
them onto the inlet on the sprayer.
Put all the accessories back into space.
FIG. T
The power unit contains A washable / reusable
flter (#21). Check the flter before and after
each use. If dirty, wash with warm water and
allow to air dry before re-installing or replace if
necessary.
To check the filter
Unscrew the screws on back of the filter cover
(#22) and remove the filter cover (#22).
FIG. S1
Filter

