Installation Steps
:
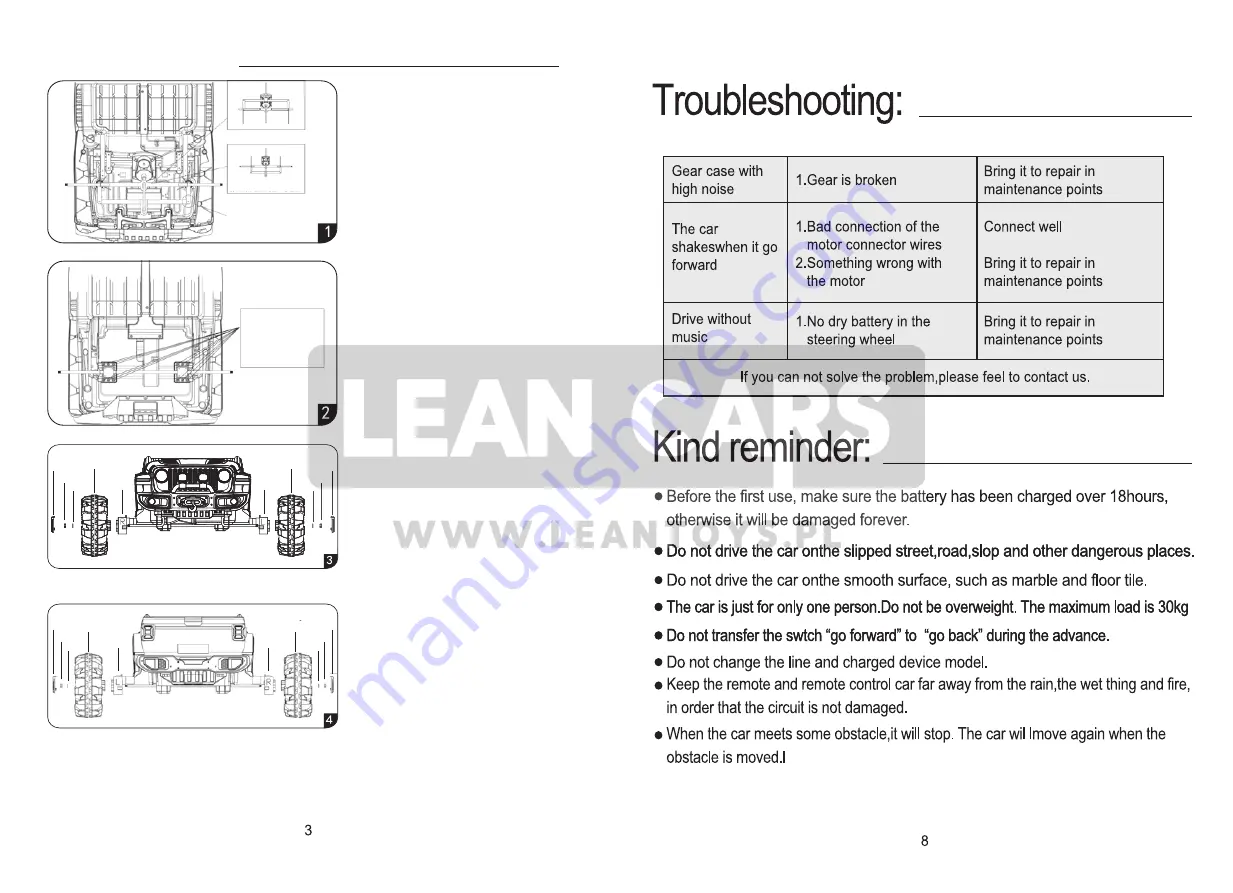
Front axle configuration diagram
Front axle assembly adjustment diagram
After the adjustment, insert a 5*12MM screw
into the hole at the joint of the steering silce
and lock it with M5 locknut to ensure that
the steering joint can rotate easily from
left to right .
1.Adjust the front axle
a.After the adjustment, insert a 5*12MM
screw into the hole at the joint of the
steering disc and lock it with M5 locknut
to ensure that the steering joint can
rotate easily from left to right
(Referring to Picture 1)
Place the rear axle components
on the car body , align with 12
pcs screw holes and tight with
4 *12mm flat head screws each
side .
2. Install the rear axle
Place the rear axle components on
the car body , align with 12 pcs
screw holes and tight with 4 *12mm
flat head screws each side .
(Referring to Picture 2)
wheel
cover
wheel
cover
Nut
Washer
Front
Wheel
Front
Wheel
Front
drive
motor
Front
drive
motor
Washer
Nut
3.Install the front wheel
a.Install L drive motor into left front axel,
R drive motor into the right front axel ,
then install the front wheel into the front axel.
b.Put one washer on each side of front
wheel and tight with one M10 locking nut.
c.Put the wheel cap aim at the wheel
cover and tight with wheel cap.
(Referring to Picture 3)
wheel
cover
wheel
cover
Nut
Nut
Washer
Rear
Wheel
Rear
Wheel
Washer
Rear
drive
motor
Rear
drive
motor
4.Install the rear wheel
a.Install L drive motor into left rear axel,
R drive motor into the right rear axel
(Notes:Rear drive motor does not have
motor protection cover).
b.First install the two rear drive wheels
on both sides of the rear axle,put one
washer on the outside of the rear wheel
on the left and right, finally tight with one
M10 locking nut.
c.Put the wheel cap aim at the wheel
cover and tight with wheel cap.
(Referring to Picture 4)

