background image


Lecturer Tracking Cameras 


User Manual 

V1.0


Summary of Contents for LTC-S2007

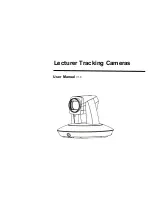
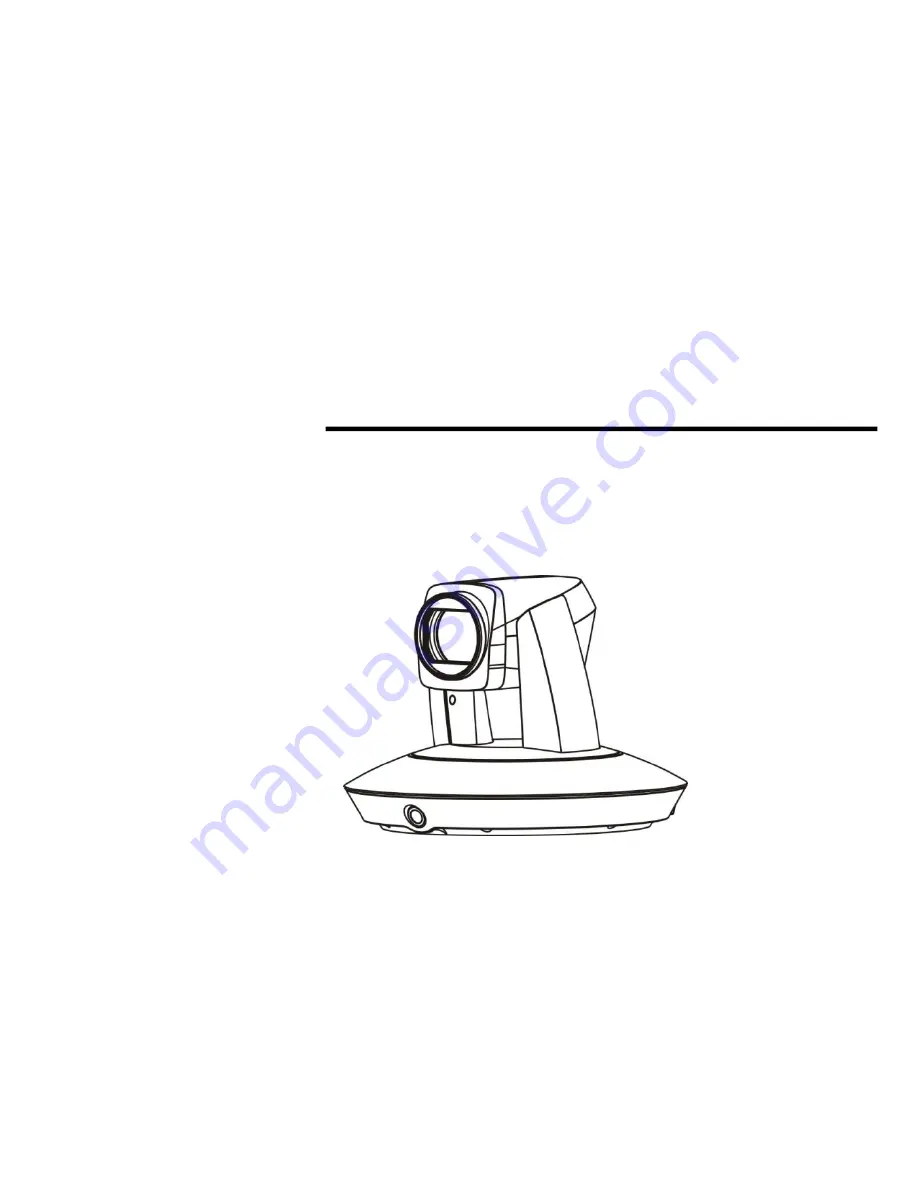
Page 1: ...Lecturer Tracking Cameras User Manual V1 0...
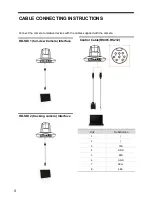
Page 2: ......

Page 3: ...specified temperature and humidity Working temperature range of the camera is between 0 and 40 The ambient humidity range is less than 95 During transporting avoid violent shake or force to the camera...

Page 4: ...n malfunction of the camera Do not hold the camera head when carrying the video camera Make sure the camera is not directly exposed to rain and water Make sure the camera is far away from area where r...

Page 5: ...you need to extend the power cable please extend the power cable from the part 1 on below picture 220V 110V do not extend from part 2 on below picture DC12V otherwise it will cause unexpected damage t...

Page 6: ...R CONNECTION 5 INSTALLATION INSTRUCTIONS 6 WALL MOUNT INSTALLATION 6 PENDANT MOUNT INSTALLATION 7 PARAMETERS SETTING 8 SETTING PROCESS 8 MAIN MENU 10 ISMART PARAM SETPAGE 11 ADVANCED PARAM SETPAGE 12...

Page 7: ...Tracking range can cover the whole classroom even the target is walking among the students Precisely and stably track a specific target free from any light moving interference Tracking camera and ful...

Page 8: ...er Adapter 1 Cable Package 1 Main Parts Interfaces Camera Front View 1 Tracking Camera 2 Full view Camera Rear View 3 Audio Not Supported Temporarily 4 Debugging Interface For Upgrading 5 HD SDI 1 Int...

Page 9: ...3 ABOUT THE PRODUCT Bottom View 9 Mounting Hole 1 4 inch screw thread for fixing camera 10 Locating Hole To define installation direction of camera...

Page 10: ...nnect the camera to relative devices with the cables supplied with the camera HD SDI 1 full view Camera Interface HD SDI 2 tracking camera Interface Control Cable RS485 RS232 Pin Pin Definition 1 2 3...

Page 11: ...NECTING INSTRUCTIONS Power Connection Connect power adapter supplied together with the camera to power source after powered on the camera will start self testing pan tilt go to preset number 1 and sta...

Page 12: ...allation position should be close to the central axis to get the best tracking result The camera has 2 installation types wall and pendant mount Attention Before installing make sure there is enough s...

Page 13: ...fixed onto the bracket before you let go of the camera Pendant Mount Installation 1 According to diameter and position of the 4 holes on the pole as shown below Fix the pole brackets onto ceiling with...

Page 14: ...1 In some other cases the preset 1 is also useful after camera finishes calibration it will sit at preset 1 once tracking object gets lost the camera can be configured to move to preset 1 when the cam...

Page 15: ...aram SetPage The default setting as below Default Settings Address 1 Baud Rate 9600bps Protocol VISCA Video Format 1080P25 When in the parameter setup page HD_SDI_2 can output both videos of HD_SDI_1...

Page 16: ...One push WB When the color of the video is obviously incorrect you can enable one push trigger WB for color correction Operation of One push WB 1 Have a person hold a A4 white paper make sure the pape...

Page 17: ...one otherwise there will be problem in blocking Prio Track Zone The camera s tracking range can cover the whole classroom so the platform zone is defined as a priority tracking zone Usually set the to...

Page 18: ...When in tilt motion mode the camera can adjust tilt degree during tracking based on lecturer s height in the image otherwise the tilt degree is always the same as preset 1 s tilt degree If the lecture...

Page 19: ...do not change it until it is necessary Definable Commands Select the box that you want to set then input the definable code each code is no more than 10 bytes each byte should be in hexadecimal forma...

Page 20: ...ettings to default value Firmware Upgrade Connect the debugging interface at the rear panel of the camera to your PC s network interface with RJ45 cable then press UPGRADE the following page will pop...

Page 21: ...change menu item or change the parameters The parameters in the menu has adjusted to the best value before leaving the factory please do not change the parameters easily If necessary please contact th...

Page 22: ...F11 F9 6 F8 F6 8 F5 6 F4 8 F4 F3 4 F2 8 F2 4 F2 F1 6 CLOSE SHUTTER PRI SPEED 1 25 1 50 1 75 1 100 1 120 1 150 1 215 1 300 1 425 1 600 1 1000 1 1250 1 1750 1 2500 1 3500 1 6000 1 10000 IRIS PRI IRIS F1...

Page 23: ...N 0 255 PAN TILT ZOOM Refer to Page 22 PAN TILT SPEED 1 2 3 4 5 6 7 8 PAN TILT LIMIT ON OFF UP 30 90 DOWN 30 90 LEFT 170 170 RIGHT 170 170 D ZOOM LIMIT X1 X2 X3 X4 X5 X6 X7 X8 X9 X10 X11 X12 PTZ TRIG...

Page 24: ...AY INFO ON OFF RATIO SPEED ON OFF PRESET FREEZE ON OFF RS485 HALF DUPLEX 1 HALF DUPLEX 2 STATUS Refer to Page 24 ADDRESS 1 PROTOCOL VISCA BAUDRATE 9600 FORMAT 1080P50 MOUNT STAND FIRMWARE VER V1 1 1 R...

Page 25: ...enus From main menu navigate to select EXPOSURE menu click IRIS to enter Menu Title It displays currently selected menu option Menu Options It displays options under current menu title Click UP or DOW...

Page 26: ...a displays color image it is suggested to turn off the DNR level otherwise the video trails will be generated The higher the level is the better is the noise reduction performance but more video trail...

Page 27: ...50 1 75 1 100 1 120 1 150 1 215 1 300 1 425 1 600 1 1000 1 1250 1 1750 1 2500 1 3500 1 6000 1 10000s IRIS PRI Gain and shutter speed value are adjusted automatically according to working environment I...

Page 28: ...is used to change pan tilt zoom value available options PAN TILT SPEED 1 2 3 4 5 6 7 8 the bigger the number is the faster the speed is The speed is the fastest in 1x zoom compared to other zooming t...

Page 29: ...d tilt speeds are based on zooming times that is more zooming less pan and tilt speed less zooming more pan and tilt speed PRESET FREEZE When it is on during a regular preset call the video will be fr...

Page 30: ...number RESTORE DEFAULTS RESTORE DEFAULTS option is used to reset all menus to default value Press OK to confirm or press to cancel and return to previous menu RESTORE DEFAULTS PRESS OK CONFIRM PRESS...

Page 31: ...Outdoor One push Manual ATW Exposure Auto Manual Shutter Priority Iris Priority Bright Priority S N Ratio Not less than 50DB Full view Camera Image Sensor 1 3 CMOS Effective Pixels 2 1MP White Balanc...

Page 32: ...26 720p 50 Genral OSD Yes Power Input DC12V Power Consumption 20W Working Temp 0 40 Storage Temp 20 C 60 Dimensions 225mm 163mm 212mm Weight 1 96KG Color Grey...

Page 33: ...ANNEX 2 SIZE AND DIMENSION 27 ANNEX 2 SIZE AND DIMENSION Front Top Rear Side Bottom...

Page 34: ...After power on self test successfully but not controllable Wrong address protocol baud rate Check set again Wrong connection or short circuit of RS 485 RS422 or RS 232 cable Check reconnect Video loss...

Page 35: ......

Page 36: ......

Reviews: