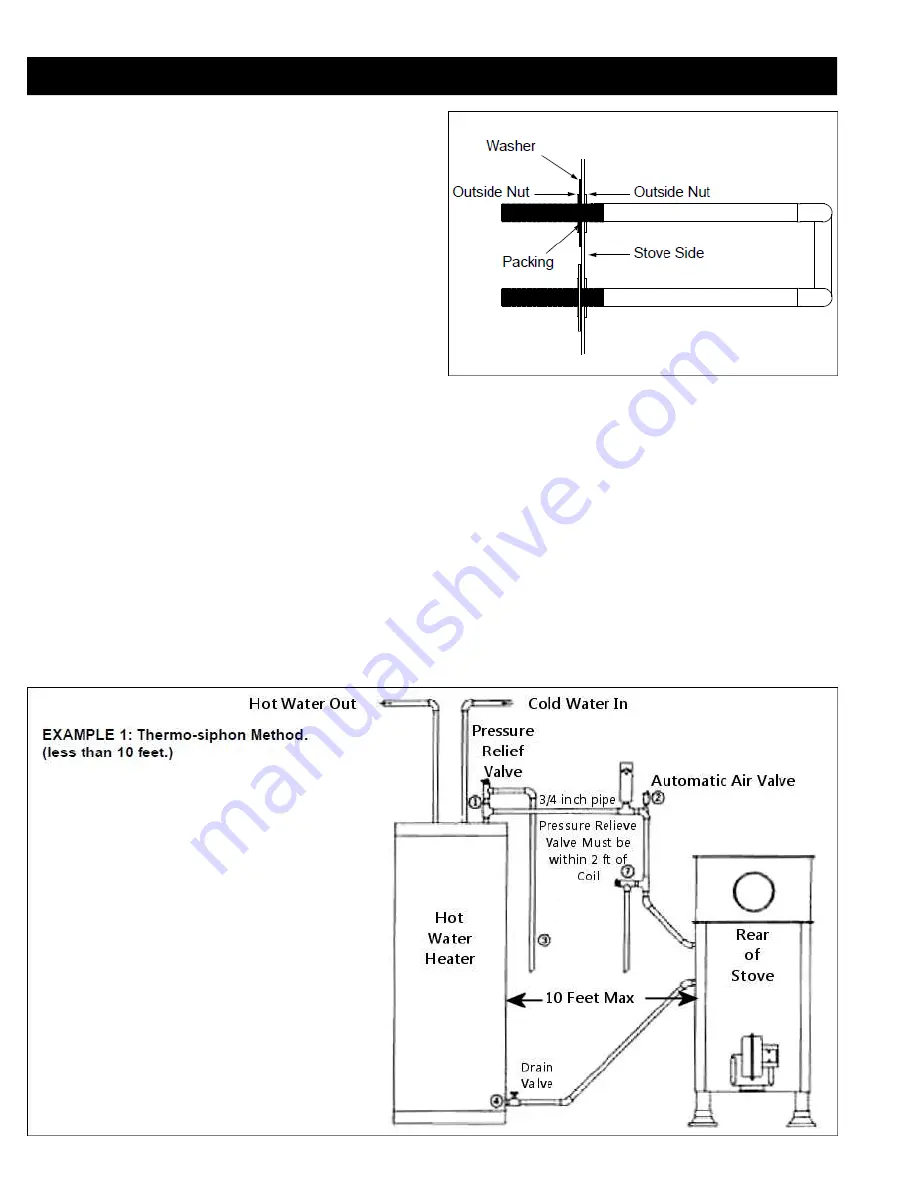
Optional Bent Hot Water Coil
Optional Bent Hot Water Coil
Use a hole saw and the template supplied with the coil to make
two holes through the side wall of the stove. Keep the coil holes
above the 3rebrick and away from the loading
door. Place one of the supplied nuts on each leg of the coil. Place
the coil through the holes in the stove, and adjust the nuts so that
the pipes stick out about 1¼” to 1½” from the sidewall of the
stove. Put <at washers and nuts on the outside, and tighten
within ¼ inch. Place 3berglass gasket around each pipe at the
washers and tighten securely. You are now ready to run pipes
according to one of the following examples.
Example 1: Thermo-siphon Method.
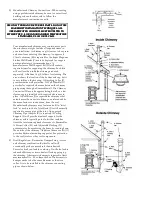
is is the simplest and most economical method, providing the existing water heater (storage tank) is within 10 feet of the stove.
e
water inlet, where the Temp/Pressure relief valve is located, must be higher than the top leg of the water coil.
e storage tank should
be elevated, if necessary, to allow for proper thermo-siphon action.
1. Turn o: the water heater and the water supply to it. Drain the tank completely.
2. Remove the Temp/Pressure relief valve and discard. Install a short ¾” nipple and tee (1) along with a new Temp/Pressure relief valve.
3. Run ¾” copper tubing, along with the necessary 3,ings, between the storage tank and the top leg of the coil. Install a ¾” vent elbow
and automatic “<oat type” air vent (2) in the high point of the line. Within two feet of the top leg of the coil, install a 150 lb. pressure
relief valve (7). Run ¾” tubing from the release exit of both relief valves, downward (3) so that the hot water may escape in the event of
over-heating.
4. Remove the drain valve, at the bo,om of the storage tank. Install a ¾” nipple and tee, and reinstall the drain valve to the tee (4). Run
¾” copper tubing, with the necessary 3,ings, between the drain/tee combination and the lower leg of the coil. After all of the
connections are completed, you can re3ll the tank. Restore power to the water heater ONLY after the tank has been completely 3lled.
Summary of Contents for SF250 Tribute
Page 2: ......
Page 3: ...Label Placeholder 3 ...
Page 20: ......
Page 24: ...Service and Maintenance Log Date of Service Performed By Description of Service ...
Page 25: ...Date of Service Performed By Description of Service 25 ...

