8
C
CH
HEEC
CK
KIIN
NG
G TTH
HEE B
BU
UR
RN
NEER
R
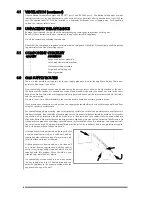
There are no imitation fuel bed components to install. The appliance features a ribbon burner which is
designed to produce a continuous band of flame over it’s length. The burner should be visually inspected to
ensure it is free from any foreign matter. If it is necessary to clean or dust off the burner then the glass door
should be removed by removal of the four retaining screws. Re-fit the glass door after cleaning or inspection,
ensuring a good seal.
TTEESSTTIIN
NG
G A
AN
ND
D C
CO
OM
MM
MIISSSSIIO
ON
NIIN
NG
G
Turn on and test the gas supply up to the fire for any leaks, in accordance with the current edition of BS6891.
O
OPPEER
RA
ATTIIN
NG
G TTH
HEE A
APPPPLLIIA
AN
NC
CEE
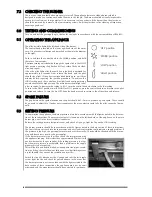
The pilot is visible behind the left hand side of the burner.
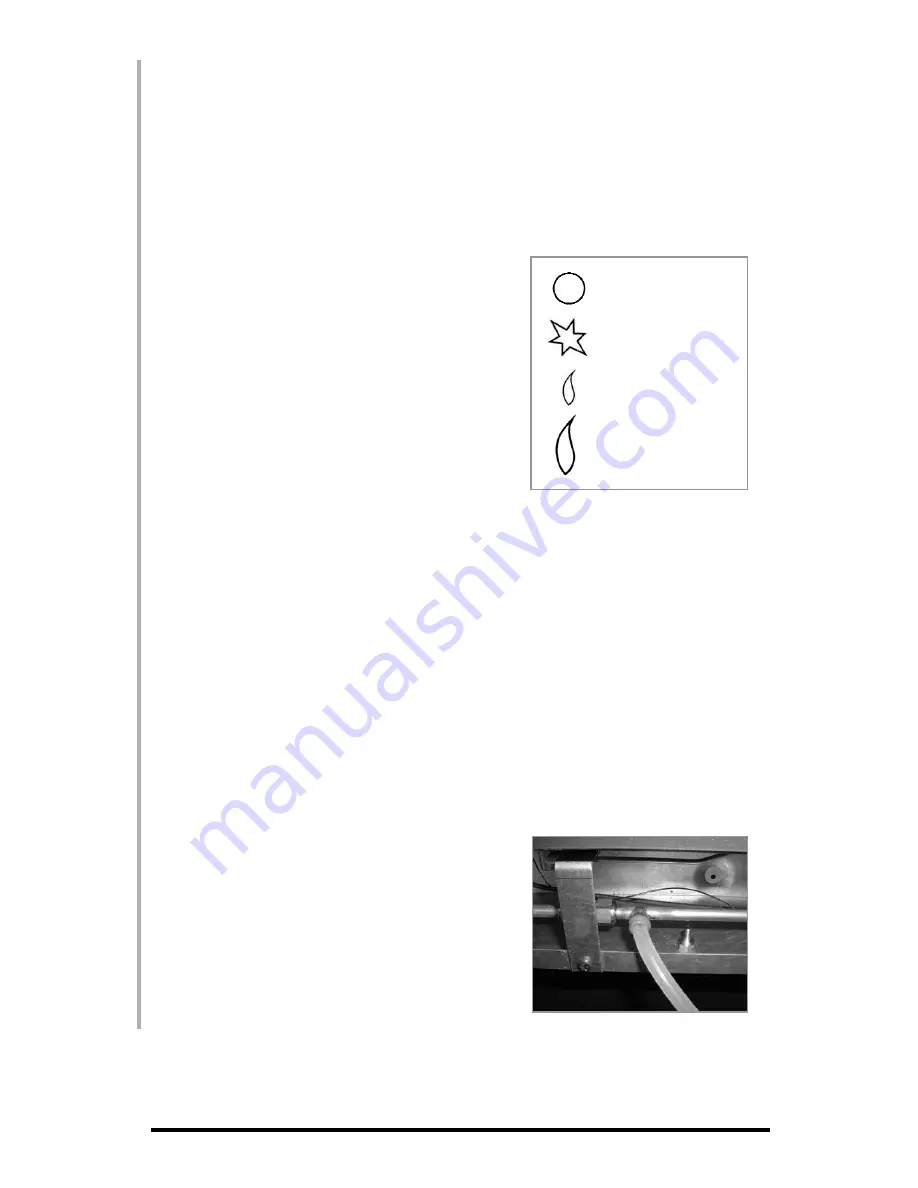
The control knob is located on the lower right hand side of the outer
case. It is of a spherical design and is marked as shown in the diagram
to the right;
Push in and turn the control knob to the SPARK position, and hold
there for a few seconds.
Continue turning anti-clockwise through the spark click to the PILOT
light position, ensuring the pilot has lit. If not, return the knob clock-
wise, and repeat.
When the pilot lights after the spark, keep the knob depressed for
approximately ten seconds. Now release the knob and the pilot
should stay alight. If the pilot is extinguished during use, wait three
minutes before repeating the ignition procedure. To achieve the
HIGH setting, push the control knob in slightly and continue turning
anti-clockwise to the high position. The main burner should light after
a few seconds. To decrease the setting to LOW, turn the control knob clockwise to the low setting.
To turn to the PILOT position from the HIGH or LOW positions, press the control knob in, and return to the pilot
position and release. To turn the fire OFF, keep the knob pressed in, return to the off position and release.
SSPPA
AR
RK
K FFA
AIILLU
UR
REE
The gap between the spark electrode and the pilot should be 3 - 5mm to produce a good spark. There should
be no need to adjust this. If under any circumstances the piezo electric spark fails, the pilot cannot be lit man-
ually.
SSEETTTTIIN
NG
G PPR
REESSSSU
UR
REE
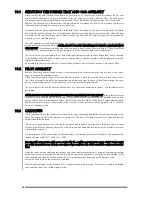
To commission the appliance, the burner pressure must be in accordance with the figures stated in the data sec-
tion of these instructions. The pressure test point is located on the left hand side of the appliance, on the main
burner pipe, next to the brass restrictor/connector.
Release the setting pressure test point screw, and attach a U gauge. Light the fire on the HIGH setting.
The burner pressure should be in accordance with the figures stated in the data section of these instructions.
The fire is factory set to achieve these pressures and any significant variation could indicate a supply problem. If
the pressure is too high, the gas supply meter may be set incorrectly. This should be checked with the fire run-
ning and if necessary reset by the gas supplier.
If the burner pressure is too low, then check the inlet pressure with
the appliance running. If this is less than approximately 20mbar it will
need to be reset by the gas supplier. If the setting pressure is too low,
but the meter pressure is acceptable, then a problem in the supply
pipework is to be suspected.
This will be dirt and debris, kinked or inadequate size pipes, restric-
tion in a fitting, shut off elbow not fully open or solder flashing across
a joint. Identify the cause of the restriction and rectify.
Switch the fire off, disconnect the U gauge and refit the test nipple
screw. Light the fire and check for gas soundness. In the event that
the burner pressure is not in accordance with the figures stated in the
data section of these instructions, the appliance must not be com-
missioned, and the manufacturer should be contacted for guidance.
66
88..00
77..22
88..33
88..11
88..22
‘OFF’ position
‘SPARK’ position
‘LOW’ position
‘HIGH’ position

