87
9.2.1 Real-time Monitor
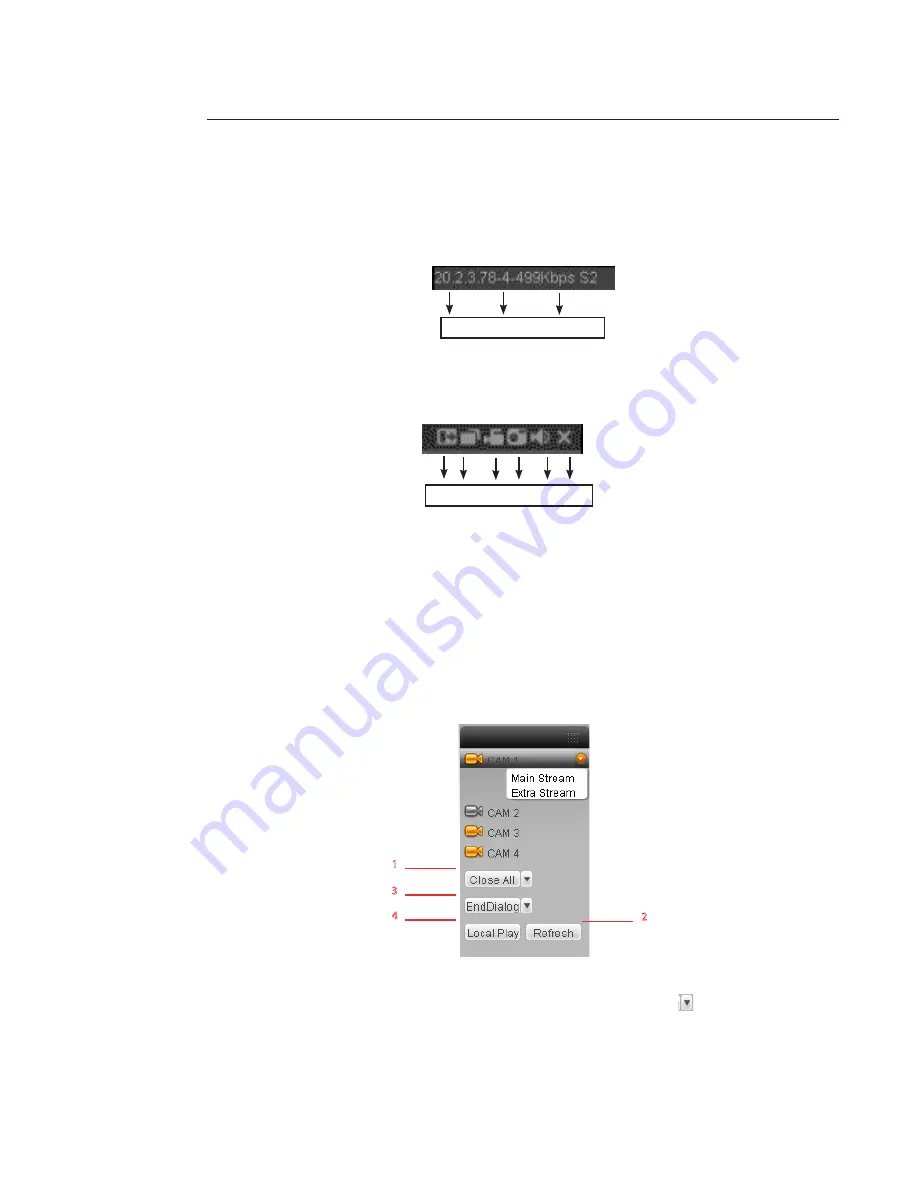
In section 2, left click on the channel name you want and the corresponding video displays on the current window (sec-
tion 4).
Section 4, on the top left corner, you can see :
1: Device IP,
2: Channel number,
3: Network monitor bit stream.
On the top right corner, there are six function buttons.
1
2
3
4
5
6
1: Digital zoom: Click on this button and left drag the mouse to zoom in the zone.
A right click mouse system restores original status.
2: Change display mode: resize or switch to full screen mode.
3: Local record. When you click on “local record” button, the system begins to record and this button
becomes highlighted. By default C:\RecordDownload is the directory where the recorded files are.
You can set a new path in the Section 3 click on tab “More” -> “REC Path” button.
4: Capture picture. The “capture picture” button take a snapshot in real time.
By default all the pictures are saved in the directory C:\picture\download (default).
You can set a new path in the Section 3, click on tab “More” -> “PICT Path” button.
5: Audio :Turn on or off audio.(It has no relationship with system audio setup).
6: Close video.
In Section 2, you can select Main Stream or Extra Stream switch.
1 - Open All – Close All :
You can click on it to open or close all the channels.
2 - Refresh:
You can use button to refresh camera list.
3 - Start Dialogue / End-Dialogue:
You can click this button to enable audio talk. Click
to select bidirectional
talk mode. There are two options: DEFAULT / G711a.
The audio input port from the device to the client-end is using the first
channel audio input port.
During the bidirectional talk process, system will not encode the audio
data from the 1-channel.
4 - Local Play
The Web interface can playback the saved files (Extension name is dav) in
the current computer. Click on the “Local Play” button, system pops up the
following interface where you can select local files to play.
1
2
3
1
3
4
2


