Installation Instructions
PAC735
5
ASSEMBLY AND INSTALLATION
Assemble Base Support (Cart Installation ONLY!)
NOTE:
If installing PAC735 to a stand rather than a cart, the
base support is not needed as the PAC735 will sit
directly on the base of the stand. Proceed to Mount
Storage Cabinet section.
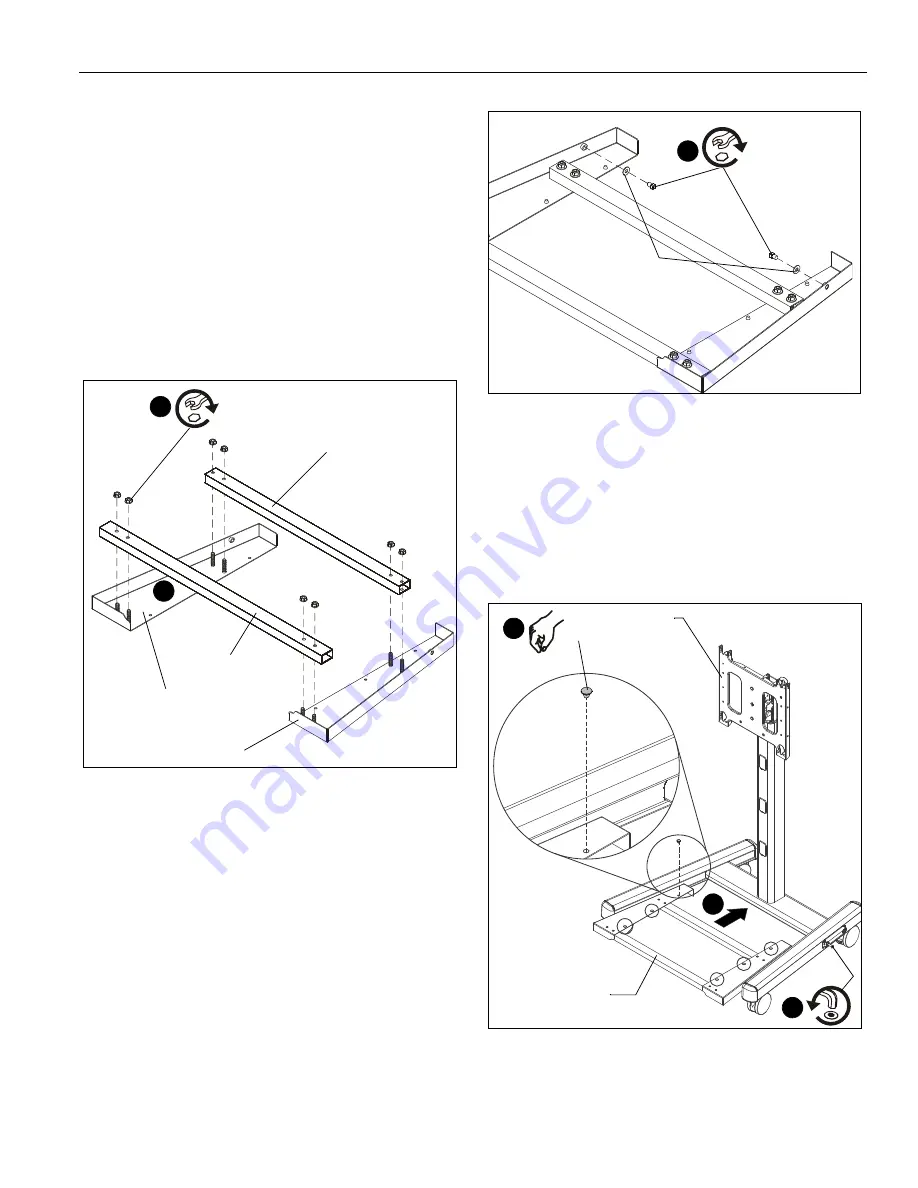
1.
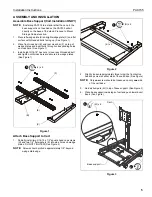
Place left wedge plate (B) and right wedge plate (C) on a flat
surface with threaded bolts facing up. (See Figure 1)
2.
Place front cross bar (E) and rear cross bar (F) on top of
wedge plates and insert bolts through corresponding holes
on cross bars. (See Figure 1)
3.
Install eight 5/16-18" hex nuts (J) over each threaded bolt
and tighten until cross bars are secured to wedge plates.
(See Figure 1)
Figure 1
Attach Base Support to Cart
1.
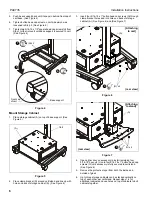
Partially install two 5/16-18 x 1/2" square head cap screws
(H) and two 1/4" flat washers (K) into side holes on wedge
plates. DO NOT TIGHTEN! (See Figure 2)
NOTE:
Screws should protrude approximately 1/8" beyond
wedge plate edge.
Figure 2
2.
Slightly loosen (approximately three turns) the front button
head cap screw on either side of the cart base. (See Figure )
NOTE:
Only
one
screw should be loosened on only
one
side
of the cart base.
3.
Add six bumpers (M) to top of base support. (See Figure 3)
4.
Place base support inside legs of cart and push toward cart
back. (See Figure )
Figure 3
3
2
(B)
(C)
(E)
(F)
(J) x 8
1
(H) x 2
(K) x 2
Cart
4
Base support
2
3
(M) x 6


