www.kenall.com | P: 800-4-Kenall | F: 262-891-9701 | 10200 55th Street Kenosha, Wisconsin 53144, USA
This product complies with the Buy American Act: manufactured in the United States with more than 50% of the component cost of US origin. It may be covered by patents
found at www.kenall.com/patents. Content of specification sheets is subject to change; please consult www.kenall.com for current product details. ©2019 Kenall Mfg.Co.
4
INSTALLATION INSTRUCTIONS
MRIMAS_F-3166_012918
CUSTOMER SERVICE
For warranty information visit www.kenall.com/Resources/Certified-Performance-Warranties
WARRANTY
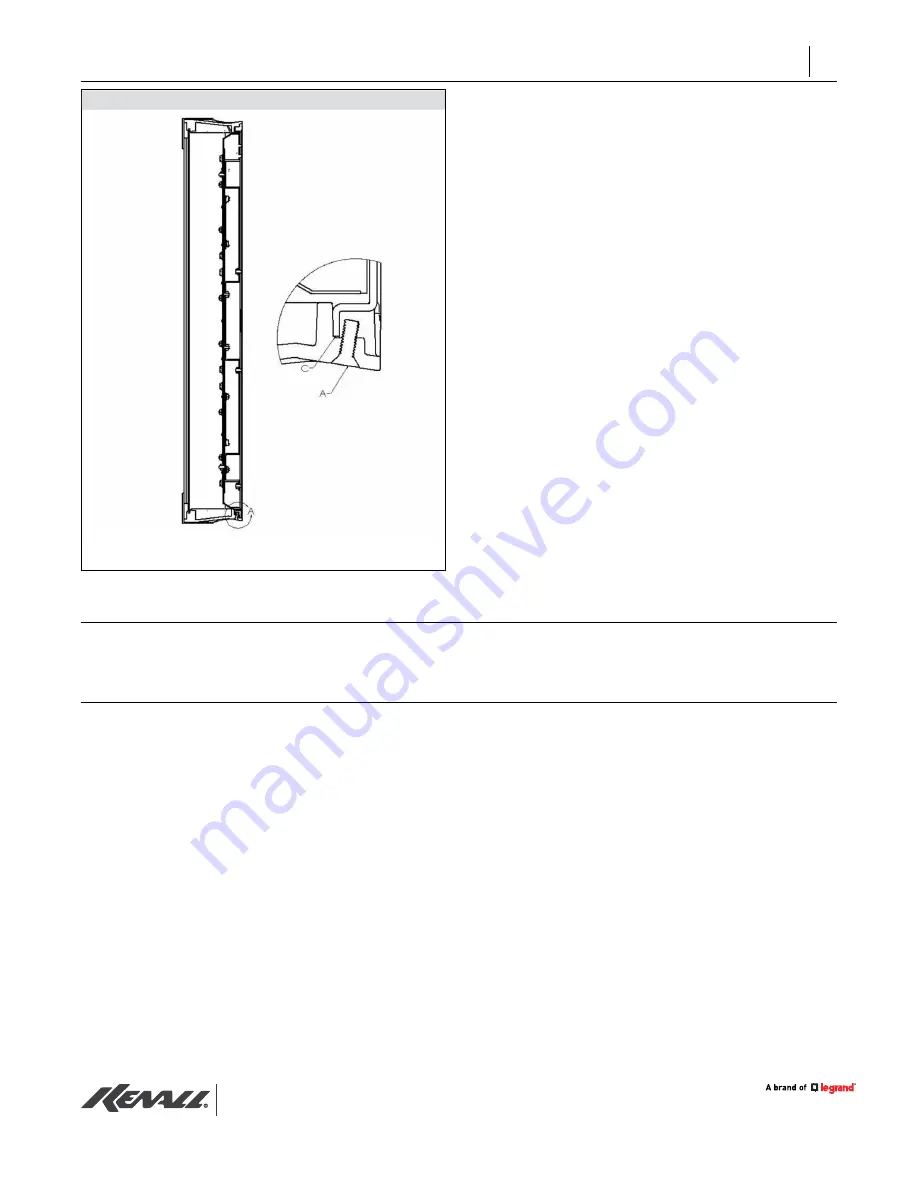
Figure 8
Standard Luminaire Screw Detail
Conclusion of Luminaire Mounting Procedure
19. Reattach the LED tray (F) to the baseplate (C).
20. Reattach the reflector/wireway with the screws that
were removed in step 3.
21. Hook the front housing (B) onto the angle bracket
hook (D) shown in Figure 8.
22. Replace the screw(s) removed in step 1. NOTE: Do
not push on the outer lens when mounting the
front housing.
23. Standard luminaire only: Check to make sure the
housing is locked in place. This is achieved when
screw (A) is behind the baseplate flange (C). NOTE:
Do not push on outer lens when mounting the
front housing.
For technical assistance, call 1-800-4KENALL (1-800-453-6255).


