Chapter 7: Using the Web Interface
304
▪
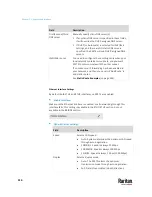
To select all arguments, simply select the checkbox labeled 'All
XXX'.
Tip: The other way to select all arguments is to select that privilege's
checkbox while the arguments list is not expanded yet.
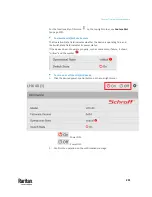
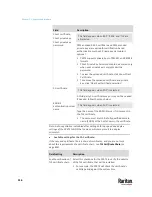
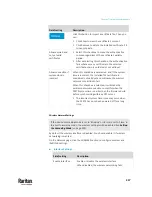
For example, on an outlet-switching capable model, you can specify the
outlets that users can switch on/off as shown below. To select all outlets,
select the 'All Outlets' checkbox instead.
6.
Click Save.
Now you can assign the role to any user. See
Creating Users
(on page 297) or
Editing or Deleting Users
(on page 301).
Editing or Deleting Roles
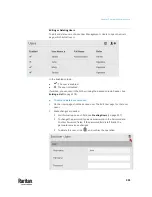
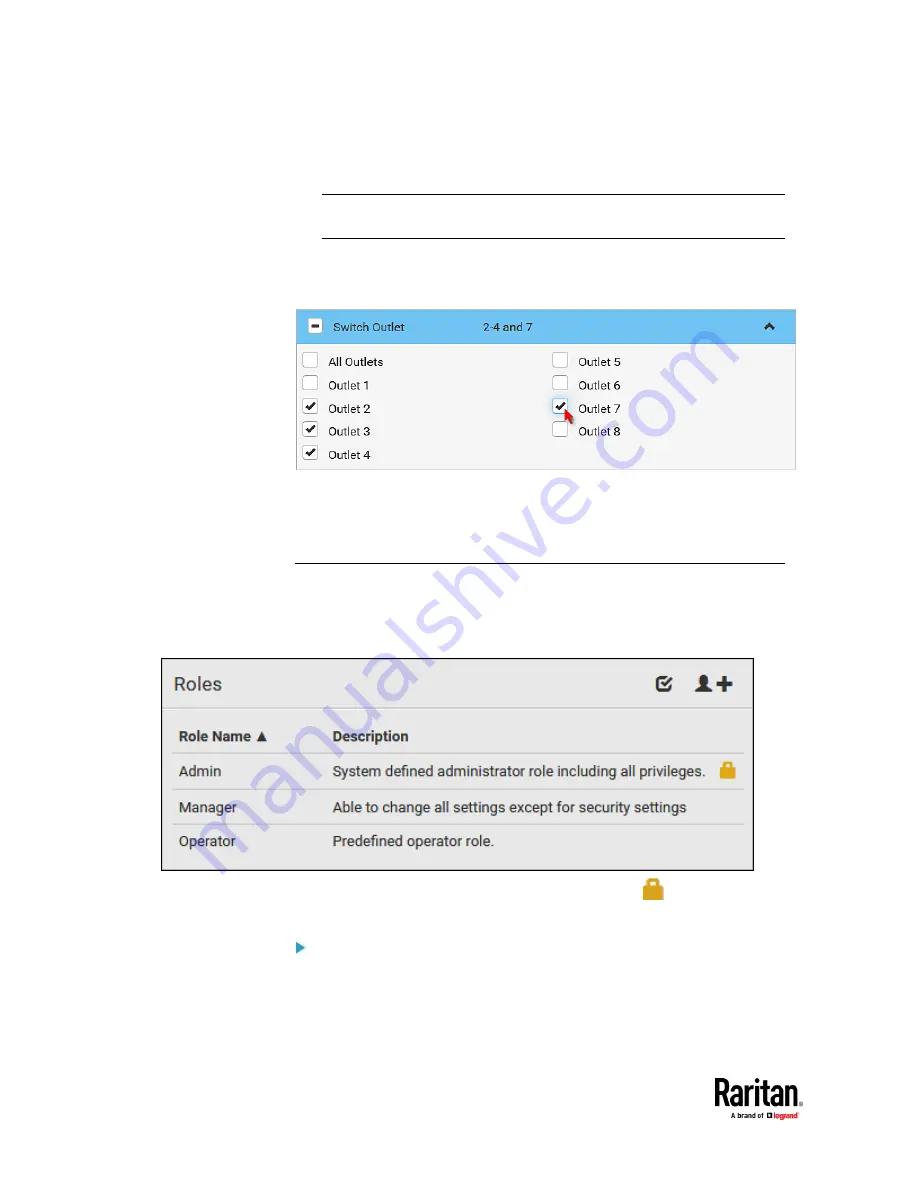
Choose User Management > Roles to open the Roles page, which lists all roles.
If wanted, you can resort the list by clicking the desired column header. See
Sorting a List
(on page 179).
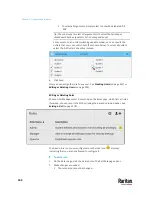
The Admin role is not user-configurable so the lock icon
displays,
indicating that you are not allowed to configure it.
To edit a role:
1.
On the Roles page, click the desired role. The Edit Role page opens.
2.
Make changes as needed.
▪
The role name cannot be changed.
Summary of Contents for Raritan PX3TS
Page 4: ......
Page 6: ......
Page 20: ......
Page 80: ...Chapter 4 Connecting External Equipment Optional 60...
Page 109: ...Chapter 5 PDU Linking 89...
Page 117: ...Chapter 5 PDU Linking 97...
Page 441: ...Chapter 7 Using the Web Interface 421...
Page 464: ...Chapter 7 Using the Web Interface 444...
Page 465: ...Chapter 7 Using the Web Interface 445 Continued...
Page 746: ...Appendix A Specifications 726...
Page 823: ...Appendix I RADIUS Configuration Illustration 803 Note If your PX3TS uses PAP then select PAP...
Page 828: ...Appendix I RADIUS Configuration Illustration 808 14 The new attribute is added Click OK...
Page 829: ...Appendix I RADIUS Configuration Illustration 809 15 Click Next to continue...
Page 860: ...Appendix J Additional PX3TS Information 840...
Page 890: ...Appendix K Integration 870 3 Click OK...
Page 900: ......


