Chapter 9: Using the Command Line Interface
675
•
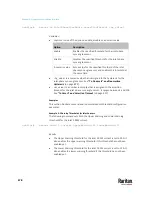
<option> is one of the options:
enable
,
disable
or a numeric value.
Option
Description
enable
Enables the specified threshold for the overcurrent
protector sensor.
disable
Disables the specified threshold for the overcurrent
protector sensor.
A numeric value Sets a value for the specified threshold of the
overcurrent protector sensor and enables this
threshold at the same time.
•
<hy_value> is a numeric value that is assigned to the hysteresis for the
specified overcurrent protector sensor. See
"To De-assert" and
Deassertion Hysteresis
(on page 839).
•
<as_value> is a number in samples that is assigned to the assertion
timeout for the specified overcurrent protector sensor. See
"To Assert"
and Assertion Timeout
(on page 837).
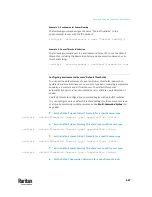
Commands for Environmental Sensors
A sensor threshold configuration command for environmental sensors begins
with
sensor externalsensor
.
You can configure various environmental sensor threshold settings at a time by
combining multiple commands. See
Multi-Command Syntax
(on page 695).
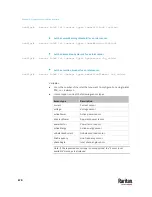
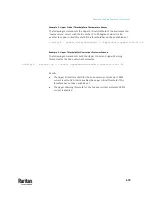
Set the Upper Critical threshold for an environmental sensor:
config:#
sensor externalsensor <n> <sensor type> upperCritical <option>
Set the Upper Warning threshold for an environmental sensor:
config:#
sensor externalsensor <n> <sensor type> upperWarning <option>
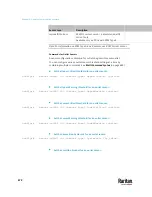
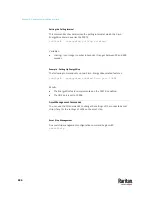
Set the Lower Critical threshold for an environmental sensor:
config:#
sensor externalsensor <n> <sensor type> lowerCritical <option>
Set the Lower Warning threshold for an environmental sensor:
config:#
sensor externalsensor <n> <sensor type> lowerWarning <option>
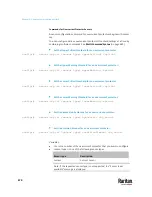
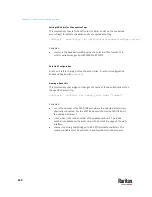
Set the deassertion hysteresis for an environmental sensor:
Summary of Contents for Raritan PX3TS
Page 4: ......
Page 6: ......
Page 20: ......
Page 80: ...Chapter 4 Connecting External Equipment Optional 60...
Page 109: ...Chapter 5 PDU Linking 89...
Page 117: ...Chapter 5 PDU Linking 97...
Page 441: ...Chapter 7 Using the Web Interface 421...
Page 464: ...Chapter 7 Using the Web Interface 444...
Page 465: ...Chapter 7 Using the Web Interface 445 Continued...
Page 746: ...Appendix A Specifications 726...
Page 823: ...Appendix I RADIUS Configuration Illustration 803 Note If your PX3TS uses PAP then select PAP...
Page 828: ...Appendix I RADIUS Configuration Illustration 808 14 The new attribute is added Click OK...
Page 829: ...Appendix I RADIUS Configuration Illustration 809 15 Click Next to continue...
Page 860: ...Appendix J Additional PX3TS Information 840...
Page 890: ...Appendix K Integration 870 3 Click OK...
Page 900: ......


