Chapter 7: Using the Web Interface
278
Note: Per default you can turn on as many dry contact actuators as you want,
but only one "powered dry contact" actuator can be turned on at the same time.
To change this limitation of "powered dry contact" actuators, modify the active
powered dry contact setting. See
Peripherals
(on page 258).
Other operations:
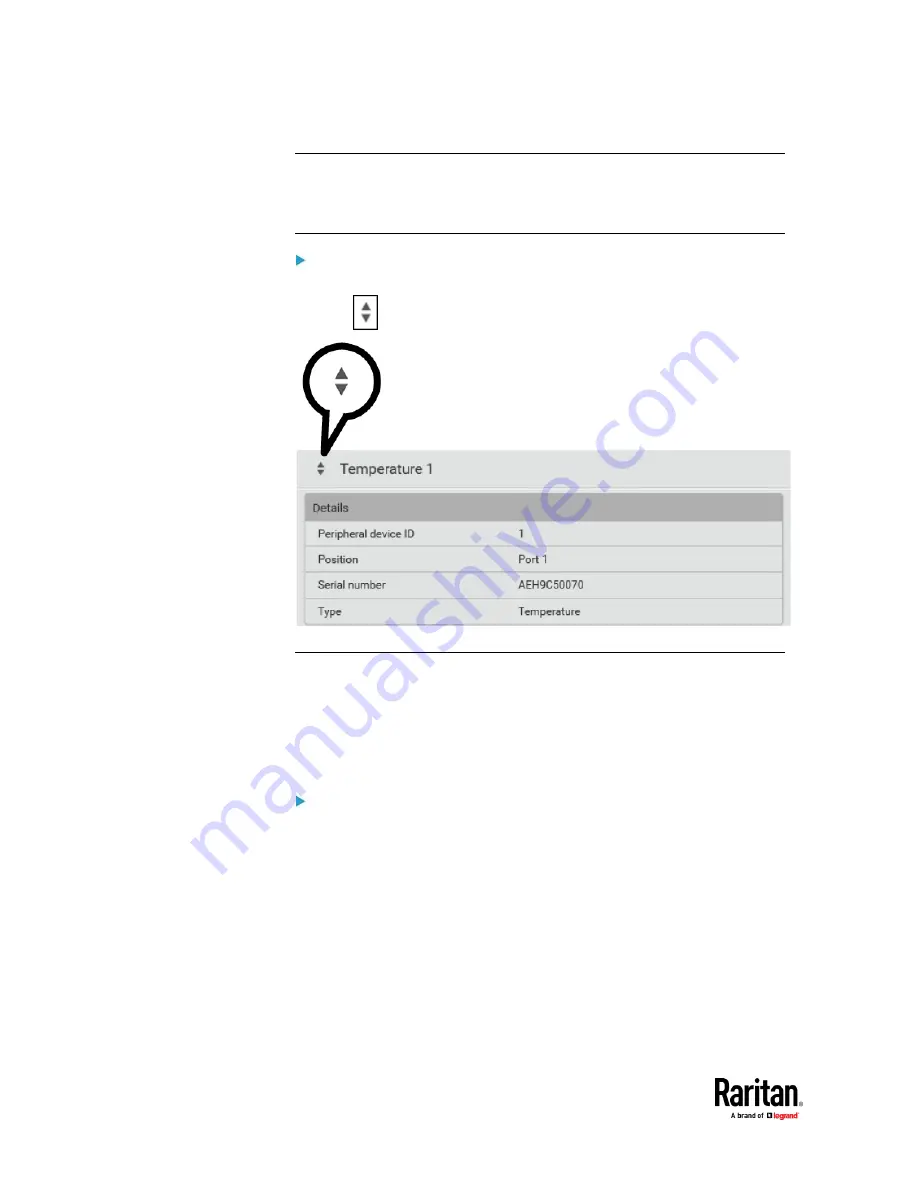
You can go to another sensor's or actuator's data/setup page by clicking the
selector
on the top-left corner.
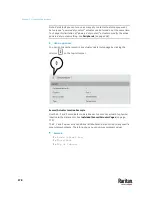
Sensor/Actuator Location Example
Use the X, Y and Z coordinates to describe each sensor's or actuator's physical
location in the data center. See
Individual Sensor/Actuator Pages
(on page
273).
The X, Y and Z values act as additional attributes and are not tied to any specific
measurement scheme. Therefore, you can use non-measurement values.
Example:
X =
Brown Cabinet Row
Y =
Third Rack
Z =
Top of Cabinet
Summary of Contents for Raritan PX3TS
Page 4: ......
Page 6: ......
Page 20: ......
Page 80: ...Chapter 4 Connecting External Equipment Optional 60...
Page 109: ...Chapter 5 PDU Linking 89...
Page 117: ...Chapter 5 PDU Linking 97...
Page 441: ...Chapter 7 Using the Web Interface 421...
Page 464: ...Chapter 7 Using the Web Interface 444...
Page 465: ...Chapter 7 Using the Web Interface 445 Continued...
Page 746: ...Appendix A Specifications 726...
Page 823: ...Appendix I RADIUS Configuration Illustration 803 Note If your PX3TS uses PAP then select PAP...
Page 828: ...Appendix I RADIUS Configuration Illustration 808 14 The new attribute is added Click OK...
Page 829: ...Appendix I RADIUS Configuration Illustration 809 15 Click Next to continue...
Page 860: ...Appendix J Additional PX3TS Information 840...
Page 890: ...Appendix K Integration 870 3 Click OK...
Page 900: ......


