
PXC_PXO Quick Setup Guide
2
PXC_PXO_QSG_0B_3.5.10_E
255-80-0059-00 RoHS
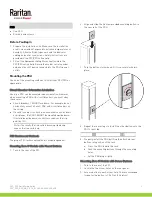
PXO
One PXO
Brackets and screws
QS Rule
Before You Begin
1.
Prepare the installation site. Make sure the installation
area is clean and not exposed to extreme temperatures or
humidity. Allow sufficient space around the device for
cabling and outlet connections. Safety instructions are
provided in the PXC/PXO online help.
2.
Fill out the Equipment Setup Worksheet found in the
PXC/PXO online help. Record the model, serial number,
and use of each IT device connected to the PDU's power
outlets.
QS Rule
Mounting the PDU
Use one of the mounting methods to install your PXC/PXO as
appropriate.
Circuit Breaker Orientation Limitation
Usually a PDU can be mounted in any orientation. However,
when mounting a PDU with circuit breakers, you must obey
these rules:
Circuit breakers CANNOT face down. For example, do not
horizontally mount a Zero U PDU with circuit breakers on
the ceiling.
If a rack is subject to shock in environments such as boats
or airplanes, the PDU CANNOT be mounted upside down.
If installed upside down, shock stress reduces the trip
point by 10%.
Note: If normally the line cord is down, upside down
means the line cord is up.
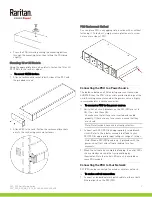
PXC Rackmount Methods
The proper PXC rackmount method is model dependent.
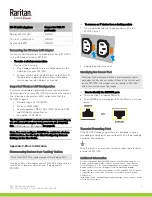
Mounting Zero U Models with Mount Buttons
1.
Turn to the rear of the PXC.
2.
Align and slide the Raritan-provided mounting button to
the rear rail of the PDU.
3.
Turn the button clockwise until it is securely locked in
place.
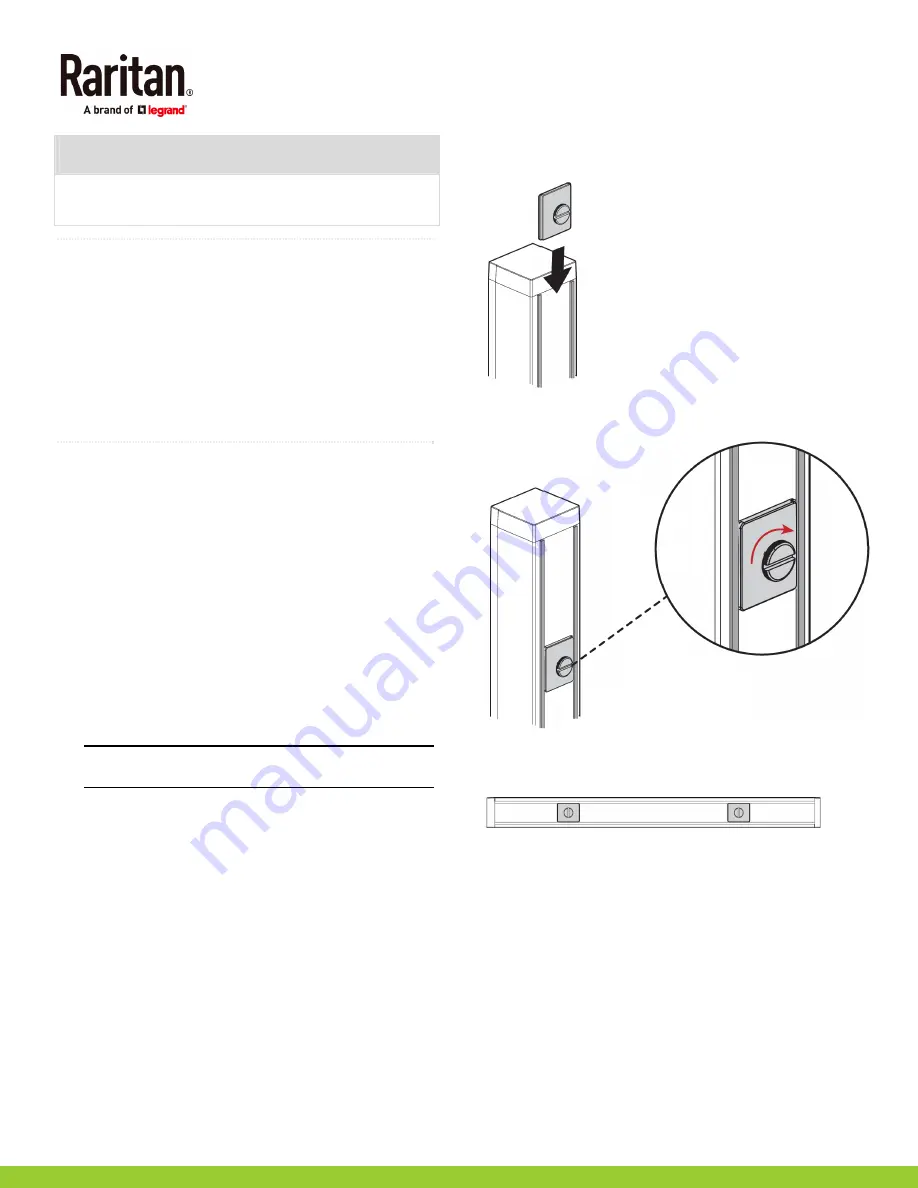
4.
Repeat the same steps to install the other button onto the
PDU's rear side.
5.
Properly install the PDU by fitting the attached rear
buttons into position of the rack.
a.
Press the PDU toward the rack.
b.
Push the mounting buttons through the mounting
holes.
c.
Let the PDU drop slightly.
Mounting Zero U Models with Screw Buttons
1.
Turn to the rear of the PXC.
2.
Locate the two screw holes on the rear panel.
3.
Screw a button in each screw hole. The recommended
torque for the button is 1.96 N·m (20 kgf·cm).


