23
2014+ XL Raider
1.
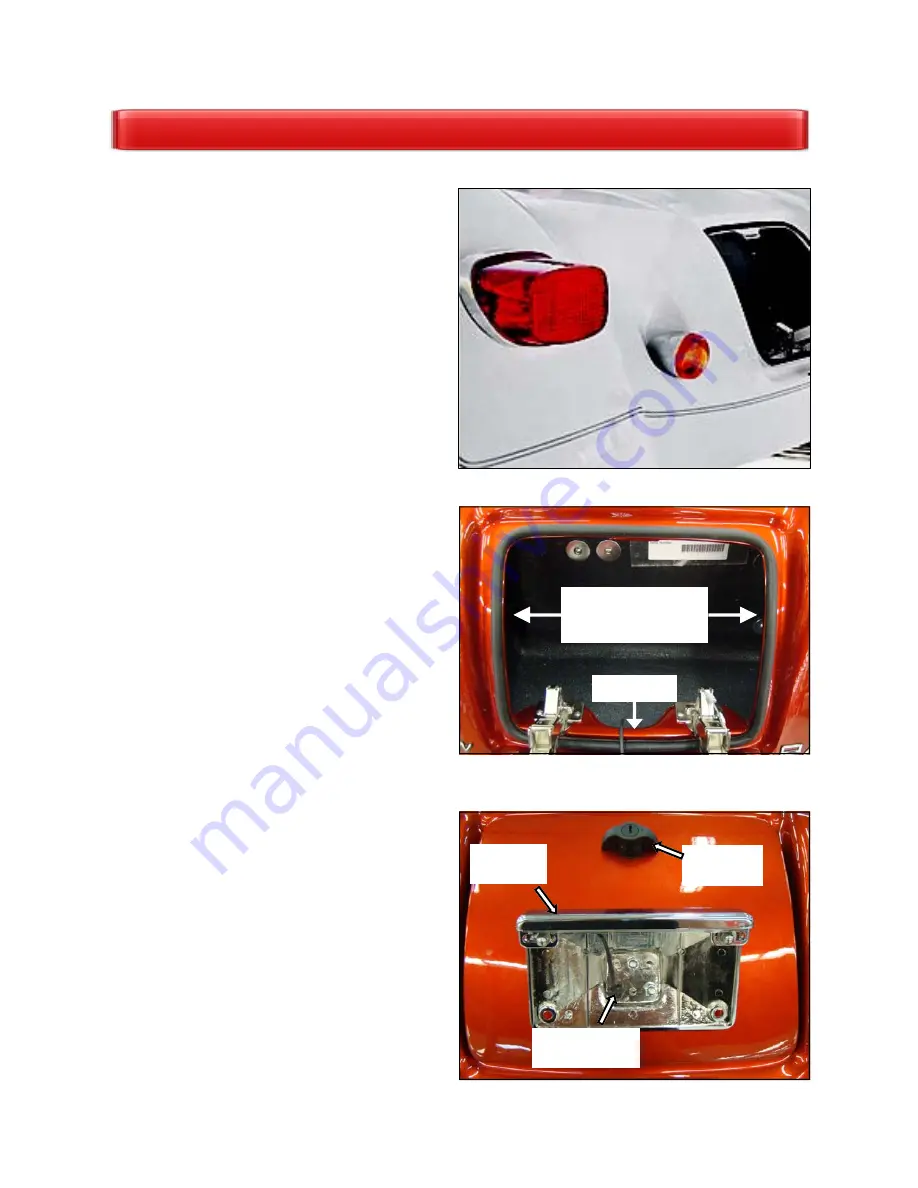
See Fig. 1
. Remove base from turn signals and
mount to body in designated holes using the
following hardware.
•
(2) Turn Signals– OEM
•
(2) 5/16” x 1-1/4” Bolts– CB1165
•
(2) 5/16” Lock Washers– CW2045
•
(2) 5/16” Flat Washers– CW2010
2.
See Fig. 2.
Install door seal to body. Place seal
against edge of trunk opening with seam at cen-
ter of bottom edge. assembly to trunk door.
•
(3.75’) Trunk Door Seal– S001688
3.
See Fig. 3.
. Install license plate bracket to
trunk door. Use tapered rubber spacer between
door and bracket. Attach to door using the up-
per and RH holes in bracket. Use stainless
washers and lock nuts against bracket. Install
rubber washers inside trunk.
•
(1) License Plate Bracket– S001039
•
(2) 1/4” x 1-1/2” Button Head- CB1096
•
(2) 6.4mm x 18mm Washer- CW2154
•
(2) 1/4” x 3/4” Rubber Washer- FG1002
•
(2) 1/4” SS Flat Washers- CW2006
•
(2) 1/4” Lock Nut- CN3040
4.
See Fig 3.
Install license plate light to bracket
using bolts, washers and nuts.
•
(2) 1/4” x 3/4” Button Head– CB1084
•
(2) 1/4” Flat Washers– CW2006
•
(2) 1/4” Acorn Nuts– CN3070
5.
See Fig 3.
Route license plate wire through LH
hole in bracket and door. Apply silicone around
wire where it enters bracket to prevent leaks.
6.
See Fig 3.
Install latch assembly to door. Do
not over tighten.
•
(1) Trunk Latch Assembly–S001593
BODY PREPARATION
Fig. 1
Fig. 3
Install latch
to door
Attach light
to bracket
Route wire
through bracket
Fig. 2
Place seal against
door opening
Seal seam


