19
REMOVAL
1. Remove RH side cover.
2. Protect edge of RH foot pocket area above
exhaust using masking tape.
3. Remove head pipe mounting bolts.
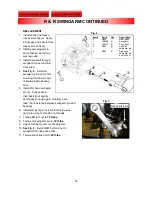
4.
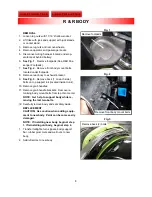
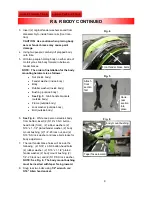
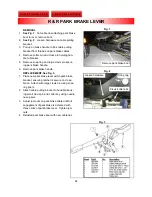
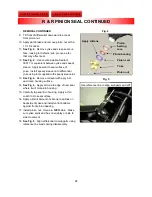
See Fig. 1
. Loosen exhaust clamps on LH &
RH muffler-to-head pipe connections and
crossover clamp.
5. Loosen (2) hose clamps attaching RH muffler
to park brake bracket/exhaust bracket. Repeat
for LH muffler.
6. Disconnect RH muffler from exhaust hanger
bracket (disconnect band clamps).
7. Remove RH muffler from trike by pulling it
straight out.
8. Pull up on rear exhaust pipe while dropping LH
muffler down to disengage crossover pipe from
rear pipe. Remove pipes.
REPLACEMENT
1. Install LH pipe into front head pipe and loosely
attach band clamps. Ensure that gasket is in
place.
2.
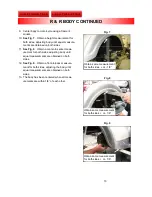
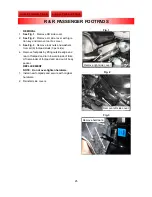
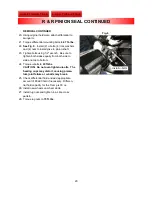
See Fig. 2
. Attach crossover pipe by pushing
and turning to seat it fully into pipe.
3. Pull front pipe into place while positioning rear
head pipe to head.
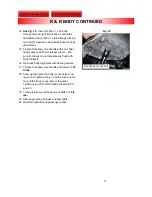
4. Install rear head pipe bolts and tighten while
pulling LH pipe forward onto front head pipe.
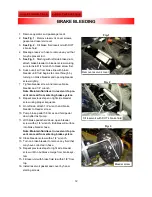
5. Tighten band clamps on exhaust/park brake
bracket; use clamps as a guide to mount rear
muffler so they line up evenly at rear of trike.
6. RH muffler can be moved out a little to line up
pipes at rear of trike.
7. Tighten all clamps.
8. Ensure that all head pipe bolts are tight.
9. Check for any exhaust leaks.
Fig. 2
Fig. 1
R & R EXHAUST, MUFFLER ASSEMBLY
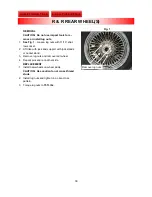
Loosen and remove clamps
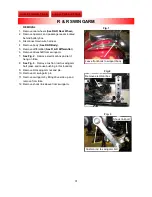
Crossover pipe

