Advanced
38
w
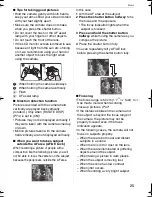
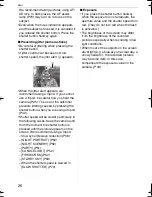
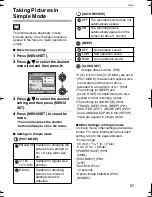
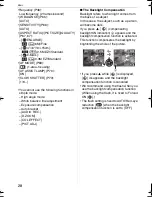
Canceling High angle mode or Power
LCD
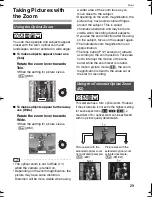
• If you press and hold [LCD MODE] again
for 1 second the screen shown in step 2 is
displayed. Select [OFF] to cancel Power
LCD mode or High angle mode.
• High angle mode is also canceled if you
turn the camera off or power save mode is
activated.
• The brightness of the pictures displayed
on the LCD monitor is adjusted when
Power LCD mode or High angle mode is
activated. Therefore, some subjects may
look different on the LCD monitor.
However, this does not affect the recorded
pictures.
• The LCD monitor automatically returns to
normal brightness after 30 seconds when
recording in Power LCD mode. Press any
button to make the LCD monitor bright
again.
• You may not notice the High angle mode
effect if the LCD monitor is difficult to see
because of light from the sun etc. shining
on it. In this case, we recommend using
your hand or another object to block the
light when using the camera.
• High angle mode is not activated in the
following cases.
– In simple mode [
]
– In playback mode
– While the menu screen is displayed
– While the review screen is displayed
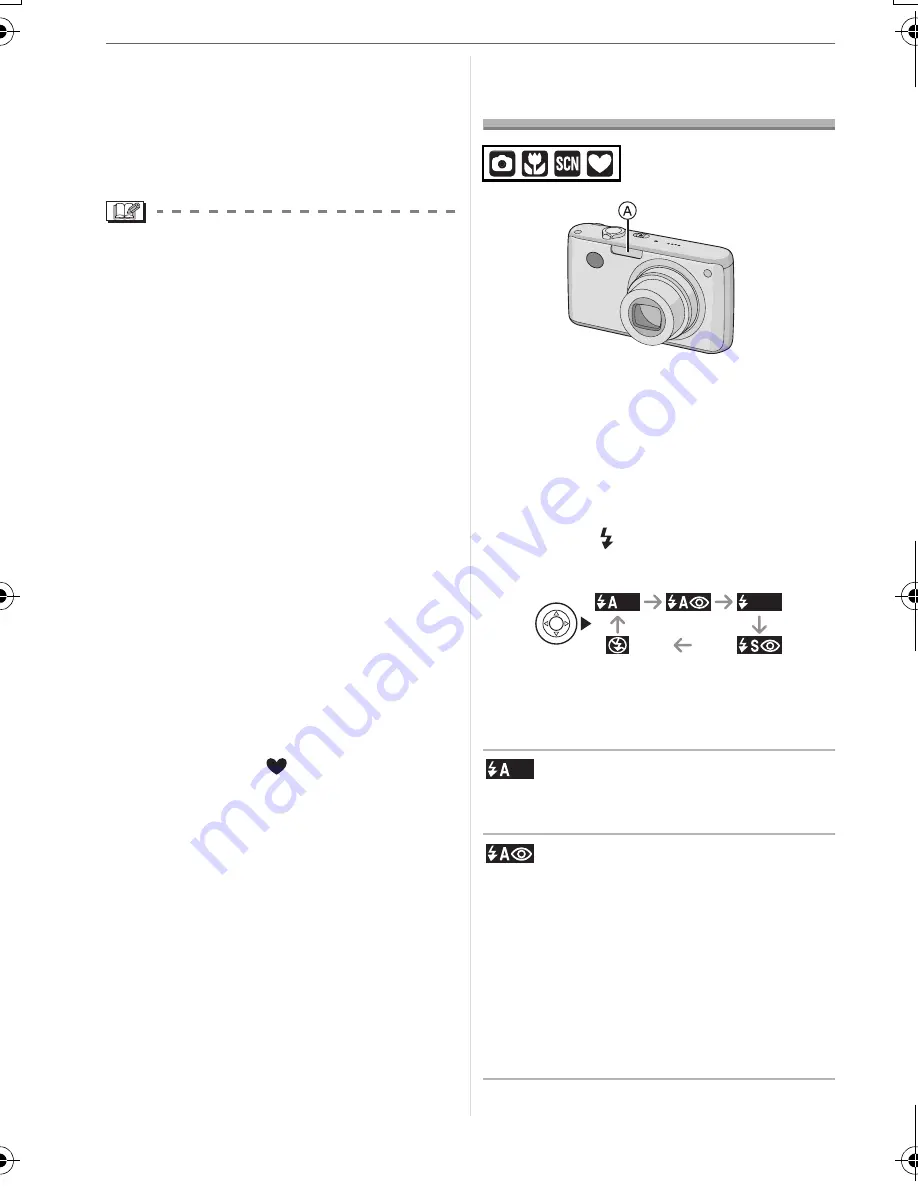
Taking Pictures using
the Built-in Flash
:
Photo flash
Do not cover it with your fingers or other
objects.
w
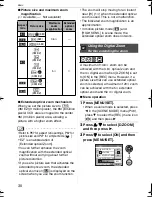
Switching to the appropriate flash
setting
Set the flash to match the recording.
Press
[ ] to switch the flash
setting.
• For information about flash settings that
can be selected, refer to “Available flash
settings by recording mode”. (P39)
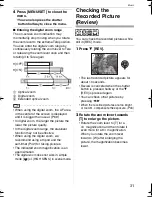
: AUTO
The flash is automatically activated when
the recording conditions make it necessary.
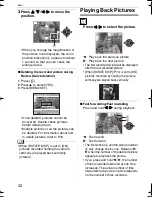
: AUTO/Red-eye reduction
_
1
The flash is automatically activated when
the recording conditions make it necessary.
It is activated once before the actual
recording to reduce the red-eye
phenomenon (eyes of the subject
appearing red in the picture) and then
activated again for the actual recording.
• Use this when you take pictures of
people in low lighting conditions.
8368'0)DQQMࡍࠫ㧞㧜㧜㧢ᐕ㧝㧞㧣ᣣޓ㊄ᦐᣣޓඦ೨㧥ᤨ㧤ಽ


