Quick Guide
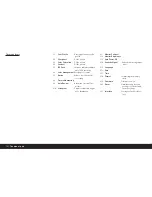
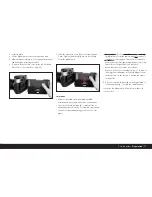
Have the following parts ready:
• Camera
• Focusing screen (A) with tool for changing
• Slider for removing camera back (B)
• Digital back (C) with protective cover (Ca)
• Power unit (D)
• Battery (E)
• Charger (F)
• Memory card (G)
Presets
Notes:
• For more details about particular steps/operations
on the camera, please refer to the corresponding
instructions.
• The pictures produced using the method described
below use the default factory settings for the various
functions (see p. 69).
1. Connect the charger (F) to the battery to charge it
up (see p. 78).
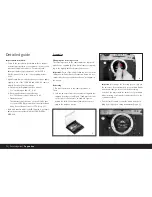
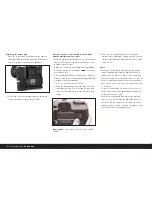
2. Replace the focusing screen in the camera with the
one supplied with the Digital-Modul-R (A) (see p. 72).
3. Remove the camera battery compartment.
4. Remove the camera back (see p. 74).
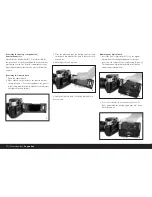
5. Attach the digital back (C) to the camera (see p. 75).
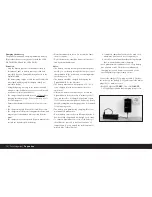
6. Attach the power unit (D) to the digital back
(see p. 76).
7. Insert the charged battery into the power unit
(see p. 77).
8. Insert the memory card (G) (see p. 80).
9. Set the desired modes/functions on the camera.
10. Switch on the Digital-Modul-R (see p. 81).
11. Set the date and time (see p. 87).
Taking photographs
1.
Use the focusing screen to focus in the normal way.
When selecting the trimming, pay attention to the
frame for digital format (see p. 72).
2.
Release the shutter with one of the 3 shutter
release buttons to take the picture (see p. 82).
Viewing pictures
For an unlimited viewing duration:
1.
Press the
PLAY
button (1.10) to view the last pic-
ture taken.
2.
Press the left or right direction button (1.14) to view
other pictures.
Notes:
• The
Auto Review
function (3.9, see p. 81) is avail-
able for brief automatic review after taking each pic-
ture.
• The
INFO
function (see p. 84) allows you to display
additional information about a picture at the same
time – with the picture reduced.
Enlarging pictures on the monitor screen
(only possible for normal review (using
PLAY
button),
in
Auto Review
mode the
PLAY
button must be
pressed first)
Turn the setting ring (1.13) to the right (clockwise) to
view an enlarged version of the picture displayed (see
p. 96).
Note:
Turning to the left (anticlockwise) allows 4 or 9
reduced pictures to be viewed simultaneously to gain
an overview (see p. 97).
Deleting pictures
(only possible for normal review (using
PLAY
button),
in
Auto Review
mode the
PLAY
button must be
pressed first)
Press the
DELETE
button (1.9) and follow the instruc-
tions on the monitor (1.11, see also p. 98).
Note:
The pictures can be protected, e.g. against acci-
dentally being deleted (
PROTECT
, see p. 100).
Formatting the memory card
1. Press the
MENU
button (1.12).
2. In the menu select the
Format
option (3.13, addi-
tional steps necessary, see p. 70/86/102) to delete
all data on the memory card.
Quick Guide
/ 71

