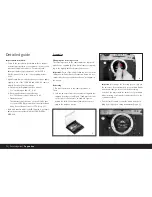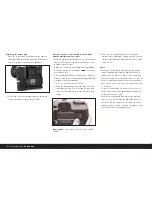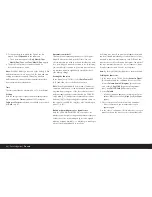
4. Then grip the tab on the focusing screen with the
tweezers (front right).
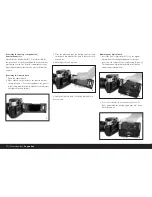
5. Lift the focusing screen upwards out of the frame
and
6. then remove it downwards (Figure 4).
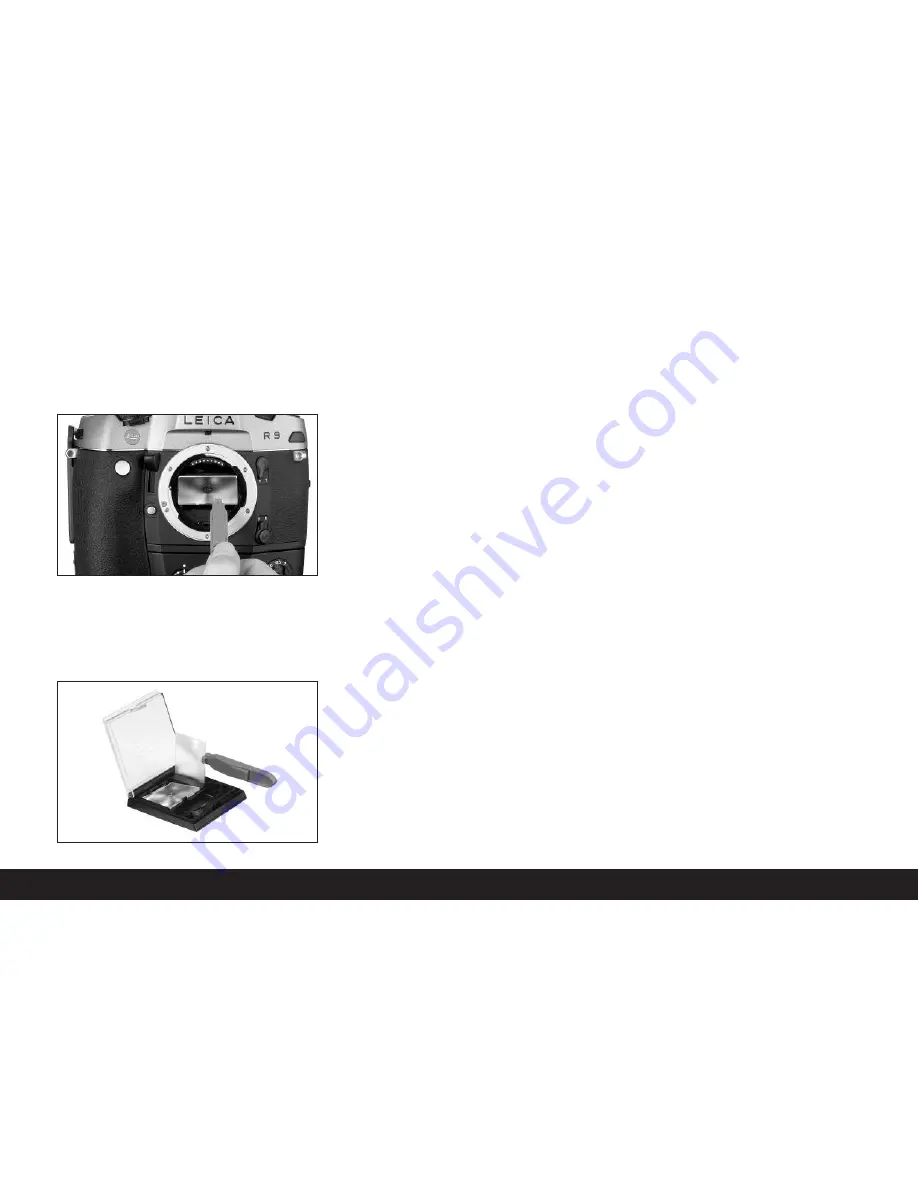
Note:
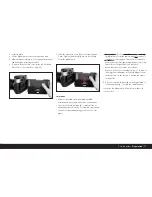
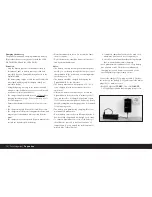
For secure temporary storage while making
the change, you should place the focusing screen
in the slit provided in the container, as shown in
Figure 5.
Inserting
1. Pick up the focusing screen lying in the container by
its tab using the tweezers,
2. remove it from its compartment by exerting a slight
pressure on the spring groove,
3. move it diagonally upwards into the opening in the
bayonet, and
4. place it in the frame.
5. Now place the cam on the front of the tweezers
behind the frame retaining spring and
6. press the frame upwards until it clicks into place.
Important:
Do not use force; if necessary check
that the focusing screen is correctly positioned in
the frame.
Use the tweezers to place the replaced focusing screen
under the spring groove in the container and click it
into place in its compartment.
Cleaning the focusing screen
Dust particles can be removed using the brush sup-
plied. It is recommended that you place the brush in
the hole provided in the container and then move the
focusing screen over the hair of the brush using the
tweezers.
More severe dirt and fingerprints can be removed in an
ultrasonic bath by an optician or by the Leica Camera
AG Customer Service (address: see p. 114).
Note:
Use a clean fresh ultrasonic bath; hold the focus-
ing screen with the tweezers and immerse for 3–4 min-
utes, do not simply place in the bath.
Important:
Do not attempt to clean a focusing screen
with lens paper or a cloth - this can cause such severe
damage to the surface that the focusing screen can no
longer be used.
Then rinse the focusing screen with distilled water in
the ultrasonic unit for 3–4 minutes.
Notes:
• If non-distilled water is used, marks can be expected.
• The ultrasonic bath and distilled water should not be
heated.
When removing the focusing screen, lightly shake off
the residual water and place in the container to dry.
Detailed guide /
Preparation
/ 73
4
5

