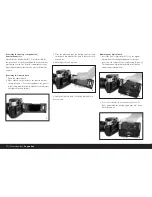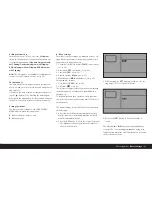
3. hold it in place
4. tilt the digital back to the correct position, and
5. allow the upper joint pin (1.2) to engage in the upper
cap bearing by releasing the slider.
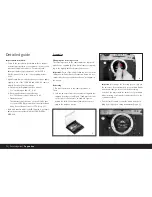
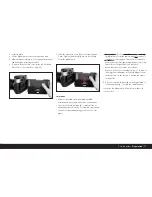
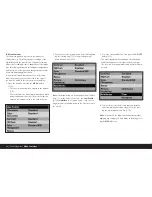
6. To unlock the protective cover, press the left-hand
side of the rocker switch (Cc, Figure 5),
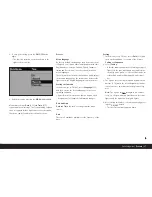
7. slide the protective cover (Ca) to the right (approx.
5 mm, Figure 6) and carefully remove it vertically
from the digital back.
Important:
• Wherever possible, the digital back should be
attached and removed in a dust-free environment.
• Take care to avoid touching the sensor surface or
allowing it to become dirty. For example, fingerprints
can cause irreparable damage to the sensor cover
glass.
• Always attach the cover immediately after removing
the digital back from the camera and only remove it
to attach it to the camera. This is also necessary to
protect the color filter against fading due to the long-
term effects of bright light or UV radiation.
• Ensure that the cover is also free of dust.
• However, if the sensor should get dirty, i.e. in need of
cleaning, to avoid damage you should always follow
the instructions in the section “Cleaning the sensor”,
see page 109.
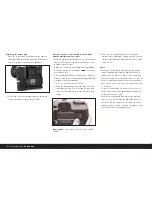
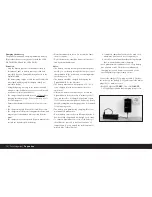
8. Close the camera by pressing on the digital back. It
locks automatically – just like the camera’s back.
To remove the digital back, follow this procedure in
reverse order.
Detailed guide /
Preparation
/ 75
5
6


