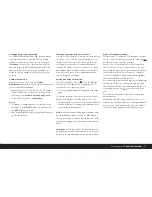
Series exposures
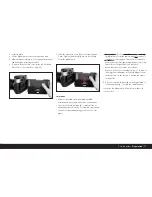
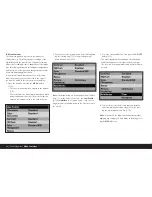
Thanks to the integrated motor for cocking the shutter,
the LEICA DIGITAL-MODUL-R can be used not only for
single pictures – lever 1.30 set to (
S
[single]) – but also
for series of pictures – lever set to (
C
[continuous]) –
for example to capture sequences of movement in sev-
eral stages.
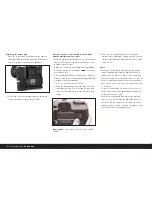
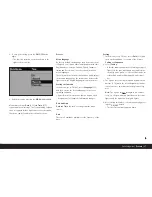
Apart from the operation of the shutter release but-
tons, series exposures are taken in the same way as
single pictures: If you press briefly, the camera contin-
ues to take single pictures. A series of pictures is taken
for the time that you hold down the shutter release but-
ton (as long as the memory card has capacity)
Depending on the set resolution (see p. 89) and com-
pression rate/file format (see p. 89), a maximum of
2 pictures per second and up to 9 at a time can be
taken. For detailed information about the total possible
numbers of pictures for the 512 MB memory card sup-
plied, refer to the table on p. 89.
Notes:
• The maximum picture frequency of 2 fps can only be
achieved at shutter speeds of
1
/
500
s and faster.
• Regardless of how many pictures have been taken in
a series, the
PLAY
(see p. 81) and
Auto Review
(3.9,
see p. 81) functions always show the last picture
first. You can select the other pictures in the series
by pressing the right and/or left direction button
(1.14).
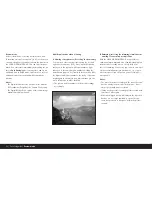
Automatic exposure bracketing
Many attractive subjects are very rich in contrast, i.e.
they have both very light and very dark areas. The
effect can be quite different, depending on which sec-
tions you base your exposure on. In such cases, you
can use automatic exposure bracketing to produce
several alternatives with graduated exposure. You can
then select the most appropriate picture for further
use.
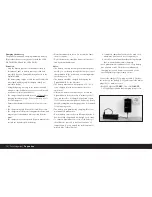
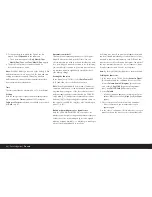
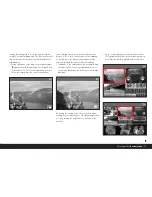
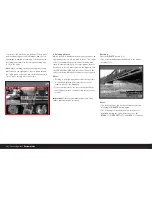
With the Digital-Modul-R, an automatic exposure series
(bracketing) consists of 3 pictures at a time. Two grad-
uations are available and are selected using the lever
1.29: The pictures are exposed differently by
1
/
2
EV
(±
0.5
) or 1 EV (±
1
) at a time. Depending on the mode
set on the Digital-Modul-R, the different exposures are
achieved by changing the aperture (in
T
), the shutter
speed (in
A
and
m
) or both (in
P
). The exposures are
made in the following order: correct exposure, under-
exposure, overexposure.
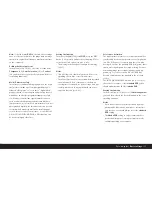
If the lever is set to
0
, the function is not operational.
Notes:
• For automatic exposure bracketing, the three pic-
tures – with the camera’s quick wind lever folded
down (see “The shutter release buttons”, p. 82) – are
automatically taken one after the other, provided the
mode is set to series or single pictures (see previous
section).
• As long as the lever 1.29 is in the appropriate posi-
tion, pressing one of the shutter release buttons
again or holding it down with the setting on series
exposures/
C
produces further exposure series, i.e.
the lever must be reset if you do not want to produce
any more exposure series. When set to single pic-
tures/
S
, only a single exposure series is taken. If
you want to take another, you must first set the lever
to
0
and then reset it to the desired graduation.
• Depending on the available shutter speed/aperture
combinations, the working range of the automatic
exposure bracketing may be limited.
Detailed guide /
The most important settings / controls /
83

