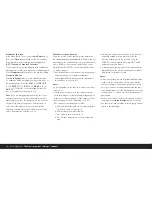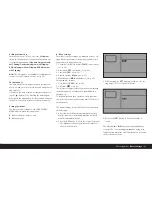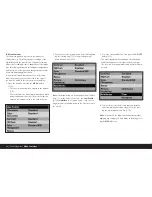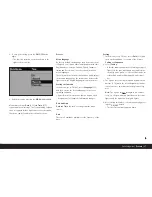
Setting the function
In the menu (see p. 70/86), select the
Histogram
option (3.10) and then set the desired function in the
corresponding submenu: (
Standard histogram with-
out Clipping
/
Standard histogram with Clipping
/
RGB histogram without Clipping
/
RGB histogram
with Clipping
).
Note:
The histogram is not available for simultaneous
review of several reduced pictures (see p. 96).
The data panel
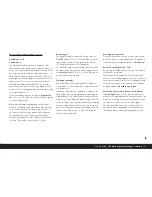
The data panel (1.21) displays the basic settings (see
also p. 69 and the next section) selected using the set-
ting ring (1.13).
If you wish, the data field can be illuminated by press-
ing the
button (1.19). Pressing the button again
deactivates the illumination. It is deactivated automati-
cally after 12 s to help preserve the battery capacity.
Setting operations
The functions and settings on the LEICA DIGITAL-
MODUL-R are divided into two groups:
A.
Basic settings for pictures, and
B.
Menu functions
A. Basic settings
These basic picture settings are made up of those set-
tings that are needed most frequently to adapt to dif-
ferent subjects, applications etc.:
1. Compression rate/file format (
COMP
[compression],
see p. 89)
2. Resolution (
RES
[resolution], see p. 89)
3. Sensitivity (
ISO
, see p. 92)
4. Pattern overlays (
Moir ´e
, see p. 93)
5. White balance (
WB
[white balance], see p. 90)
This group also includes:
6. User profiles (
USER
, see p. 94)
7. Self timer (
, see p. 95)
The relevant settings for these functions are displayed
in the data panel (1.21) when the Digital-Modul-R is
switched on.
To facilitate fast and easy operation, these functions
can all be selected using the setting dial (1.22) next to
the data panel.
The actual settings for all of the functions are made in
the same way:
1. Select the desired function by turning the setting
dial (so that the corresponding marking is aligned
with the index mark (1.22a).
2. Press the
SET
button (1.23) in the center of the dial.
• The data panel then only shows the displays for
the selected function.
3. While keeping the
SET
button pressed, use the set-
ting ring (1.13) to set the desired value.
4. Release the
SET
button (1.23) and the value is
stored.
The white balance (
WB
) function requires additional
settings. The corresponding explanations, along with
further details about the other functions, can be found
in the relevant sections.
Detailed guide /
Basic settings
/ 85


