86 / Detailed guide /
Menu functions
B. Menu functions
The functions grouped together in the menu (see
“Menu items”, p. 70) affect the basic settings of the
Digital-Modul-R, the preselection of particular image
properties for taking pictures, adaptation of the image
files after taking the picture including deleting all data
and the choice of the preferred histogram representa-
tion when displaying picture data.
In principle, all menu functions are set in the same
way, except that you use the buttons to the right of
the monitor, which in this case acts as the display:
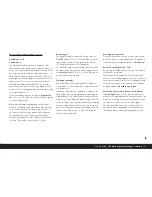
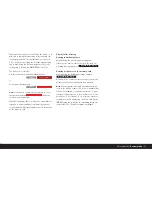
1. Open the menu by pressing the
MENU
button
(1.12).
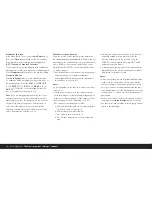
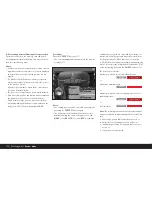
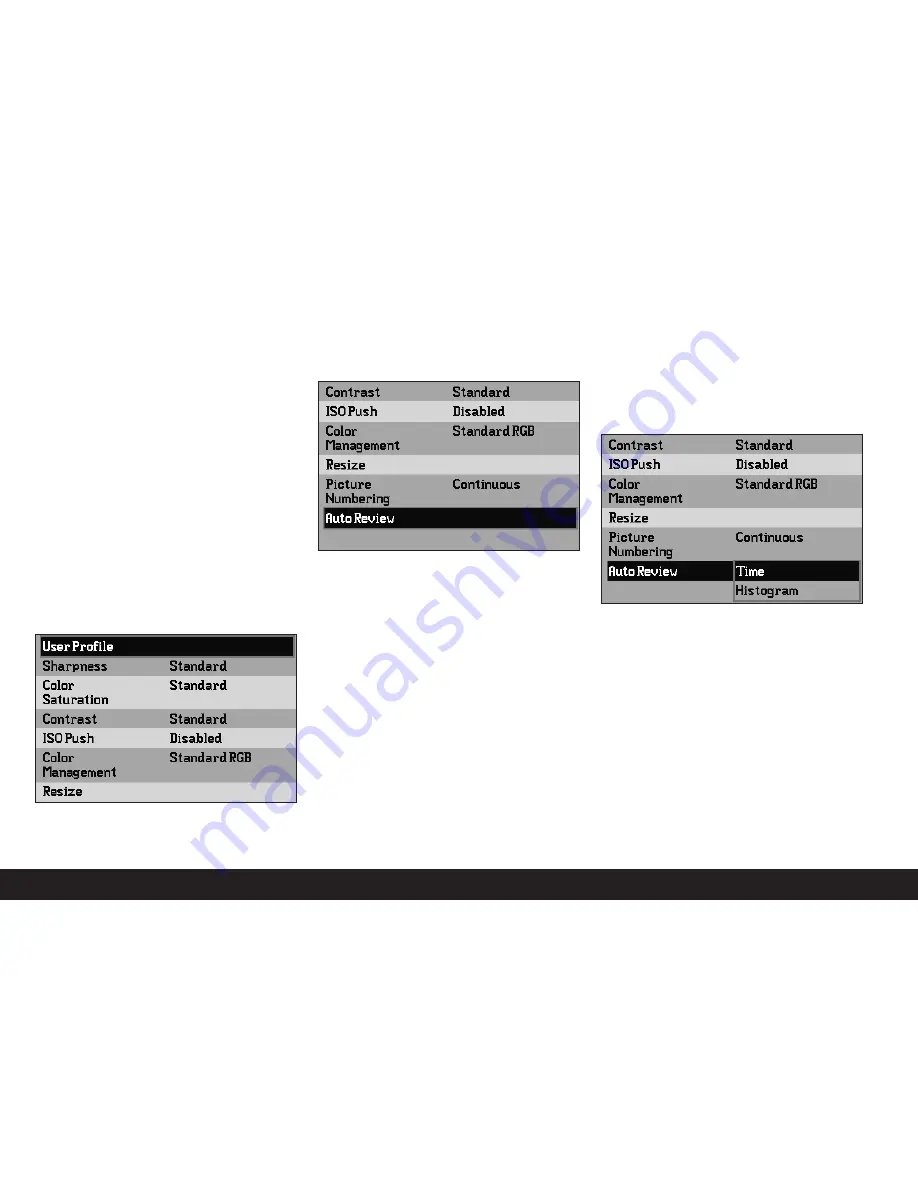
• The first 7 menu items then appear in the monitor
(1.11).
The currently active menu item always has a black
background and a red border. The previous function
variation set is always listed to the right of the line.
2. You can select the desired menu item either by turn-
ing the setting ring (1.13) or by pressing the up/
down direction key (1.14).
Note:
The menu items are not arranged in an “endless
loop”, i.e. at the “ends” of the list – the
User Profile
(3.1) and
Interface
(3.21) menu items – only one set-
ting direction is available, down in the first case, up in
the second.
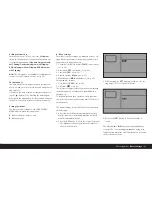
3. To set the relevant function, first press the
OK/OFF
button (1.15).
• The associated multi-line submenu, identified by a
red border, appears to the right of the menu item.
The selected item is again indicated by a black back-
ground.
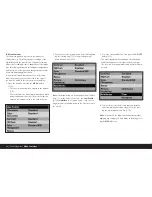
4. You can then select the desired function variation
either by turning the setting ring (1.13) or by press-
ing the up/down direction key (1.14).
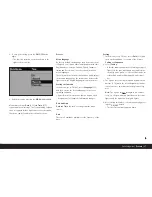
Note:
You can exit the submenus at any time without
applying any settings you have made in them by press-
ing the
MENU
button.

