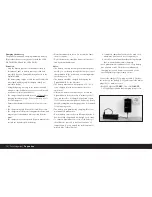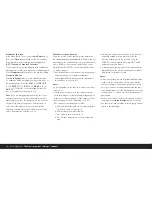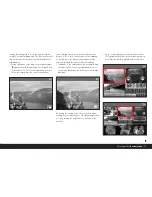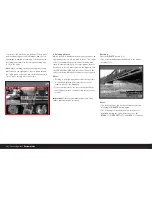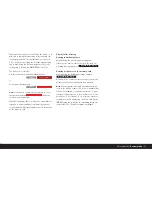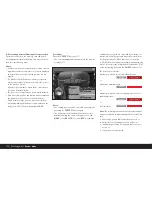
For direct setting of values
You can directly set values between
2600
and
9800
(K
1
) (from 2600 to 5000K in increments of 100, from
5000 to 8000K in increments of 200 and from 8000 to
9800K in increments of 300). This provides you with a
broad scope, covering almost all light temperatures
that can occur in practice and within which you can
adapt the color reproduction very sensitively to the
ambiant light color and/or your personal preferences.
1. Turn the setting dial (1.22) to
WB
(white balance),
hold down the
SET
button (1.23) and use the set-
ting ring (1.13) to select the
5000K
option (2.2.1h,
example).
2. release the
SET
button again,
• After you release the
SET
button, the figure
oo
flashes for approx. 3 s to indicate that it can be
changed during this time.
3. use the setting ring to select the desired value, and
4. confirm your setting by pressing one of the three
shutter release buttons (camera shutter release but-
ton/main [1.27] and portrait format shutter release
buttons [1.28] or pressing the
SET
button again.
• The display of the set value (2.2.1i) is permanently
lit.
Note:
The display of the value stops flashing after
approx. 3 s, i.e. the value that is then set is stored. If
you want to change it, you must press the
SET
but-
ton again to do so.
For manual setting by measurement
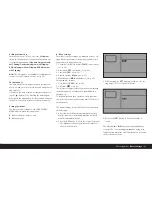
1. Turn the setting dial (1.22) to
WB
(white balance),
keep the
SET
button (1.23) pressed and use the set-
ting ring (1.13) to select the
M
option (2.2.1h).
2. Release the
SET
button again.
• In the data panel, the
M
flashes to indicate readi-
ness to make the setting; at the same time the
message
Point the camera at a white surface
and press the shutter
appears in the monitor.
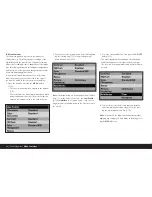
3. The actual setting is made by subsequently taking a
picture in which you should aim at a white or neutral
gray surface in the center of the picture.
• The
M
display appears in the data panel. To indi-
cate that the value has been stored, the
M
stops
flashing and the message
WB is set
appears in
the monitor.
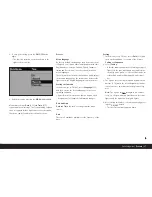
However, if the exposure is not assessed as cor-
rect or the surface you aim at is not neutral,
Bad
exposure WB not set
or
Bad object WB not set
appears to indicate this.
In such cases, repeat step 3 with the correct expo-
sure setting or with a more neutral surface.
A value calculated in this way remains stored, i.e. it is
used for all subsequent pictures, until you either carry
out another measurement – in this case you merely
need to press the
SET
button to prepare to make the
setting – or use one of the other white balance settings
(2.2.1a-g, i).
Detailed guide /
Basic settings
/ 91
1
All color temperatures are specified in Kelvin.


