12
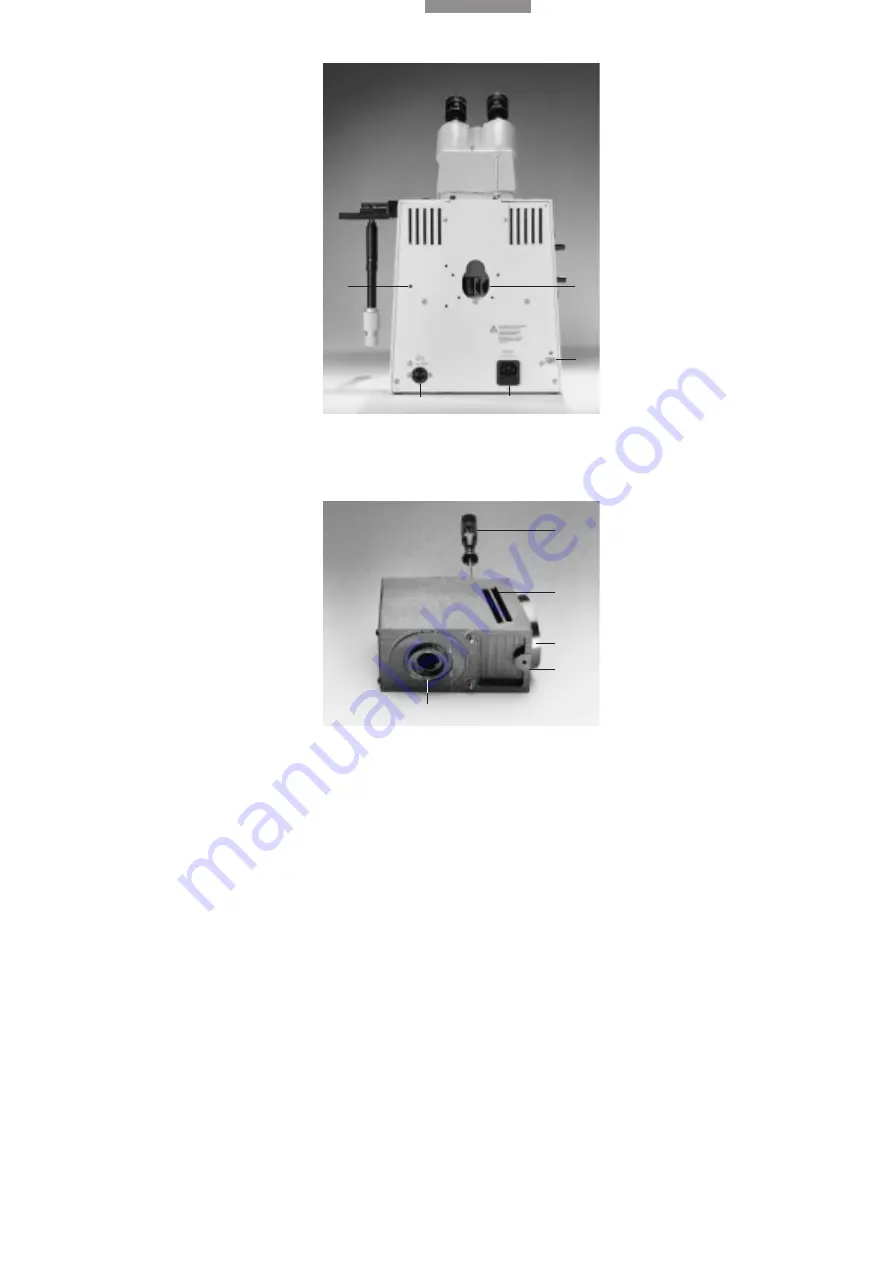
3.2 Assembling the lamp mount, mirror housing,
lamphousing, illumination telescope
1 Insert the lamp mount or the mirror housing in
the back panel and screw down with Allen
screws. Make sure the guide pin of the lamp
mount (7.1) engages in the back panel of the
microscope (6.2).
2 Put lamphousing 107/2, 107, 106Z onto the lamp
mount and screw down with the fixing screw
(9).
3 If you are using gas discharge lamps in
connection with fluorescence techniques we
recommend you use the illumination telescope
(8.4). This is inserted between the lamp mount
and the lamphousing 106Z and magnifies the
image of the focal point of the lamp by the fac-
tor 2 x in the entrance pupil of the objective.
This results in substantially higher illumination
intensity for fluorescence.
3 Plug the lamp plug into the socket on the
microscope stand (6.3).
4 Insert a 50 mm light filter in each of the 2 filter
slots on the lamphousing mount (7.4)
4 Connect the mains cable to the mains socket in
the microscope stand.
Fig. 6
Back view of microscope
1
Space for assembling a lamphousing or mirrorhousing,
2
Hole
for guide pin,
3
Socket for lamp plug,
4
Mains socket,
5
Poten-
tial equalisation
Fig. 7
Lamp mount
1
Guide pin,
2
Lateral lamphousing mount,
3
Ring screw for
mounting to microscope,
4
2 spaces for light filters,
5
Fixing
screws (Allen screws)
1
5
4
3
2
5
4
2
3
1


