9
3.1 Unpacking, installation site, assembly
tools, safety information
Unpacking:
Please compare the delivery carefully with the
packing note, delivery note or invoice.
We strongly recommend that you keep a copy of
these documents with the manual, so that you
have information on the time and scope of the
delivery later when ordering more equipment or
when the microscope is serviced.
Make sure that no small parts are left in the
packing material.
Some of our packing material has symbols indi-
cating environment-friendly recycling.
n.b.!
When lifting the microscope out of the packaging
do not touch any movable, mechanical compo-
nents.
When putting the microscope on the desk and
adjusting its position, make sure not to damage
the sensitive damping feet on the underneath of
the microscope.
n.b.!
Do not connect microscope and peripherals
to mains yet (see section 3.2, Assembly)
Installation site
Make sure that the workplace is free from oil and
chemical fumes. Vibrations, direct sunlight and
major temperature fluctuations should be avoi-
ded. For ergonomic microscopy we recommend
a stable desk (about 70–80 cm high) and a com-
fortable, adjustable chair.
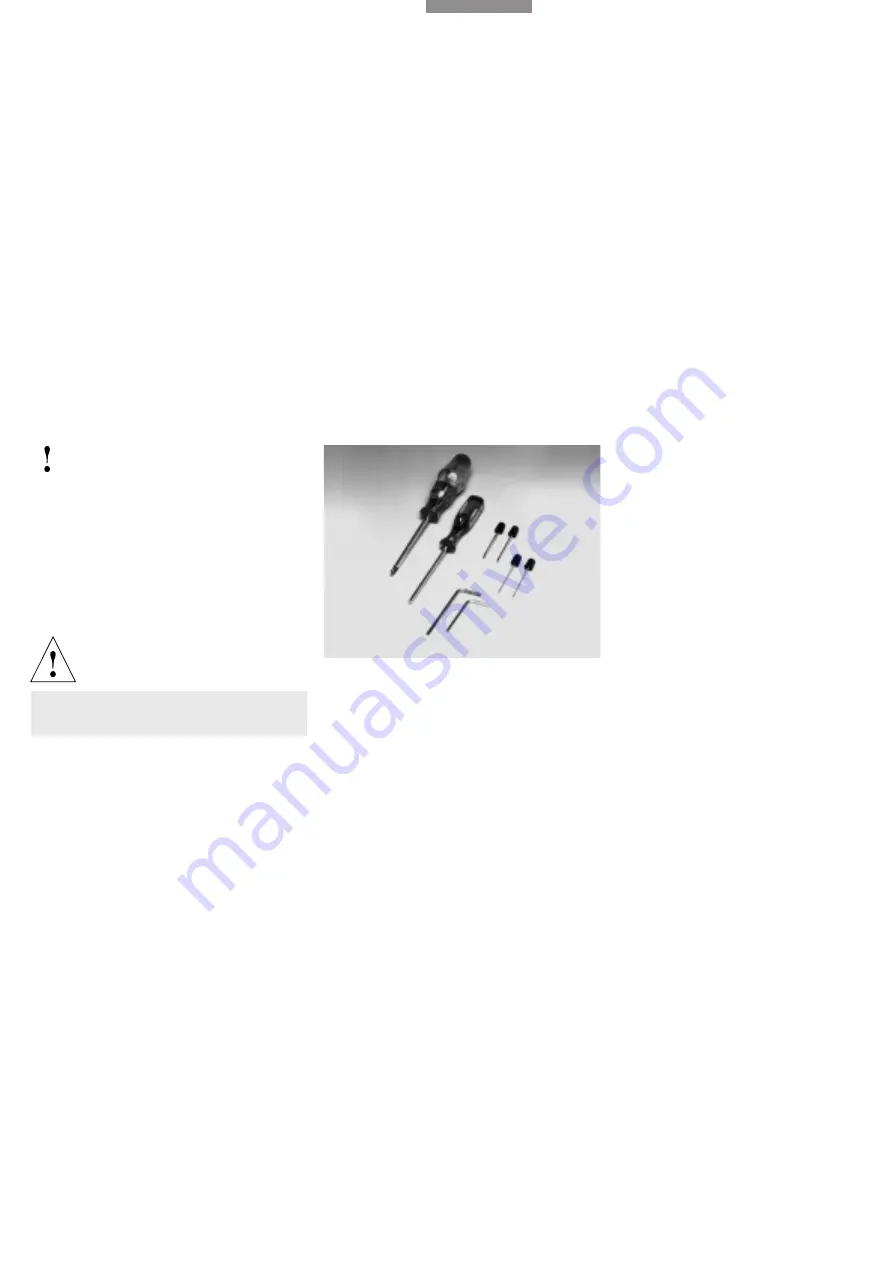
Assembly tools
Installation and assembly of the microscope
should preferably be carried out together with a
member of Leica sales or service staff.
Only a few ordinary screwdrivers are required for
assembly, and these are supplied with the
microscope.
3 Assembling the microscope
Fig. 5
Assembly tools
1
Cross-tip screwdriver*,
2
Hexagonal screwdriver, 3 mm,
3
Centring keys, 2 mm*,
4
Centring keys, 1.5 mm*,
5
Allen key,
3 mm*,
6
Allen key, 2.5 mm* (short version)
1
2
3
4
5
6


