EN
50
SETTING THE BALLISTICS CURVE
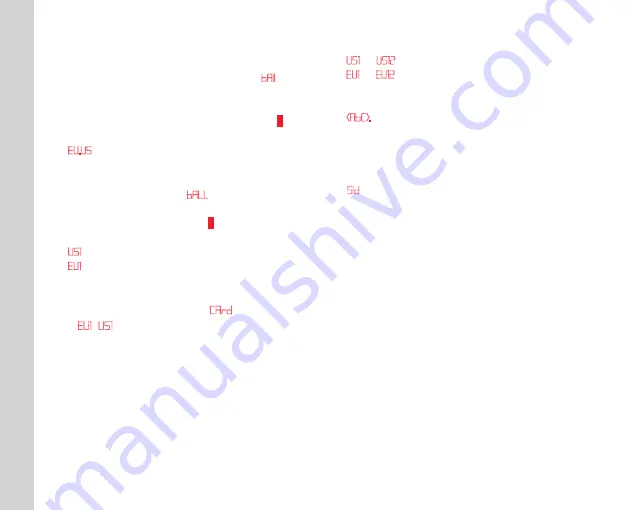
Start with step 1 if you are working with the menu
controls for the first time or with step 3 if you have
just set the unit of measure and the display
bAll
is
still flashing.
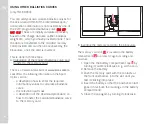
1. Press and hold the secondary/menu button
2
(≥ 3 s).
•
EU.US
appears.
2. Press the secondary/menu button 1 time
(< 2 s).
• The display switches to
bALL
(= Ballistics
Curves).
3. Press the main/trigger button
1
.
• The display switches to
–
US1
or
–
EU1
Note
When a memory card is inserted,
CArd
appears
before
EU1
/
US1
.
4. Select the desired ballistics curve by pressing
the main/trigger button repeatedly, i.e.
–
US1
to
US12
or
–
EU1
to
EU12
, or
OFF if you want to have the distance
displayed without point of impact correction
–
(AbC).
5. Save your setting by briefly pressing the
secondary/menu button.
• The saved setting lights up for 4 s as
confirmation, then the display initially switches
to
SId
and then disappears if no other action is
taken.
Once a ballistics curve is set, the range value is
first displayed for 2 s after each distance
measurement is taken, followed by the calculated
correction value for 6 s.
Summary of Contents for GEOVID 10x42 HD-B 3000
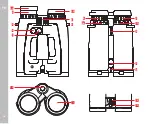
Page 4: ...DE 2 3 11 4 5 4b 7 7a 8 8 9 3 2 1 6a 6 4a 12 13 10 ...
Page 34: ...EN 32 3 11 4 5 4b 7 7a 8 8 9 3 2 1 6a 6 4a 12 13 10 ...
Page 64: ...FR 62 3 11 4 5 4b 7 7a 8 8 9 3 2 1 6a 6 4a 12 13 10 ...
Page 94: ...NL 92 3 11 4 5 4b 7 7a 8 8 9 3 2 1 6a 6 4a 12 13 10 ...
Page 124: ...IT 122 3 11 4 5 4b 7 7a 8 8 9 3 2 1 6a 6 4a 12 13 10 ...
Page 154: ...ES 152 3 11 4 5 4b 7 7a 8 8 9 3 2 1 6a 6 4a 12 13 10 ...
Page 184: ...NO 182 3 11 4 5 4b 7 7a 8 8 9 3 2 1 6a 6 4a 12 13 10 ...
Page 214: ...RU 212 3 11 4 5 4б 7 7a 8 8 9 3 2 1 6a 6 4a 12 13 10 ...
Page 252: ...249 ...
Page 253: ...250 ...
Page 254: ...251 ...


