PaveSmart 3D UM
66
Getting Started
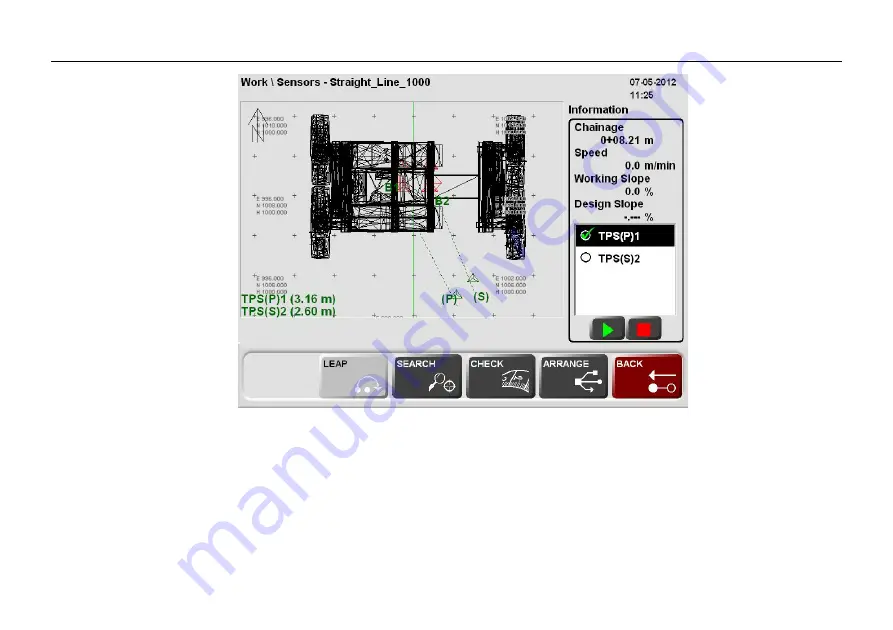
Tiepoint Check
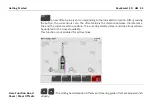
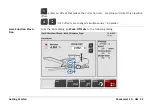
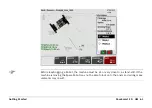
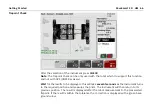
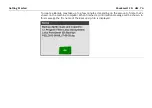
After the selection of the instrument press
CHECK
Note
: The Tiepoint Check can be only used with the robot which do support this function
and not with GPS (GNSS Receivers).
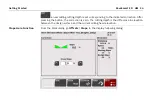
Wait
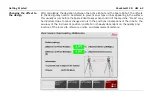
for the results to be displayed - this will take
several seconds
as the instrument turns
to the required position and measures the prism. The instrument will then return to its
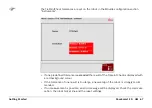
previous position. The result is displayed after the robot measurement to the preselected
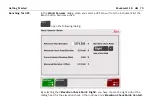
fixpoint. If the result is within the tolerance the Correction is displayed with a green back-
ground colour.
Summary of Contents for MCR-900
Page 1: ...Leica PaveSmart 3D User Manual Version 5 0 English ...
Page 11: ...How to use this Manual PaveSmart 3D UM 11 ...
Page 21: ...Getting Started PaveSmart 3D UM 21 Work Screen for Milling Machines a b d c e f g h i ...
Page 27: ...Getting Started PaveSmart 3D UM 27 Work Screen Mainline Concrete Paver a b c d f g h i j e ...
Page 30: ...PaveSmart 3D UM 30 Getting Started Work Screen Trimmer a b d c e f g h i j ...
Page 99: ...System Components Diagrams Software Description PaveSmart 3D UM 99 ...
Page 107: ...Troubleshooting PaveSmart 3D UM 107 ...
Page 136: ...PaveSmart 3D UM 136 Technical Data Mounting RAM mounting Parameter Data ...

