ASYMMETRIC DOVETAILS
50
Chapter 14
D4R Pro User Guide
14-5
Deliberately asymmetrical joints must therefore be routed
on both ends of the jig using two separate,
almost
mirror-image
layouts.
14-6
The layouts need not be exact mirror images because the
parts that fit together will be made on the same end of the jig.
For a typical blanket chest you would rout corners
A
and
C
on
one end of the jig and corners
B
and
D
on the other end. As long
as the side stop marks all face up (or all down), the box will go
together.
A
A
B
B
C
C
D
D
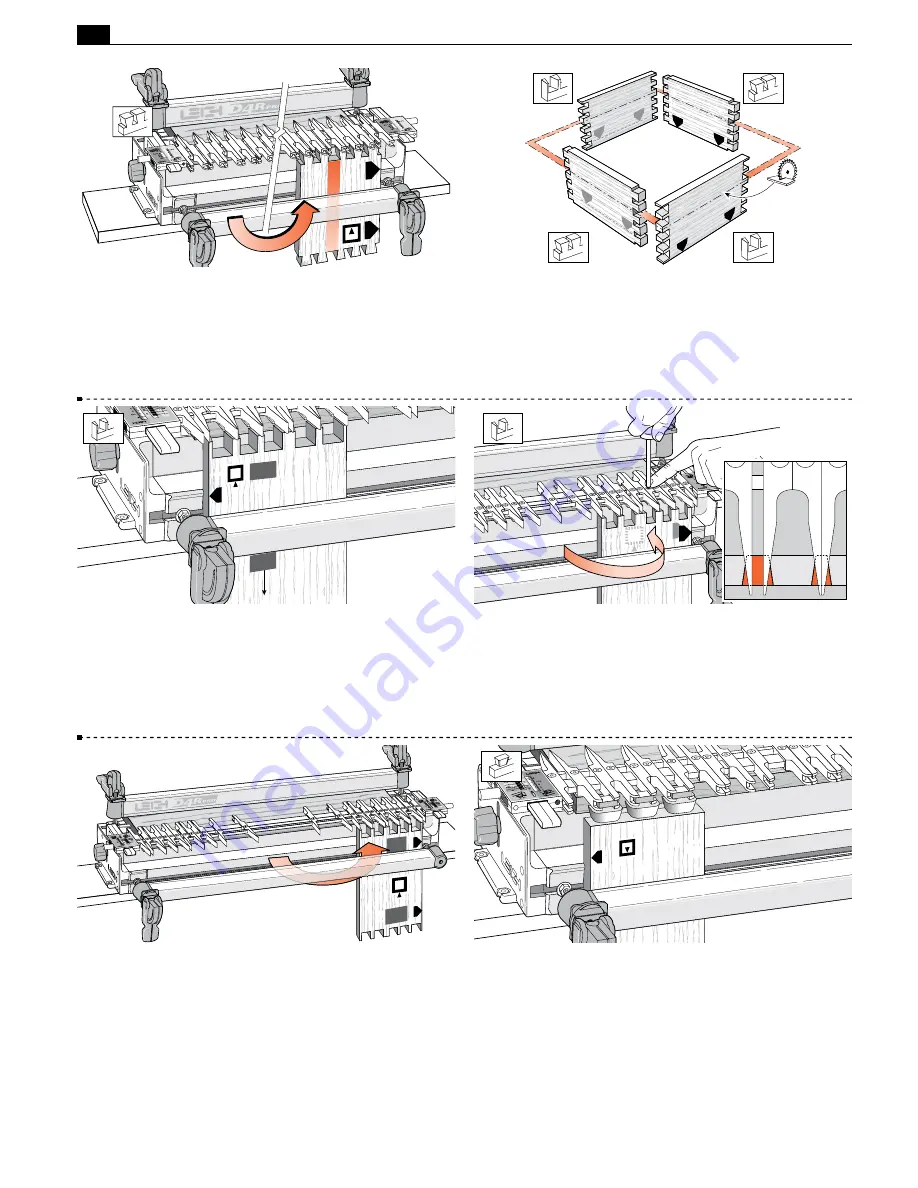
14-7
Here is an easy way to cut these near-mirror-image joints.
Lay out the
A
and
C
corner joints in the usual way (i.e., in the
d
TD PINS mode). Rout the
A
and
C
corners’ tails and pins.
Leave the guidefingers set and in the
d
TD PINS mode.
A/C
B/D
14-8
Simply flip a completed
A
or
C
pin board from one end of
the jig (like turning a page) to the other end, and center each pair
of guidefingers over a pin.
14-9
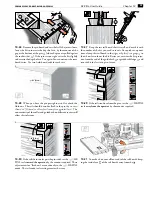
Now rout the
B
and
D
corners’ tails and pins using this
guidefinger pattern. When you assemble the case, the
A
and/or
C
ends will fit each other, and the
B
and/or
D
ends will also fit each
other. Keep the boards inside face
i
inwards on the case and the
side stop edges all turned the same way, and the parts are sure to
match (see 14-6).
B/D
A/C
14-10
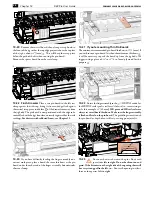
To transfer a
mirror image
asymmetrical half-blind
joint…
Summary of Contents for D4R Pro
Page 14: ...JIG ASSEMBLY MOUNTING AND USING THE CLAMPS 6 Chapter 1 D4R Pro User Guide ...
Page 24: ...WOOD PREPARATION 16 Chapter 6 D4R Pro User Guide ...
Page 86: ...BIT SELECTION 78 Appendix II D4R Pro User Guide ...
Page 90: ...JIG PARTS 82 Appendix III D4R Pro User Guide ...
Page 92: ...PRINTED IN CANADA Joining Tradition with Today Printed in Canada ...

